ID: Tunnel 
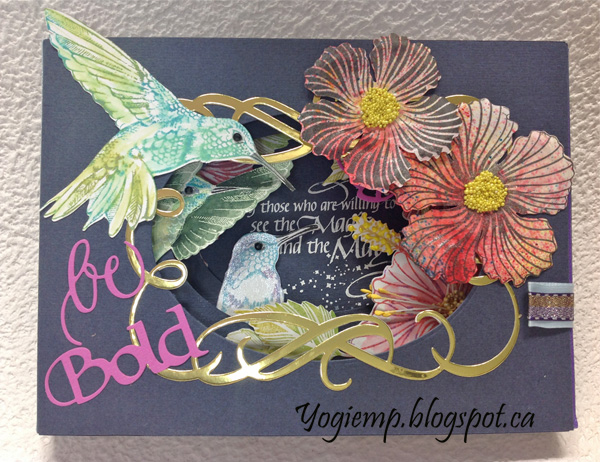
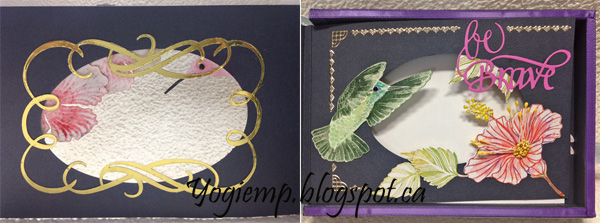
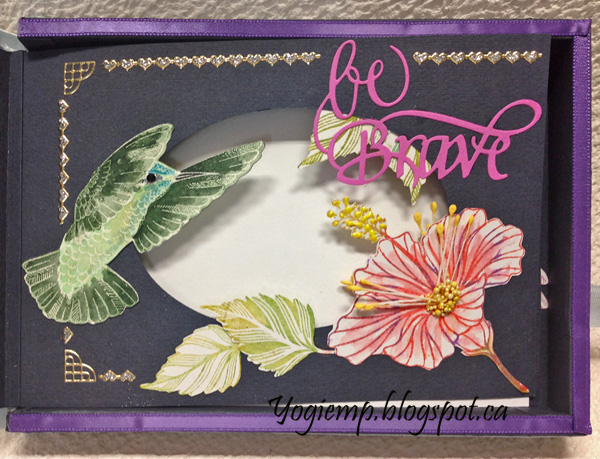
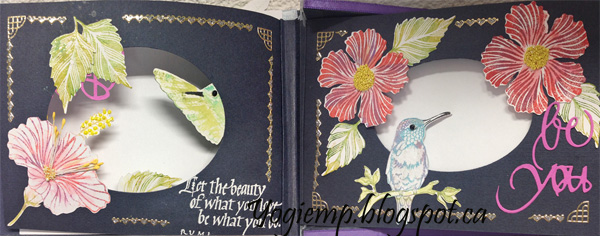
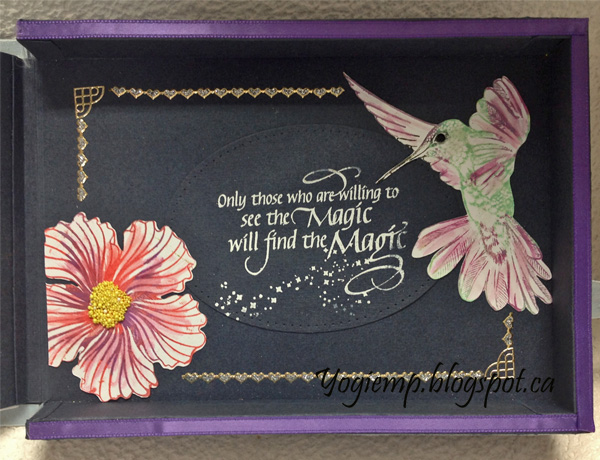
Book Hummingbird  - ECD Be Bold, Brave, You - Only Those Who - HB card
size: 7.5"w x 6"h x 3/4"thick (booklet closed)

Created: September 7, 2017
Modified:

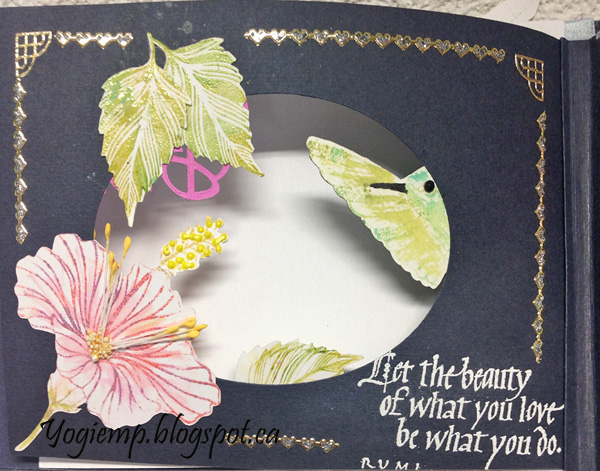
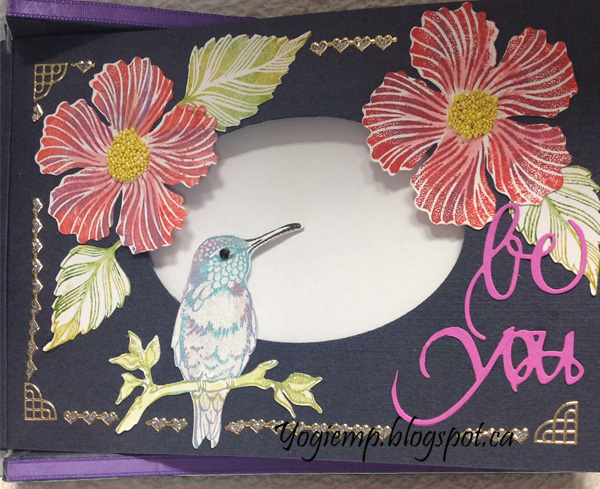
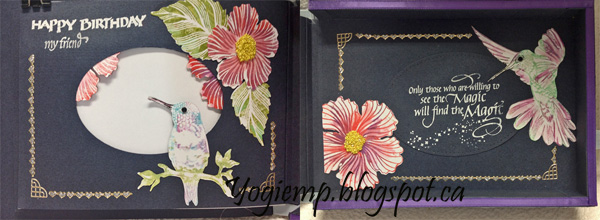
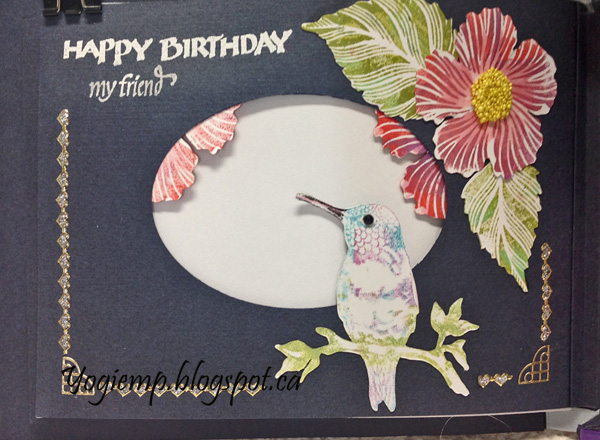
I came across the Heartfelt Creations layered shadowbox cards and decided to make something similar but with my own twists... It's a take on the box cards I made HERE and HERE and then added pages to it. I'm also using all Designs By Ryn Hummingbird and Hibiscus stamps "Hummingirds 1"; "Hummingbirds 2"; "Hibiscus"

If you would like to see the other tunnel book, click HERE

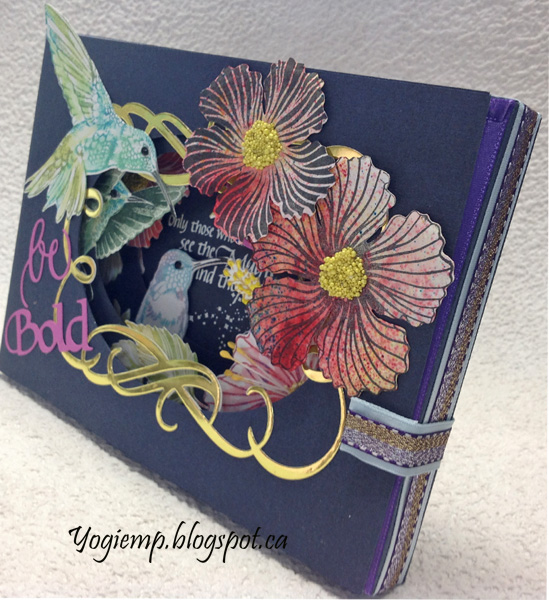
I'm using a bunch of brand new dies from an A Way With Words dies "Be Bold, Brave" "You Are"; Flourished Frame" Elizabeth Craft Designs, also available on Quietfire Design HERE, HERE, HERE

And using a bunch of quote stamps from Quietfire Design,  

("Let The Beauty Of What You Love..."); ("Happy Birthday Plain and Simple" 7pce set); ("We Cannot Tell the Precise" 2pce companion set);  ("A Rustle In The Wind" 4pce set) 


Scored, folded and created the booklet using Fabriano dark blue cardstock. The main booklet was created from a 19-1/5" x 9.5" piece of cardstock plus the page inserts. The pages are held in place by an accordion fold structure.

Cut the ovals using Elizabeth Craft Designs "Stitched Ovals" die set starting with a large one and progressing smaller each layer. (I kept the fall out ovals for a future use...and using the mid sized one on the inside back cover). Pages were decorated prior to adhering to booklet.

After creating the box/booklet, I adhered a pale blue satin ribbon around the edges, then over lay it with a purple/gold narrower ribbon. This was both decorative and helps strengthen the frame and structure. Used the same ribbon combo for the closure adding a small piece of velcro.

I created electronic cut files of all my stamp images, then cut them from a 110# white cardstock. Inked the stamps and stamped onto the cut shape. Used a wet paintbrush to move the inks around. Tooled some of the flowers. Added big globs of PVA glue and sprinkled with yellow Prills.


Die cut the "Flourished frame from a gold metallic mirror cardstock from DoCrafts. 

Die cut the "Be Bold" from an fuchsia toned cardstock.

Adhered small black rhinestones to all the eyes.


Back side of cover and front of page 1

On the back side of an image that was viewable on the reverse page, I inked the stamp, stamped onto some fun foam and then immediately pressed the backside of my cut image to the inking creating a second generation stamping and or just inked with Distress pads. 

I die cut the frame from the negative side of the mirror cardstock. It causes a bit of a distortion to the mirror which I burnished between some paper to remove the creases...

Again added Prills to the flowers, yellow Liquid Pearls dots on the stigma and some yellow stamen.

I found the pages were a bit bare in areas so added the gold Peel-Off borders and corners.

Die cut the "Be Brave" from the fuchsia cardstock.

Back side of page 1 and front of page 2

Stamped the quote using Picket Fence and embossed with white embossing powder

More Prills... Peel offs and rhinestone eye.

Die cut the "Be You" from the fuchsia cardstock, cutting the "you" away from the "YouAre".


Back side of page 2 and back of back cover


Stamped the "Happy Birthday" and the "my friend" using Picket Fence and embossed with white embossing powder.

More Prills, Peel offs and rhinestone eye.

Stamped the quote onto the mid sized oval drop out piece using the Picket Fence and white embossing powder.

More Prills... Peel offs and rhinestone eye.


Created a little pocket and an insert for the message.

 Please use your back button for previous pages or should you wish to go to the rainbow Maker 2017 Gallery please click on

or to go to the Misc Challenges Card Gallery 2016 click HERE

or to go to the previous Misc Challenges Card Gallery click HERE

or  And More Gallery for other hand made greeting cards please click the link below.

More Cards Gallery

Home Page Index
(text only)
Glass
Gallery
"And More"
Gallery