ID: Booklet 
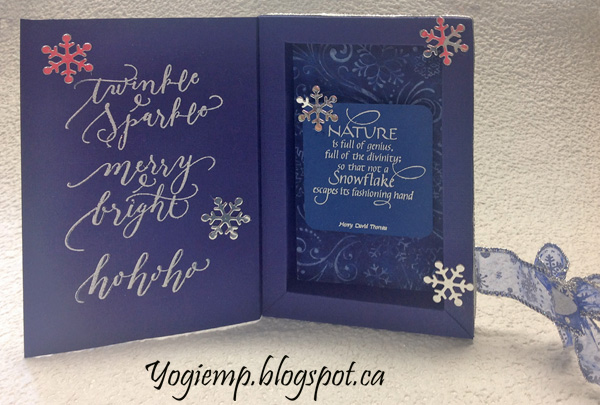
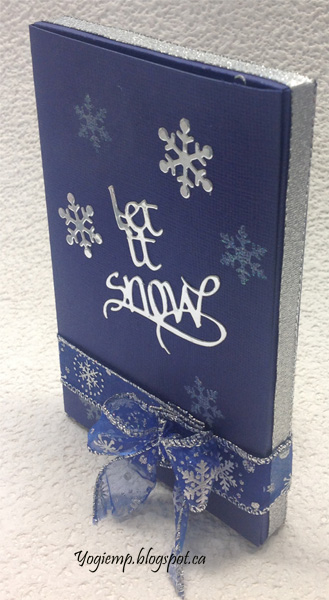
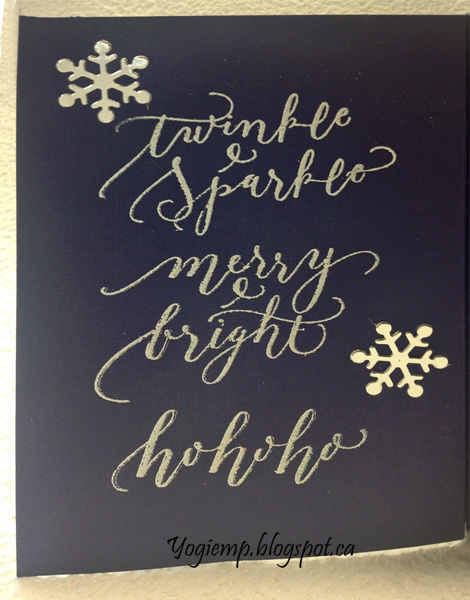
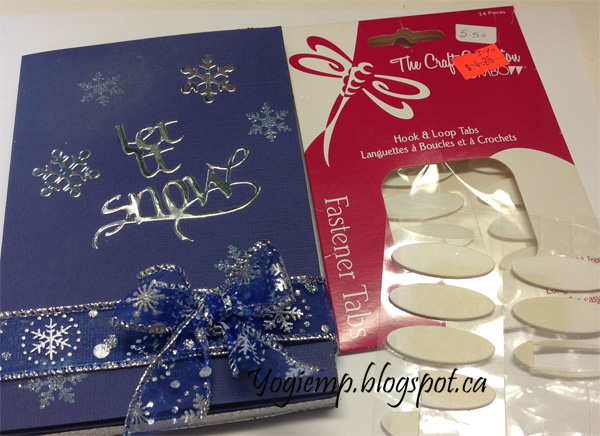
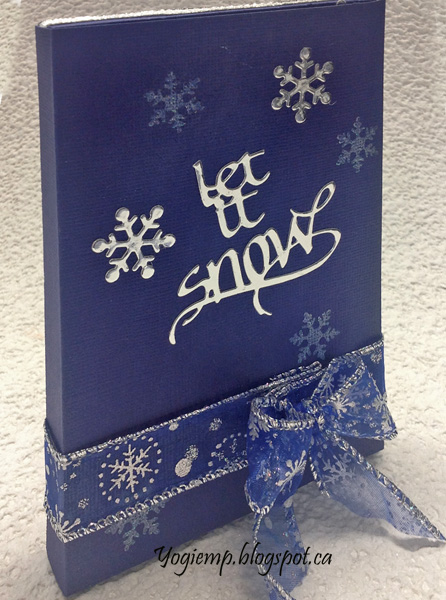
Card Snowflakes - ECD Let It Snow - Bright Holiday Words - Nature Is Full Of Genius card
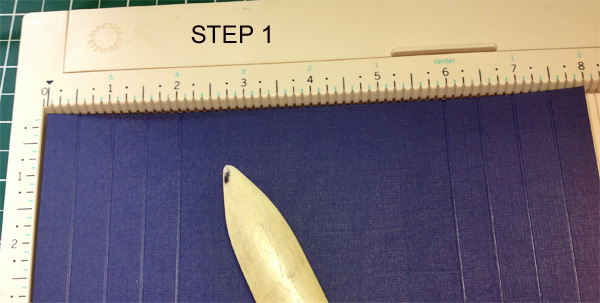
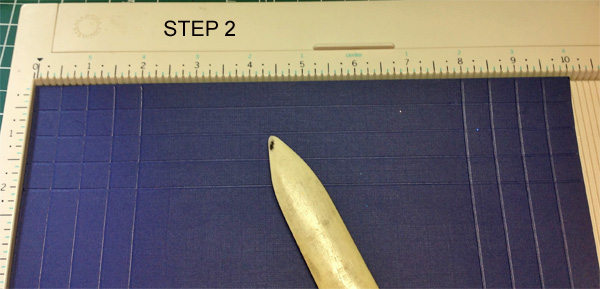
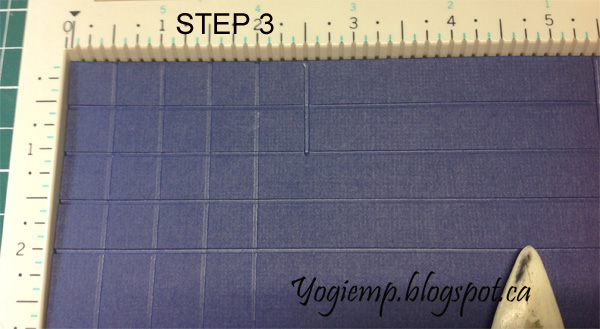
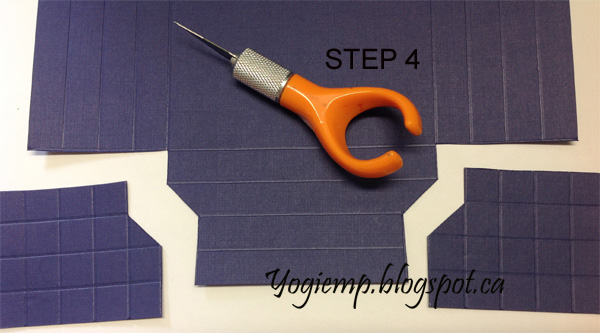
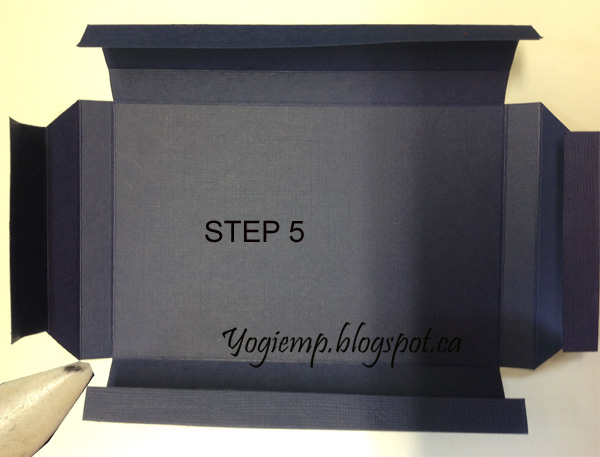
size: 4"w x 6"h x 1/2"D (card closed)

Created: August 18, 2017
Modified:

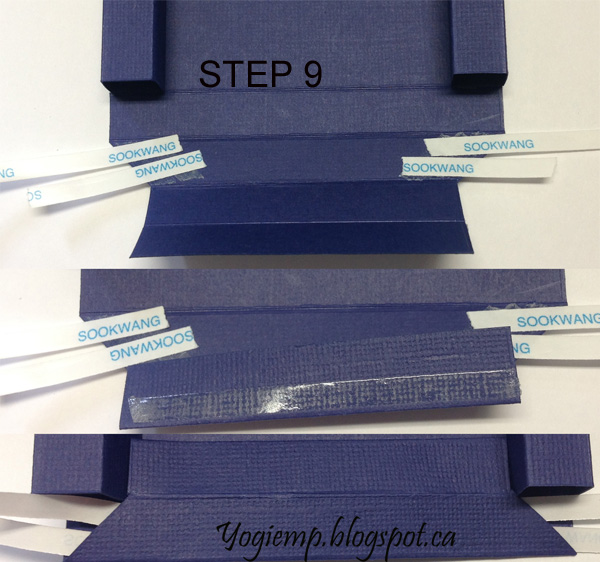
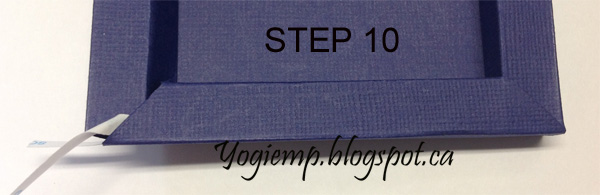
Click HERE to see a more involved booklet card...

I'm using an  A Way With Word dies from Elizabeth Craft Designs "Let It Snow" 3pce set, all also available on Quietfire Design HERE

And I'm using one of the newest quote stamps  from Quietfire Design as well as a sentiment stamp set.

("Nature Is Full of Genius"); ("Bright Holiday Words" 4pce set)


I created the box using 8" x 10" dark blue Bazzill monochromatic cardstock. I used a 2nd piece of the same cardstock for the cover. (you can use the same or complimentary cardstock) See step by step instructions below.

Cut an insert piece for the floor from a plain dark blue cardstock. Embossed using Darice "Snowflake Swirl" embossing folder. Lightly hit the high points with Distress "Picket Fence" pad. Adhered to floor (note: if you are stamping directly onto the floor piece, do all stamping prior to adhering to box floor...)

Stamped the quote onto some blue cardstock using the Picket Fence and embossed with white embossing powder. Adhered to floor with 3D foam tape.

Adhered some snowflakes die cut from silver mirror cardstock.

Adhered a silver metallic narrow ribbon to the edges of the box with Sookwang tape, starting and ending with a small piece stuck to the left side edge. (this will be covered with the cover later.) 

On the Inside Cover: Stamped the holiday words using the Picket Fence and the white embossing powder.

Adhered a couple more snowflakes.

On the Front Cover & Assembly: 

Die cut the word and snowflakes from the silver mirror cardstock. Adhered to cover.

Stamped some of the snowflakes using the Picket Fence and embossing with Emerald Creek "Iridescent Shimmer" embossing powder.

Adhere the cover to the box. Adhered the snowflake blue gauze ribbon, tied a bow, and adhered the velcro tab. (see instructions below)


STEP 1:

Cut cardstock to 8" x 10"

Note: if using a patterned or textured cardstock (like I am) decide what side you want visible on the frame edge and back. I have the textured side visible therefore I'm scoring my lines on the untextured (or back side) of the cardstock.

Score at ever 1/2" on the 8" side
(1/2"; 1"; 1-12"; 2"; 6"; 6-1/2"; 7"; 7-1/2")


STEP 2:

Flip cardstock to the 10" side and score at ever 1/2"
(1/2"; 1"; 1-12"; 2"; 8"; 8-1/2"; 9"; 9-1/2")


STEP 3:

On the 8" side, score at the 3-1/2" point 1" down. Repeat at the 5-1/2" point.

Flip cardstock to the opposite end and repeat those 2 lines.


STEP 4:

Cut off pieces as show.

Cut along the 8" side through all 4 score lines on the left end,

then vertically through 1 score line,

then diagonally to the 2nd score line,

then vertically to the end.

Repeat on right  end, then repeat on opposite end


STEP 5:

Crease/bone fold every score line well.


STEP 6:

On the right side of cardstock (textured side) Apply Sookwang tape along the score edge of the outside flap. Make sure it's the last one because it hides after being scored (ask me how I know...)


STEP 7:

Flip cardstock over to wrong side (untextured side).

Apply tape to those little diagonally edges.


STEP 8:

Starting on long 10" edge, remove release paper on one side. Fold over on the 2nd score line, then fold over onto the floor of box. This will give you a perfectly aligned piece.

Press down firmly. repeat on other 1" side.

Pop up to look like a frame edge.

STEP 9: 

Remove release paper from the little diagonal sections, replace with scraps of release paper. (if you don't do this, these edges will stick to other surfaces before you're ready to stick them down...)

Remove release paper from the 8" side edge piece. Fold over on the 1st score line, then fold over onto the box floor.


STEP 10:

Pop up to look like a frame edge. Pull out one side of the little release papers, and holding both frame edges together press down to adhere. (see finished right corner)

Repeat on opposite corner.


Finished box


Velcro tabs

Cover: Use your box to pencil draw the box shape on your cover cardstock. Add 1/2" + 1/16" (9/16"w) for the side hinge panel to one side of the box drawn shape. Score along the 9/16" point. After decorating etc, adhere to side of box by placing box flat on surface and pushing the side hinge section against box. This will align the bottom edge of the side hinge with the bottom of the box perfectly. The hinge will stick up above the box edge by the 1/16" making closing and opening easier.

 Please use your back button for previous pages or should you wish to go to the Misc Challenges 2017 Gallery please click on

or to go to the Misc Challenges Card Gallery 2016 click HERE

or to go to the previous Misc Challenges Card Gallery click HERE

or  And More Gallery for other hand made greeting cards please click the link below.

More Cards Gallery

Home Page Index
(text only)
Glass
Gallery
"And More"
Gallery