ID: Tea Bag - Basic
Triangle Shape for Xmas Tree
Center Piece
Created: December 5, 2010
Modified:
Tea bag folding works best with light weight papers, like copy paper, or Chiyogami etc.
|
|
ID: Tea Bag - Basic
Triangle Shape for Xmas Tree
Center Piece
Created: December 5, 2010 Tea bag folding works best with light weight papers, like copy paper, or Chiyogami etc. |
|
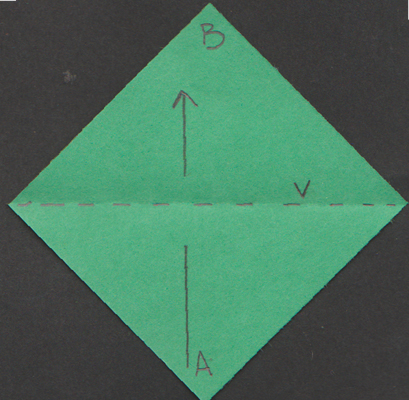
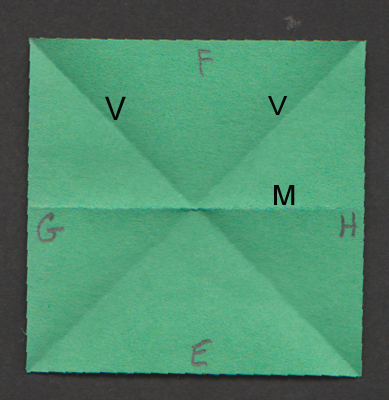
working on wrong side of paper |
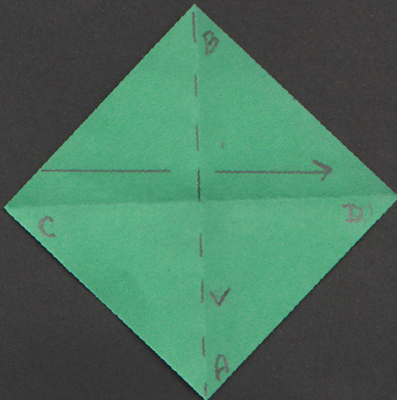
Fold point "C" towards point "D" matching sides
perfectly.
|
|
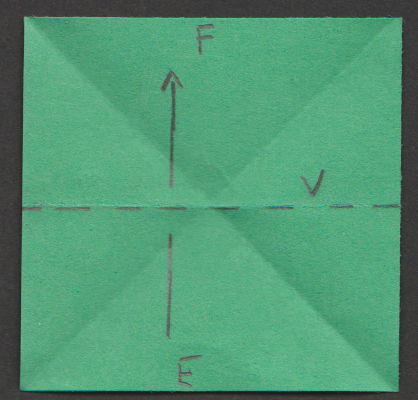
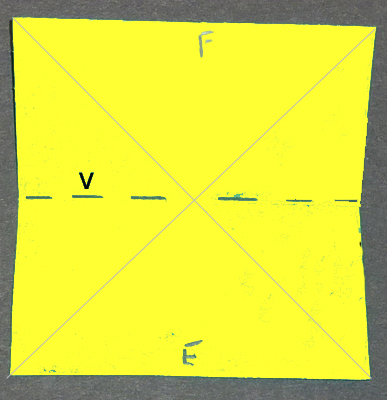
Bring flat edge "E" towards flat edge "F" |
Bring flat edge "E" towards flat edge "F" |
|
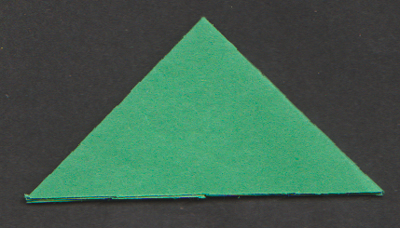
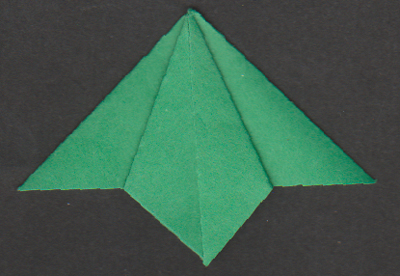
Slowly bring the mountain folds between "G" & "H" towards each other. You will see the valley folds start to collapse and start forming a triangle shape. While bringing the Mountain folds together, start squeezing the triangles of "E" & "F" together to form the shape at right. |
This is a BASIC TRIANGLE shape |
|
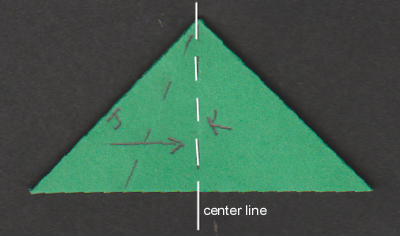
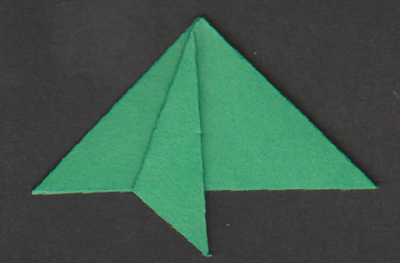
Working with the top flap, bring edge "J" toward the
center line of the triangle creating the leg shown at right. Repeat with other
top flap to create the shape below. |
|
|
|
Click HERE to go back to Tea Bag Xmas Tree Center Piece Return to NittyGritty Gallery |
| Home | Page
Index (text only) |
Glass Gallery |
"And
More" Gallery |