|
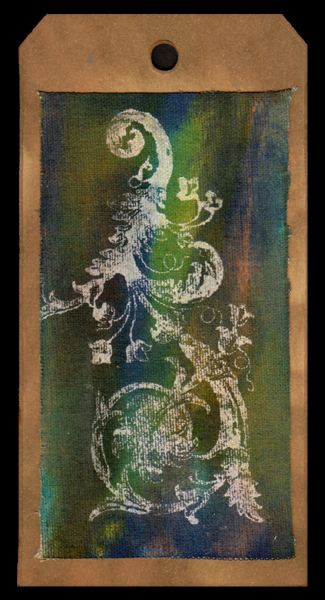
Shattered Stains:
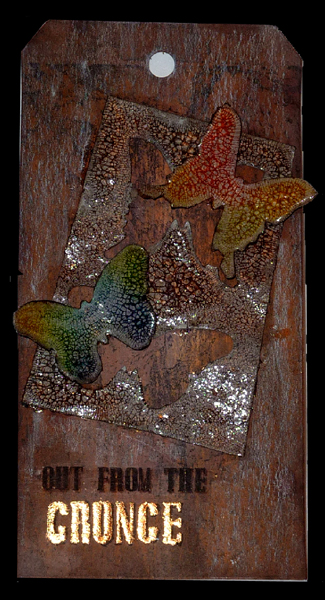
Probably should have
kept the main tag a lighter color... c'est la vie.
Die cut the Grunge
paper using Tim's movers and shapers butterfly dies. Put Rock
Candy crackle past on the butterflies and the negative piece
(cake icing thick...). I allowed it to dry for about an hour,
helped it a long a bit with my heat gun, but it was still not
done, so left it over night...
In the meantime I
went direct to paper on the manila tag with Distress Walnut
Stain, which gave me nice streaks. Sponged Scattered Straw &
Vintage Photo, misted with water and dried. Stamped a large
background stamp (C.H.F. "Montana Tree Bark") with Archival
Black.
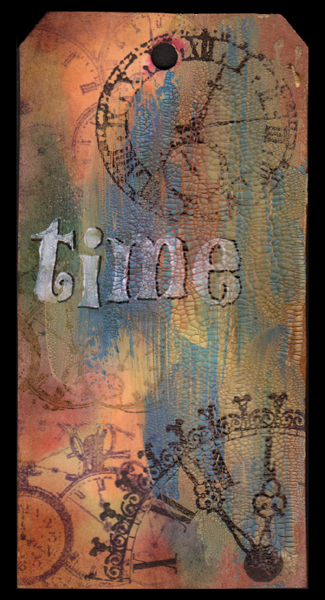
Stamped the words
(Just Rite "Brayton" alphabet set) with Versafine Black Onyx and
applied Blockheads Glue Powder on the "Grunge" word, heated to
activate and dropped my gold leaf onto the heated surface.
Removed excess gold leaf. - Must admit this stuff is not that
good with detail areas... very grungy BIG GRIN.
Colored the
butterflies and negative piece with Distress Stains (Top BFly:
Mustard Seed, Worn Lipstick, Shabby Shutters, Spiced Marmalade),
(Bottom BFly: Broken China, Shabby Shutters, Mustard Seed &
Dusty Concord), (Neg Pce: Pumice Stone, Walnut Stain), dried,
edged each piece with Walnut Stain. Adhered the neg piece with
Glossy Accents. Adhered the BFlies also with Gloosy Accents but
only on the body area.
|