Tim Holtz - Creative Chemistry 101 class - Day 5  - Stains

Created: March 23, 2012
Modified:

I decided to take Tim's 2 week class - Chemistry 101. These samples are from Day 5.

This class was mostly about using Distress Stains, with a little talk about the difference between Colorwash sprays and Dylusions ink sprays. Both being water based, but Colorwash is primarily a dye for fabric (but used by paper artists) and becomes permanent whereas Dylusions will run if made wet... They also react differently when applied to papers.


Stains & Kraft Resist:

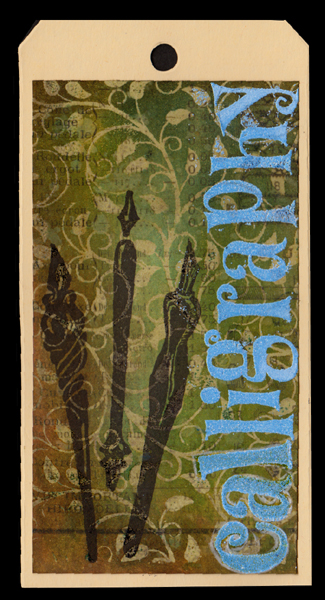
I don't have any Kraft Resist paper, which is a Kraft cardstock/paper and has a varnished design running through it, which is impervious to water media, tolerates heat from embossing or an iron etc.

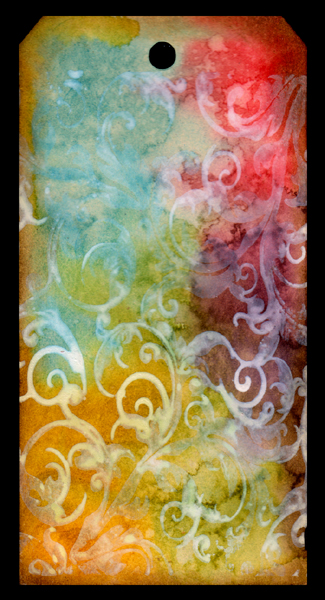
So I used a karft looking cardstock from one of Tim's pads Paper Stash "Crowded Attic", sstamped an Impression Obsession C.A.C. "Vines" with perfect Medium and clear embossed. You have to be carefull when heat setting colors or more embossing powders so you don't melt this layer...

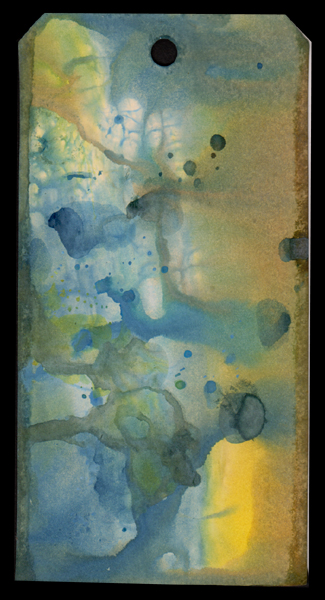
I then covered the card with Broken China Distress Stains and heat dried. Sponged some Distress colors Chipped Sapphire, Barn Door, Crushed Olive and Wild Honey all over. Edges with Gathered Twigs. Ironed some of the clear embossing away between sheets of newsprint and a hot iron. Left some on for a textural look.

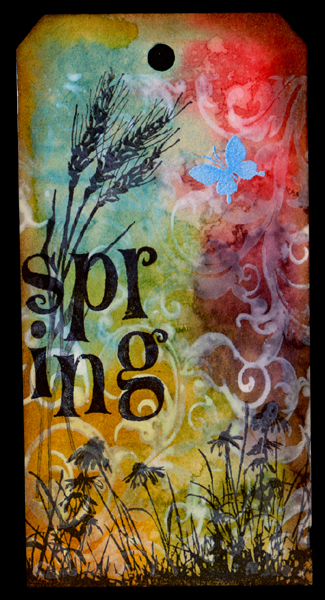
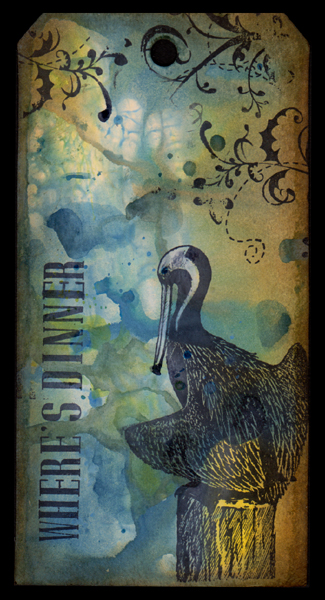
Stamped the pens (gg design) with the archival black pad. The word Calligraphy (Hero Arts "Happy Letters" alphabet set) stamped with Versafine Majestic Blue and embossed with Stampendous "Periwinkle"


The 3 phases to create my sample tag, Distress stains on manila tag, stamped with  Picket Fence Stain, then stamped with  image stamps


Test tag

Stamping with Stains:

I love the effect I got with the above tag... but I tried repeating it and was not successful. I couldn't get the organic look to it again and I tried on both sides of the manila tag, watercolor paper & cardstock. Beats me what I did right the first time...

This 2nd tag was a tester and the best of the next generation of samples.

Spray water onto tag and then apply a generous amount of Stain (Broken China, Barn Door, Peeled Paint/Shabby Shutters & Wild Honey) mist with more water as well as spritz a stream to get variation in the wetness effect. Tilt and move color around a bit. Dry and spritz while drying if needed.

Ink up a background stamp (Flourishes "Damask") with the Picket Fence Stain (be generous) and immediately stamp and dry the stamping. If you wait, the stain will sink into the substrate and almost disappear. On this test tag, I stamped twice, because I didn't like the result after the first stamping... Lesson learned for the sample tag.

Stamped the images on both tags with Archival black pad.

The bamboo & lanterns on the test tag (Inkadinkado "Asian by Design") and the Oriental character (Sunday International).

The floral images (Inkadinkado "Meadow") and the word (Hero Arts "Happy Letters"), butterfly embossed with Stampendous "Periwinkle".


Marbled Stains:

I love the effect you get with this marbling technique although the colors I used are a bit dark for my style.

The color chart at right is the position I placed the stains on my craft sheet.

Swiped the manila tag through it, then through it again until all covered, semi dried and tapped tag into remaining colors, then dried.


I liked both tag backgrounds but decided to make this one my test tag


On the test tag: Sponged the edge with Gathered Twigs. I stamped the Seafan (Starving Artistamps) with Versafine Toffee and embossed with Queen's Gold. Stamped the Seahorse (After Midnight) with Archival black and colored areas with colored pencils. The word (Just Rite "Curlz" alphabet set) with Versafine Majestic Blue and clear embossed.

On my sample tag: Sponged Walnut Stain & Dusty Concord on the edge. stamped all the elements with the Archival pad. Bird (Old Island), flourish leaves (Local King Rubber), words (Just Rite "Brayton" alphabet set). Used a white colored pencil in his head area.


Return to TH Chemistry 101 or  to  NittyGritty  Gallery

BACK to see Day 4 or to see Day 6


Home Page Index
(text only)
Glass
Gallery
"And More"
Gallery