|
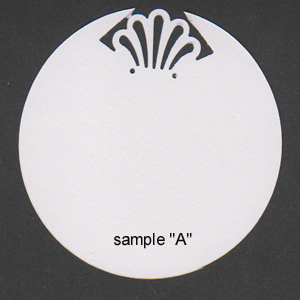
step 1) Punch a
small piece of cardstock on the straight side. See sample in pic
above near punch. This will be your guide/template.
step 2) We all know
that a circle has 360º (if you didn't you know now). Now decide
how many points you'd like on your design. Pick a number that
will divide evenly into 360, or you will probably have some
problems. Once you get the hang of it, then experiment...
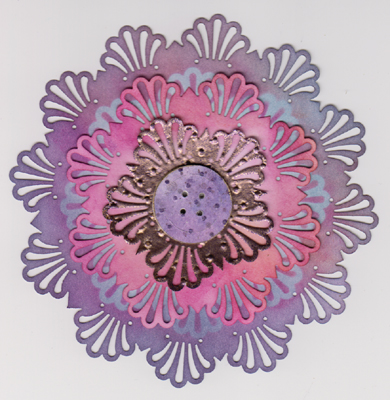
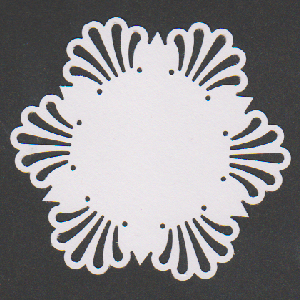
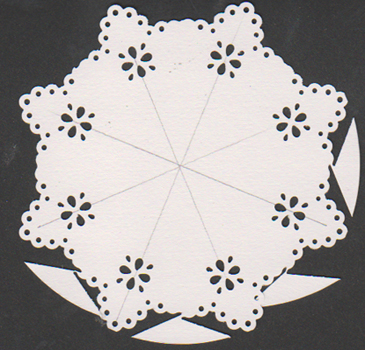
So I'm going to
pick 6 points for my circle which means:
360 / 6 = 60º
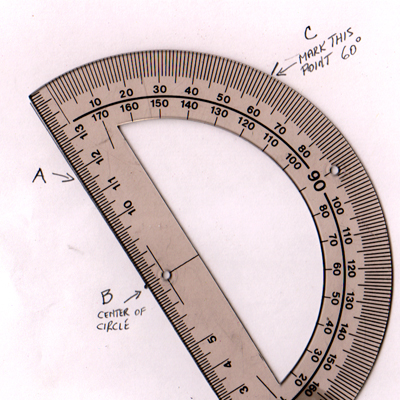
If you look at the
ruler guide above you'll see I have one at 90º and one at 60º.
That is just to show you what the ruler looks like. (you can use
a protractor, but it's a little more difficult)
See alternate STEP
2 below
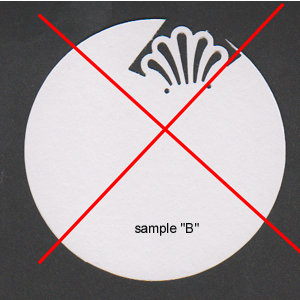
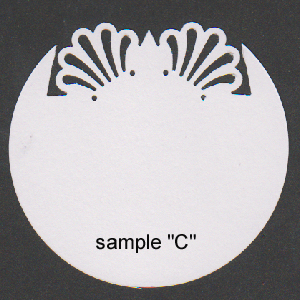
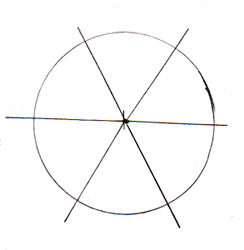
step 3) On a small
piece of scrap paper, draw the inside of the "V" of your angle
ruler and the point of the "V" will be your center point. Place
your punched guide from step 1 along the lines you just drew.
Position it so the corner points meet exactly along your drawn
lines and keeping the center scallop equi-distant from both
lines.
Note: if you have a
problem keeping your center scallop even on both sides, just
draw a mid point to your angles with the angle ruler at 30º
(which is half of your 60º). Then just make sure the scallop
falls along this line.
|
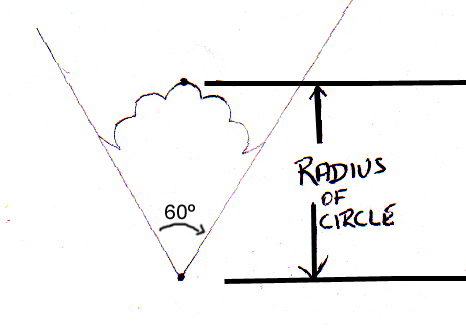
To find the radius
of your circle.
Step 4) draw two parallel lines going through the center point
and the tip of the tallest scallop, and going right off the edge
of your small piece of paper. This will now be your guide for
either the radius (if you're using a compass and hand cutting
your circle) or the diameter of your circle if you're using the
Orbis scissors.
|