ID: Booklet 
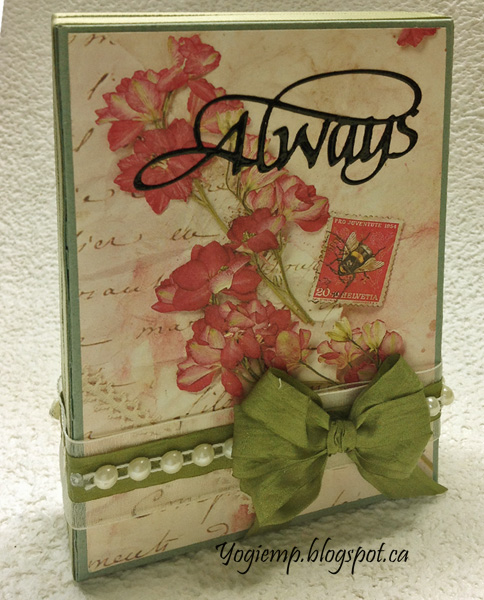
Card Roses - ECD Always & Forever, You & Me - The Best Thing card
size: 4"w x 6"h x 1"D (card closed)

Created: August 17, 2017
Modified:

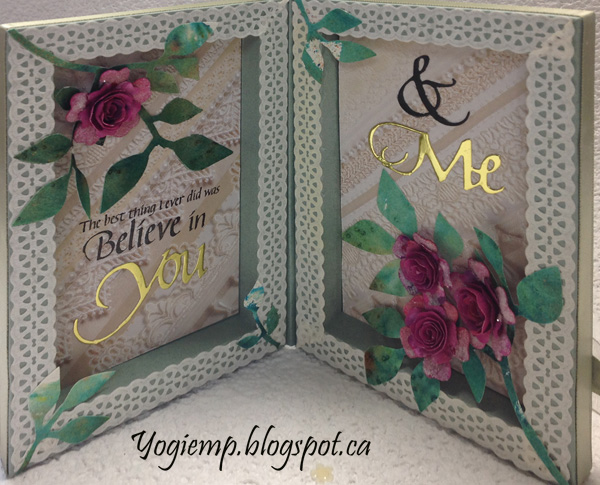
I remember making a booklet card similar to this style eons ago... Well the gals at one of our get together brought instructions for the rest of the group and they had a playful afternoon creating them. Mine is a little different in that I connected 2 boxes together, rather than just making a cover for 1 box... (Click HERE to see the step by step instructions on how to make a single box frame card)

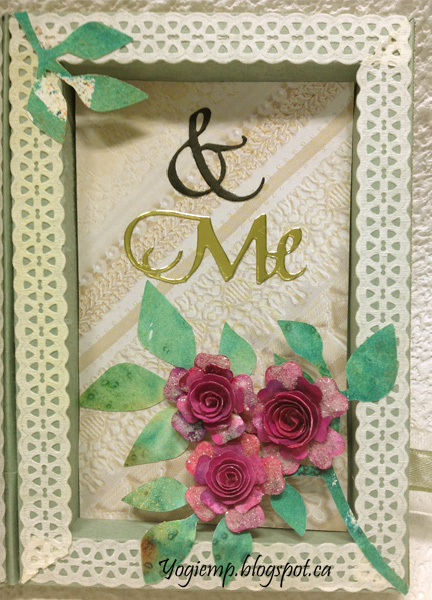
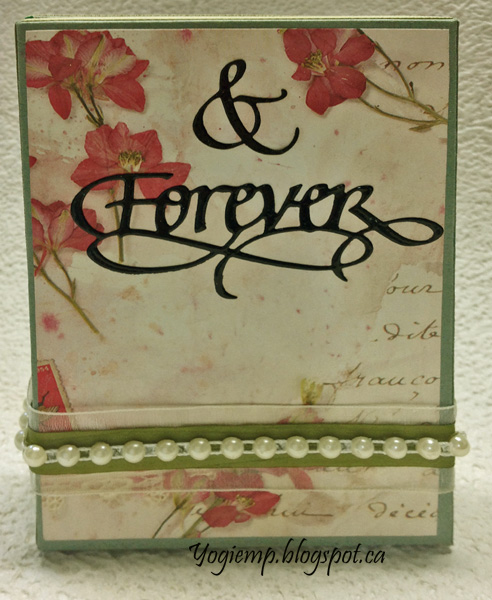
I'm using several A Way With Word dies from Elizabeth Craft Designs "Always", "Calligraphic Elements 2 - Ampersand", "Forever", "Merry Christmas", all also available on Quietfire Design HERE, HERE, HERE, and HERE

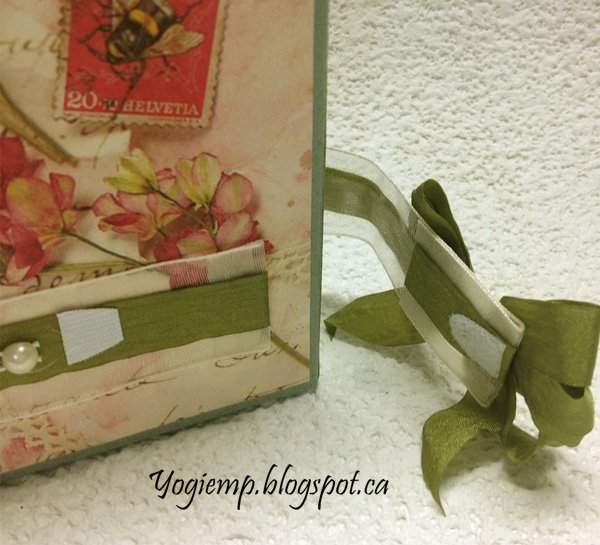
Also Suzanne asked us to use ribbon on cards... Using it this time as a wrap around fastener "Solid Wrinkle Olive" - check out the ribbons section at QuetfireDesign.ca

And I'm using one of the newest quote stamps  from Quietfire Design

("The Best Thing I Ever Did...")

 Apologies for the color variations.... the green cardstock I used is impossible to get right. SIGH!!

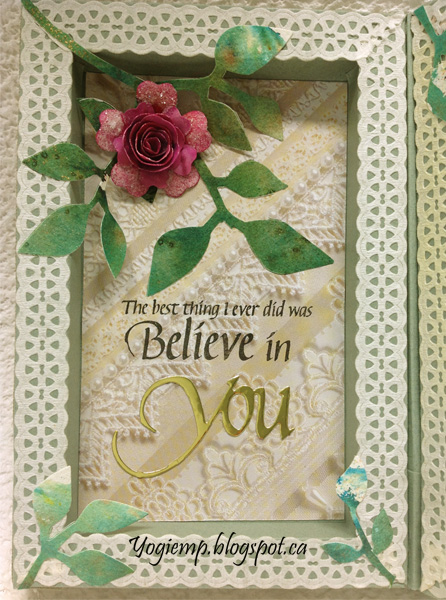
I created the boxes using 8" x 10" green cardstock to make a 4" x 6" box that has an opening of 3" x 5". (Stay tuned for a step by step instruction on how to create a box like this...)

Pasted paper ribbon (Creative Imaginations) around the top edge all around.

Cut insert pieces for the floors from a lace paper scrapbook pad. Stamped the quote (minus the word "me") using Versafine Black Onyx and clear embossed. Die cut the word "You" from a gold mirror cardstock and adhered appropriately. Adhered the stamped lace paper to the floor.

Raided my stash of roses (Die-Namics Heirloom Hybrid Rose die). Die cut the leaf stems (Sizzix Tim's Bigz die "Garden Greens") from a Brush/Colour Burst decorated watercolor paper. Adhered the elements to the floor and frame edge strategically.

Repeated the process to the right side box Die cutting the ampersand from black cardstock. The "Me" I cut from gold mirror cardstock and surgically cut away from the rest of the Merry Christmas word.


On the back: Cut the vintage floral paper slightly shy of my box shape to have a small border all around and adhered to back.

Die cut the "Ampersand" and the word "Forever" from black cardstock, inked with Versamark and clear embossed. Adhered to back.

On the Front: Cut the vintage floral paper slightly shy of my box shape to have a small border all around and adhered to front.

Die cut the "Always" from black cardstock, inked with Versamark and clear embossed. Adhered to front.


The box hinge: I cut a piece of the green cardstock 1& 1/16"w by the height of my box 6". Folded in half and adhered one side to the edge of my box. I butted up the edge of the folded piece to the bottom edge of the box as it sat on my work table so the fold stuck up the 1/16 above the box. This gives easier opening and folding of the boxes.

On the edge of each box I adhered a piece of green satin narrow ribbon all the way around finishing with the ribbon on the bottom of the boxes.


Cut a piece of the 1"w white gauze ribbon approximately 13" long. I applied a piece of Sookwang tape to the center of the ribbon and adhered the solid wrinkle olive ribbon to it. I folded and adhered the edge of the ribbon to make a neat strong edge (approx 1/2"fold), then adhered the ribbon to the box with more Sookwang tape leaving a space from the right edge (see pic above). Taped the front, hinge edge and the back only. Folded over and adhered the end of the ribbon (approx 1"w). Tie a decorative multi loop bow and adhere to closure ribbon with hot glue. 

Cut a piece of velcro Hook & Loop tab (the whole tab is too large...) and adhered to edge of ribbon. Removed the release paper from the other piece and while still stuck together pressed down to adhere the other section to the start piece of the ribbon.

Adhered a decorative pearl ribbon using hot glue. (only on the front, back and loose extension of ribbon (DO NOT PUT ANY ON THE BACK HINGE AREA).

 Please use your back button for previous pages or should you wish to go to the Misc Challenges 2017 Gallery please click on

or to go to the Misc Challenges Card Gallery 2016 click HERE

or to go to the previous Misc Challenges Card Gallery click HERE

or  And More Gallery for other hand made greeting cards please click the link below.

More Cards Gallery

Home Page Index
(text only)
Glass
Gallery
"And More"
Gallery