ID: LJ885 - DW Leaf Corners
I love this stencil. It has two different corners, but this
portion is my favorite and it's available through QD
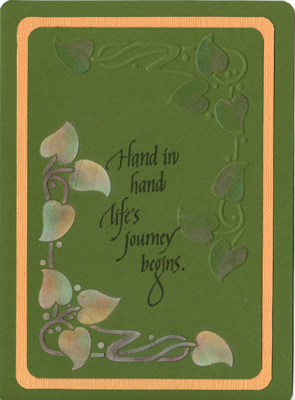
You can approach this card in two ways. First rubber stamp your quote and then do your stencilling/embossing around it; or you can do the stencilling/embossing and use a stamp positioner to place your rubber stamp quote. I took the 2nd route. It's a little more difficult, especially if you want a certain quote on your card and you didn't leave enough room - BIG GRIN. In my case I was open to any quote that would fit in the area.
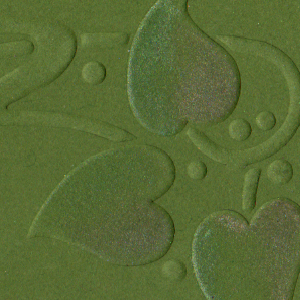
The upper right hand corner was dry embossed first. I rubbed some waxed paper over the back where I was going to emboss so that my medium sized stylus would glide rather than get caught up in the fibers of my card.
I taped my brass stencil down and taped one side of my card down where I wanted the dry embossing to be. This is a dense olive toned cardstock, so a light box or window would not work to see where you need to emboss. I then carefully lifted my card edge (without shifting it out of place) to see where to place my stylus, and then just let my tool find the edges of that pattern. I would keep lifting and placing my tool for each little pattern section, until the embossing was finished. I then went over some of the detail areas with a slightly smaller stylus getting into the points of the leaves.
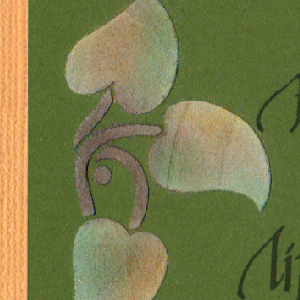
I then placed my stencil over the pattern on the right side of the paper to color the raised image. I used Pebbles new "Cream Chalk" Precious Metals. It's interesting stuff. It's extremely creamy, which is weird, but eventually when rubbed, works itself into a smooth finish. I love the colors in the pack, which I why I bought them. The finish on these leaves is very subtle, but in real, you can see the shimmer of the metal colors used.
For the bottom left hand portion, I taped my stencil down and applied my white DW EP over the stencil. Removed my stencil and immediately washed and dried it off. When my embossing was dry, I placed the stencil back over the raised surface and colored with Pebbles Pearlescent chalks and their little pom poms (green, yellow, orange for the leaves and mostly brown for the stems).
I used a stamp positioner for the QF quote, stamped with Versafine "Olympia Green". Mounted the green cardstock to a Bazzill Monochromatic cardstock in a peachy yellow tone, then onto the green again. I used a corner rounder on all the layers.