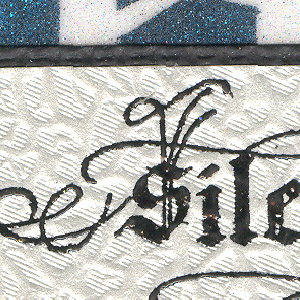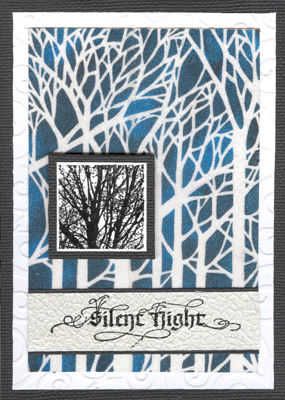
ID: Glitter "Silent Night"
5"w x 7"h
Created: September 19, 2009
Modified: October 1, 2009
Supplies:
Sookwang Tape 2.5"w
Glitter Ritz Micro Fine glitter - Royal
Blue, Blue Teal, Black, Cool Highlights
Rubber Stamps: Quietfire Design
"Silent Night"
Rubber Stamp Inkadinkado "Trees & Leaves #98781"
Versafine stamp pad
Black Onyx
Embossing Powder Black Detail
Bazzill Monochromatic cardstock Dark Blue
Cuttlebug Embossing Folder
D'Vine Swirls #37-1142
Dreamweaver Stencil
Bare Trees #LJ849
White Cardstock
Decorative Paper
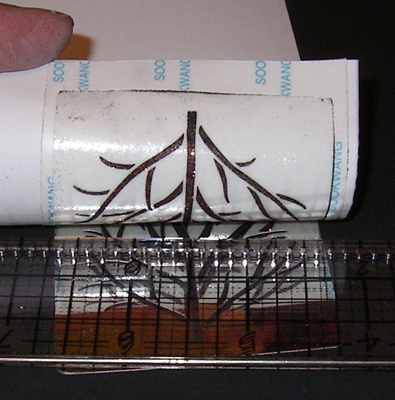
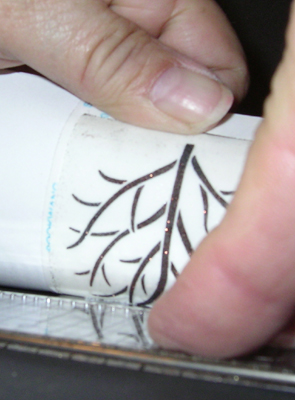
I cut a piece of white cardstock the approx size I wanted (about
1/4 larger on all sides than the stencil design area) which I
covered completely with Sookwang tape. I used 2 pieces of 2.5"
wide tape, sticking the first one down, removing the release
paper and overlapping the second piece, so there would be no
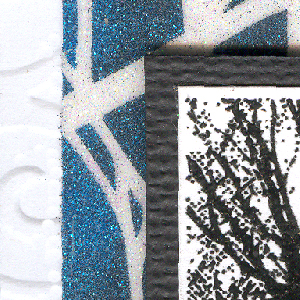
gaps in the tape. Lay my stencil on top. Randomly
sprinkled the Ritz Micro Fine glitter "Royal Blue" (lighter
blue), "Blue Teal" (dark blue), and a touch of the "Black".
Rubbed and merged them with my finger till they were really
nicely blended and stuck to the tape.