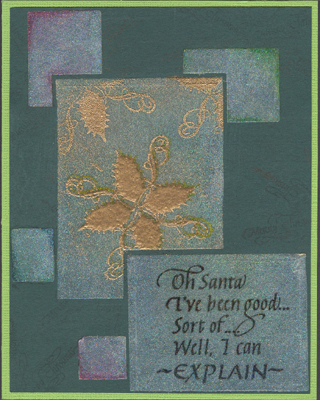
ID: Glitter "Oh Santa"
5"w x 6.25"h
Created: October 1, 2009
Modified:
Supplies:
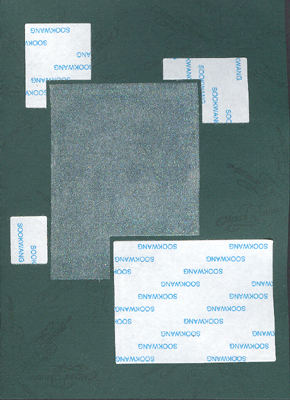
Sookwang Tape 2.5"w
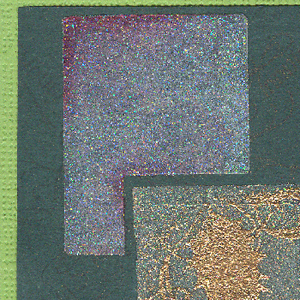
Glitter Ritz Micro Fine glitter - Cool
Highlights
Rubber Stamps: Quietfire Design "Oh Santa"
Rubber Stamp Quietfire Design "Holly Flourish"
Rubber Stamp Quietfire Design "Merry
Christmas Snowflakes "
Versafine stamp pad
Black Onyx
VersaMark stamp pad
Brilliance
Galaxy Gold stamp pad
Embossing Powder "
Gold"
Bazzill Monochromatic Cardstock
Light Green
Dark
Green
Cardstock
Nestabilities Classic Rectangles Small
Watercolor Media Tombows & or
Sakura Glaze Gel Pens (green & red)