|
Cut wax (or butcher) paper larger
than needed, this will be used to protect your surface and to lift your wet
tissue paper aside for drying. Cut down Tissue paper to about 10" x 14". Place
on waxed paper. Put some gesso (only one color, white or black) in middle of
your tissue paper, (about 4"x 1/4" line's worth) - not too much, you can always
add, but taking away is very, very difficult. Roll the brayer through the gesso
towards the edge of the paper. DO NOT ROLL BACK AND FORTH. Lift brayer and roll
through gesso working to the opposite edge. Continue doing this in other
directions until your tissue paper has been covered in gesso. Set aside to dry.
Hint: Put a finger at the edge of
your tissue paper to hold it in place while brayering in the opposite direction.
Careful - tissue paper tears easily, especially when wet.
PS I also did this 1st step with
pink acrylic paint (Folk Art Berries n cream) and it worked fine too. So after trying with the white or
black, try with other colors.
Do the same thing on the other
side of the tissue paper. Let dry. You can repeat these two steps if you want a
stronger paper, but I only did it once on each side.
Dilute some acrylic paint in the
lids of ice cream or something similar, using the glazing medium. Again, you
don't need much and you can always mix more. You want something the consistency
of about 35% cream.
Note: The reason we're thinning
the paint with glazing medium is to keep the intensity of color and to create a
transparent color. You can use water to thin your paint, but your results might
not be as pure. Also thinning the paint rather than using it straight is to make
transparent layers so the beautiful colors below shine through and create a
world of depth.
Roll your brayer through your
diluted color and brayer over tissue paper. Again roller in one direction only.
Continue brayering, spreading the paint as thin as possible, leaving some
underlying color without paint. Dry a few minutes and brayer with a second
color, going over the first colors and again leaving areas with this second
color. You can either continue with these two colors alternating with a light a
darker color until happy with the results, or you can introduce a third color.
Just continue layering until your get what you want. Let dry.
|
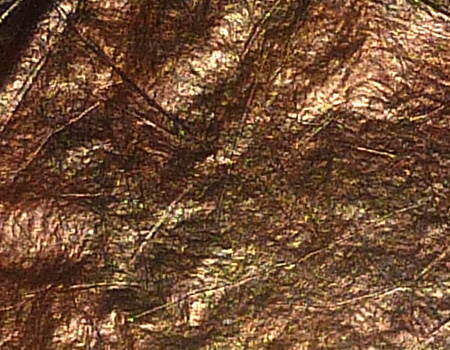
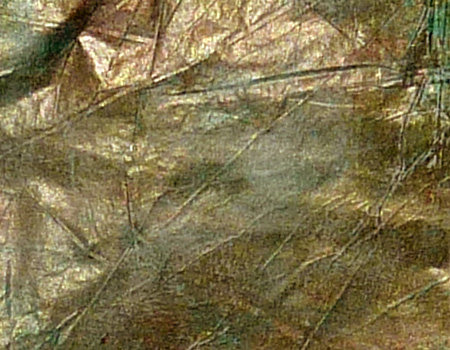
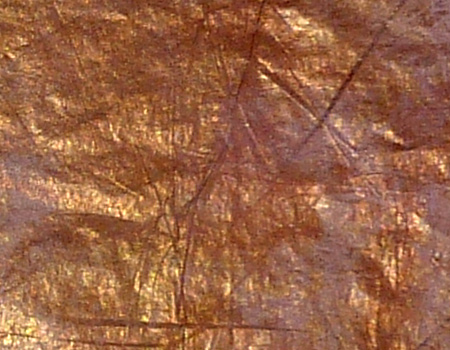
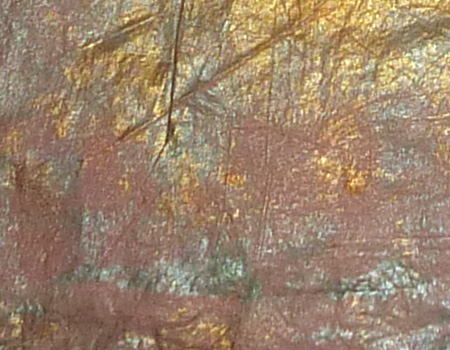
#2: Black gesso, Inca Gold, Copper
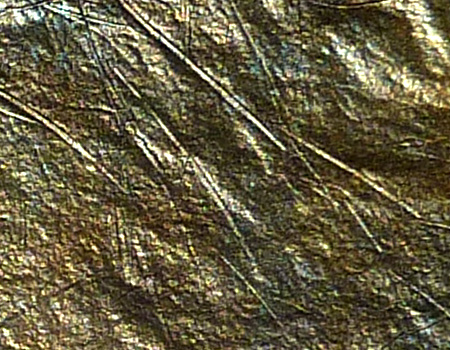
#3: Black Gesso, Inca Gold, Aquamarine,
Copper, more gold |