ID: DT April 2010 Had a Star Step
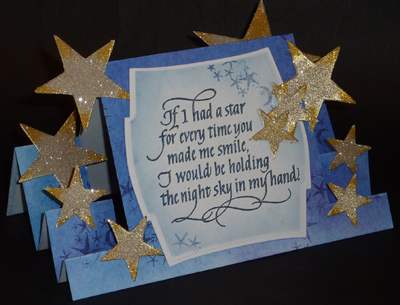
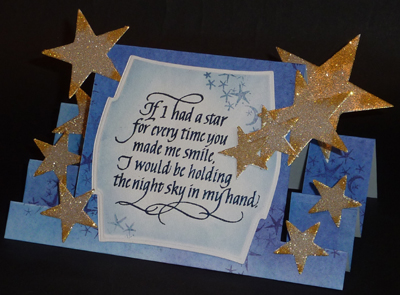
Card
Closed: 7"w x 5"h
Note: the card is smaller than above size,
but with the stars protruding becomes 5" h
Created: March 28, 2010
Modified:
SUPPLIES:
(Note: most of the supplies can be found online at
QuietfireDesign.ca
(items
in Pink)
White cardstock (heavy weight for main card &
stars;
Light weight for quote)
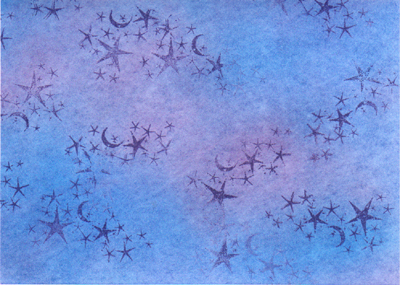
Pan Pastels (Magenta, Violet, Phthalo Blue,
Ultramarine Blue)
Costco Baby Wipe (or Sofft large flat sponge)
Inkadinkado Scary Night set #99132
Distress Stamp pad (Faded Jeans, Dusty Concord)
Tim Holtz Sponging Tool
Versafine Black Onyx
Stampendous Pearl Lustre Sapphire Embossing Powder
Spellbinders
Labels Two
Die cutting/embossing machine
Rubber Stamps:
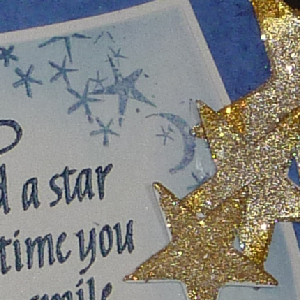
"If I had a Star"
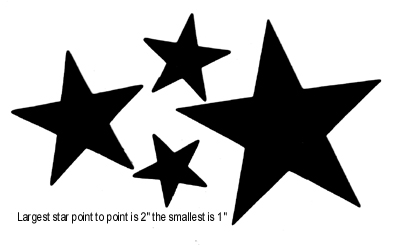
Sizzix Die Stars #2 (or other star dies, punches etc)
Ritz micro fine Glitter (Stardust & Dk Gold)
Zyron
Quickie Glue Pen (for touch ups on stars)
Glossy Accents (as glue)
Pop Dots (for quote)
C-Tru ruler (Tenths)
Heat Gun
Scor-It