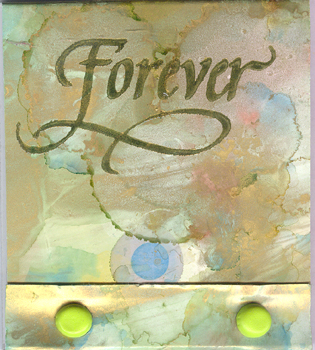
ID: Matchbook Note pad "Forever"
I used a full sheet of glossy cardstock (8.5 x 11") to do my
alcohol background on. That way I can pick and choose the area I
liked best. (the final piece would be approx 2.5"w x 8"h)
On a melt art mat, lay down a nice line of Gold mixative. In and around that add drops of Butterscotch, Shell Pink, Sail Boat Blue, then drip all over some Blending Solution. Rub and smoosh your glossy cardstock around in the colors. Lift and smoosh some more if wanted. See pics below for first smooshing.
I then dropped some of the same colors randomly dribbling, adding blending solution, then pouncing with the felt tool a bit until I got a nice background. See pic below for the result after these additions.
Rubber stamped my images with Brilliance stamp pads and clear embossed them, mainly because the inks on glossy don't dry very well, so this stabilizes them.
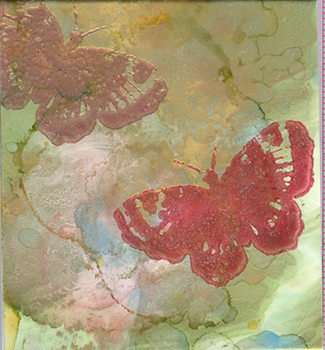
Pearlescent Ivy for the word on the front cover and quote on the inside flap. Pearlescent Poppy & Pearlescent Crimson for the butterflies.
Note: The butterflies should be stamped upside down, so when the matchbook is folded the butterflies are right side up.
The dimensions below are just a guideline, feel free to enlarge them, both width wise and length wise.
I cut 2 pieces of copy paper into strips of 2"w x 11"h, then gathered them together and cut them to 2" long. Held them together with a bulldog clip.
Score your cardstock on the inside (wrong side) using a Scor-it tool at 2", 4", 4.25", 6.25" & 6.5", then cut off the balance keeping a 5/8" lip from the last fold line.
Back cover
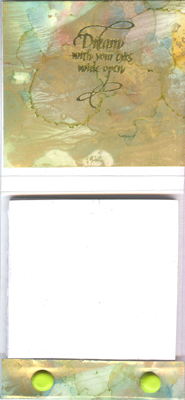
Matchbook open
Place your stack of note paper into the bottom folded area and using an awl, pierce your holes as indicated on the schematic, just enough so that the cover holes match the booklet holes. Keep the holes close to the folded edge so you have room for the cover flap to snug under the lip. Remove the pad and continue turning and pushing the awl through all the paper stack.
Note: do not punch holes into the bottom portion of the cardstock (back cover).
Use colorful brads (or color some with alcohol pens if you don't have the color you need) with long enough prongs. You may have to put them through the holes a few pages at a time since the holes made are on the small side. Hammer prongs open and flat. With double sided tape, tape the bottom page to the inside of the booklet. This secures the booklet to the matchbook and hides the back of the prongs.
Use double sided tape on the flap of the front cover, so the inside is as nice as the outside. Lift the bottom lip a bit so the cover fits nicely under it to stay closed.
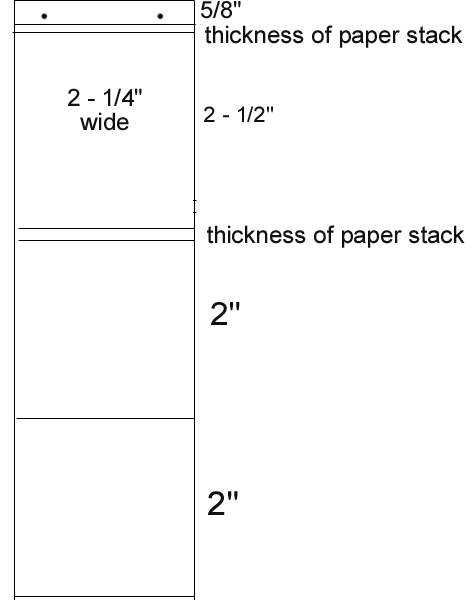
schematic

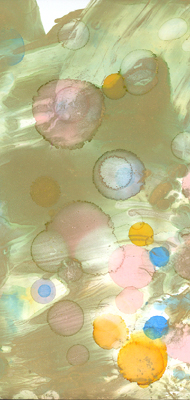
Full sheet of glossy paper with first layer of alcohol smooshing
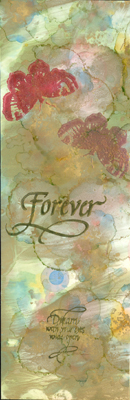
Left image, detail section of C.S. Right image, same section with additional alcohol inks and a touch of pouncing done to it. Rubber stamping using the small butterfly, "Forever" and "Dream with your eyes open". Note the upside down position of the butterflies, so when the matchbook is formed the butterflies will be right side up. BIG GRIN