ID: Booklet - Follow Your Dreams
|
ID: Booklet - Follow Your Dreams |
|
Created: January 10, 2010 Cut my pages from some off cut cardstock someone gave me eons ago. (finally using it BIG GRIN). Used a large corner rounder on all four corners. Now to punch the holes in the pages. The 7 Gypsies Binderie punches the holes approx 1/2" from edge to center point of the hole. I found that too deep for this small booklet. So I cut a piece of mat board 2/10" wide, the width of the machine, and place it into the machine. Now my pages would stop when it hit that mat board barrier. The distance from the edge of my page to the center of my hole is only 3/10ths - much better.
|
The other thing I had to do, was because my pages are not very large, The distance between holes is too much. So I put my pages to the edge of the machine on one side, punched the hole, then put it to the edge of the other side of the machine and punched again. The distance from the top or bottom edge to the center of my hole is 1" and between the holes is 2". Much better. Using one of the pages as a template, I marked the area for my holes and punched (1/4" holes) for my chains with a Crop-A-Dile (yup it goes through this wood).
|
|
|
So I put some double
sided tape onto a piece of 110# white cardstock the width of my
die. Used a Spellbinder's Borderabilities die (Large
Illuminations Border #S7-004). Placed the die, cutting face up
and my cardstock face down with the tape side face up. Note:
doesn't matter if the die doesn't cut through the release of the
tape, it's stuck to the cardstock and will peel of the release
like you would a sticker from a sticker page. Then I used
my x-acto to cut between each design, following the same curves
of the design. Placed them on my wood frame without any
overlapping. Another note: On the back cover I only used a
single layer of the design, but on the front cover I double
layered the design to give a deeper impression into the aluminum
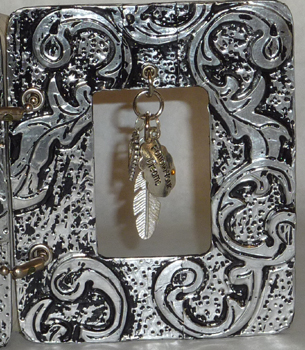
tape. My Aluminum electrical adhesive backed tape wasn't wide enough for my frame, so I put a piece in the middle, burnished well, followed the curves of the design with a large balled stylus, then brought the tape to the back of the frame, trimming and burnishing with a bone folder. You want everything really, really flat. Then put a piece beside the middle piece, burnished as above, then did the other side piece. Also formed the metal into my punched holes. Used the large balled stylus and pounced up and down in the negative areas to create texture. Used a small balled stylus to do detail lines in the designs, like leaf veins. Then painted it with black acrylic paint, let dry, then wiped off the surface paint with a soft cloth.
|
|
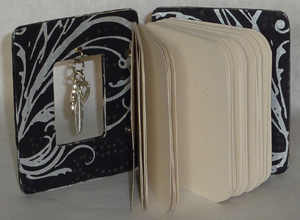
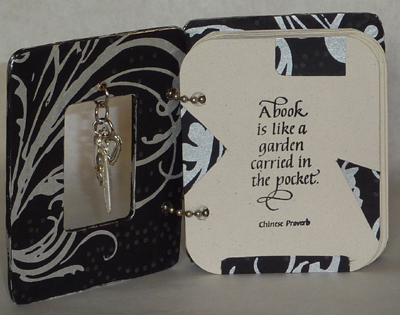
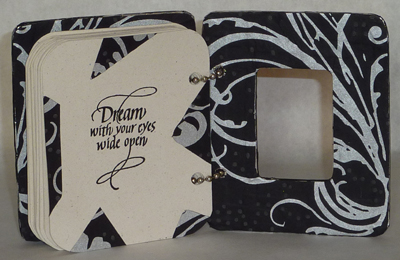
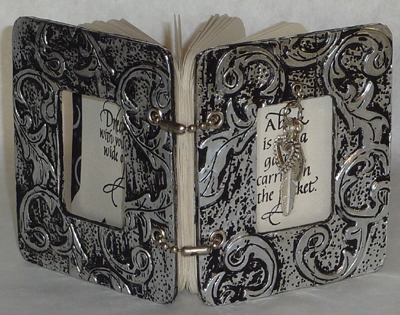
On the inside covers I used a beautiful black/silver paper. I put my paper down and used the cover as a template to get the exact size, so my paper would cover edge to edge. The window insert that dropped out, I used to decorate the front and back pages. Marked where my window falls, and rubber stamped the quotes (both from Quietfire Design) with Versafine Black Onyx, and clear embossed them. Put silver eyelets in the holes. Threaded my chain through the pages and covers. Punched a small hole to hang my charms, putting a long neck 1/8" silver eyelet. |
|
Front page Back page |
|
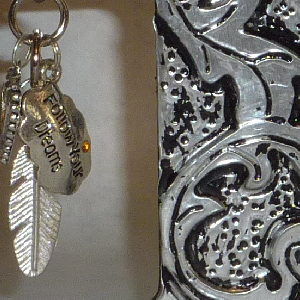
Detail of charms and cover |
Please use your back button
for previous pages.
or the |
| Home | Page
Index (text only) |
Glass Gallery |
"And
More" Gallery |