ID: Star Box #33 - This n That & Bloom
Created:
March 18, 2023
Modified: March 20, 2023
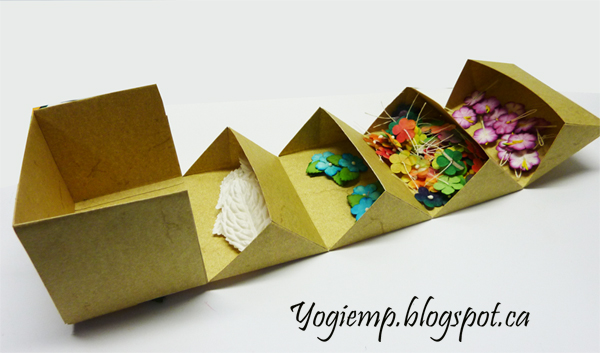
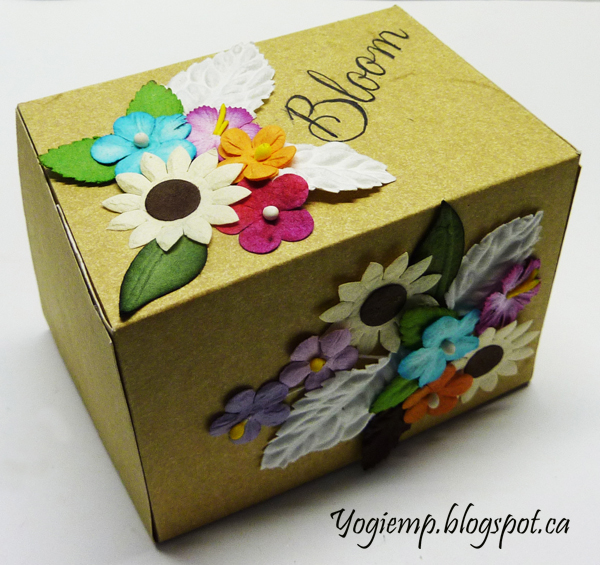
Our challenge for our April 11, 2023 meeting is to try the next structure in the book - Star Box #33 from Hedi Kyle's "Art Of The Fold" book.
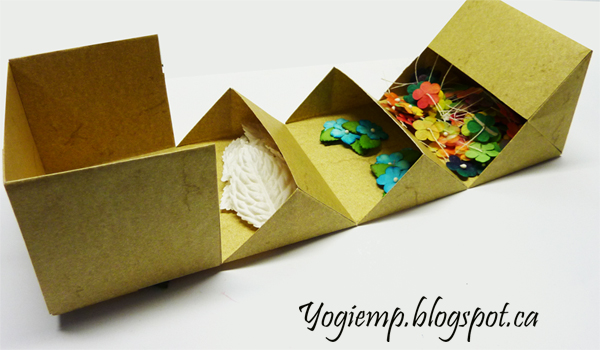
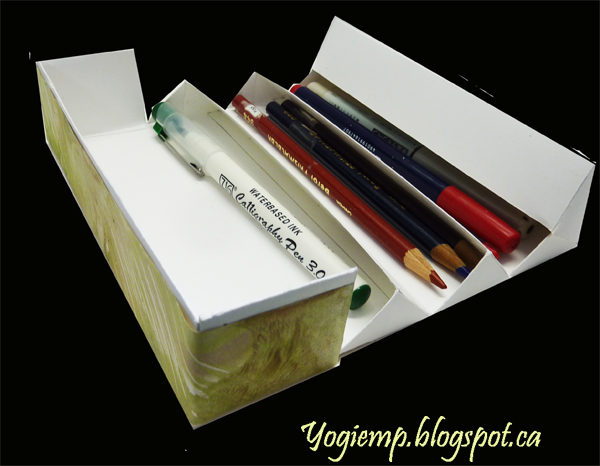
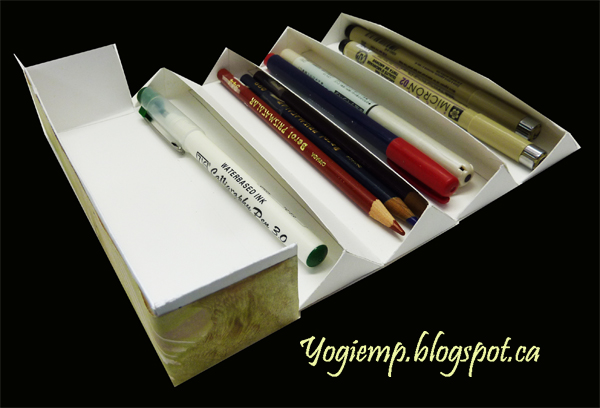
Now this one is really interesting. I was wondering if when it opens everything would fall out... but it doesn't - which is good...
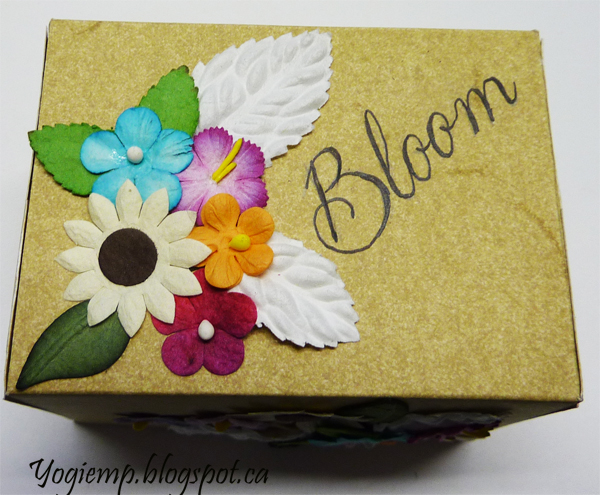
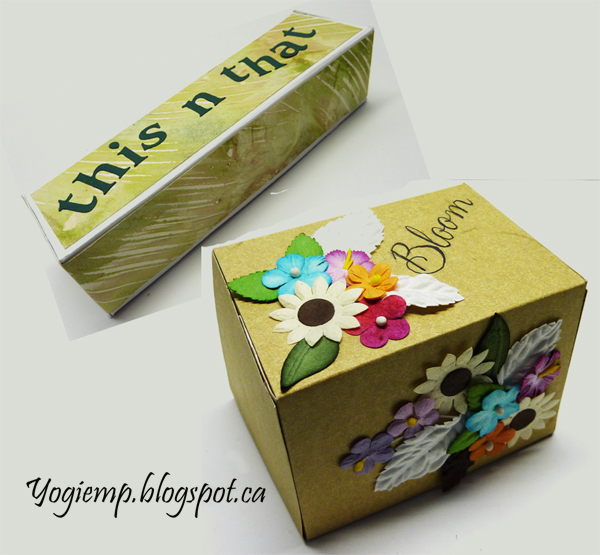
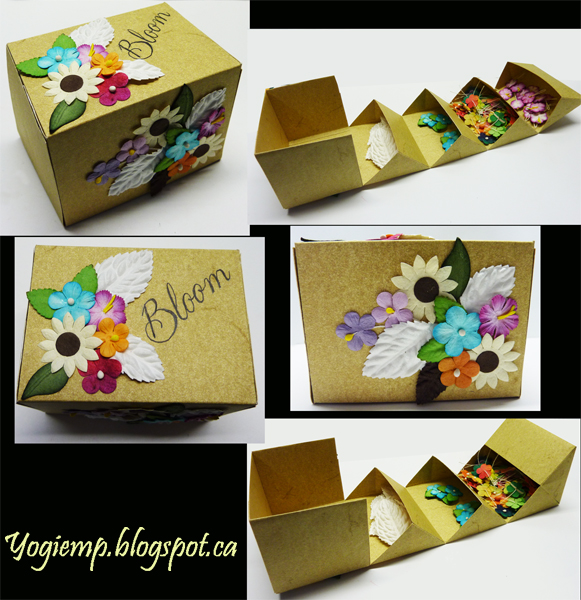
So after making the box as per directions I decided to make a more square box... which is how the "Bloom" box evolved. Directions below...
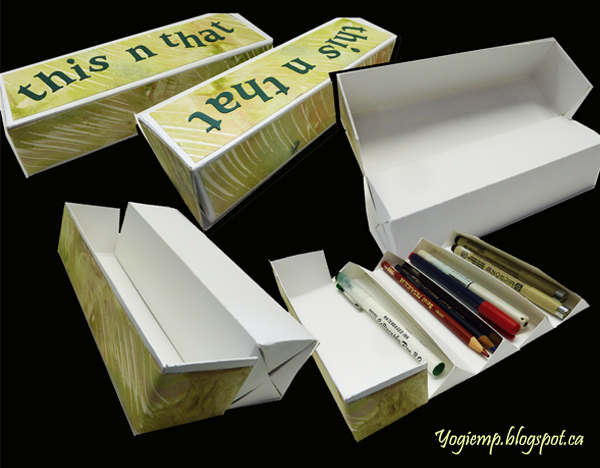
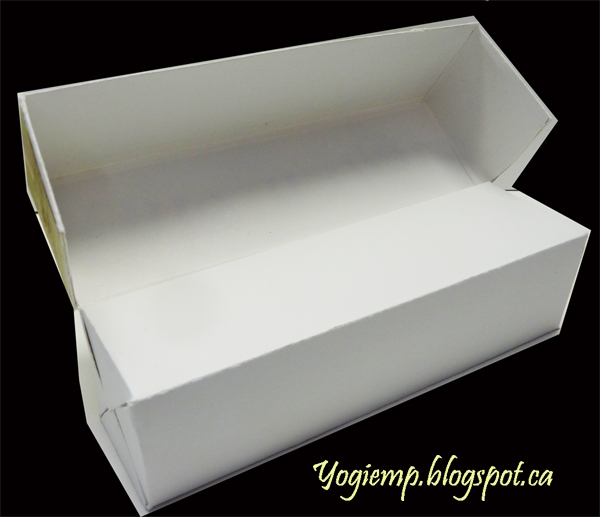
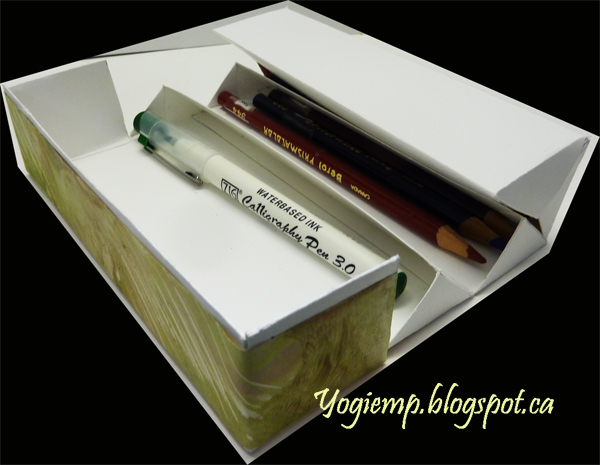
 open (all flaps)
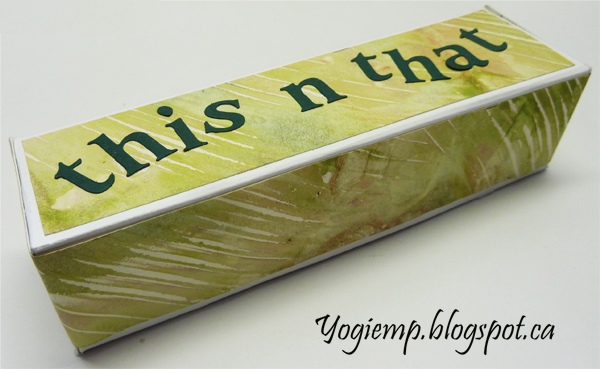
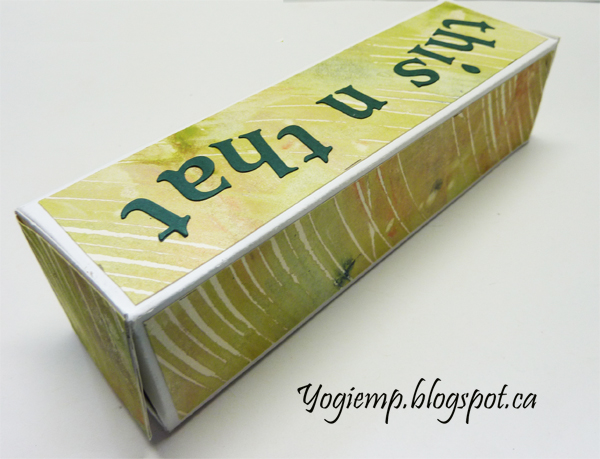
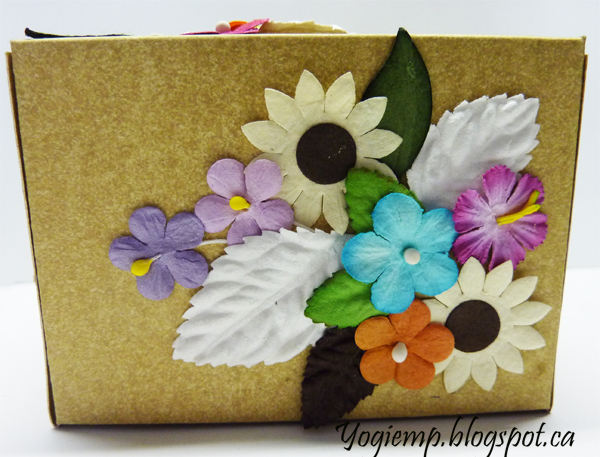 Front
Front