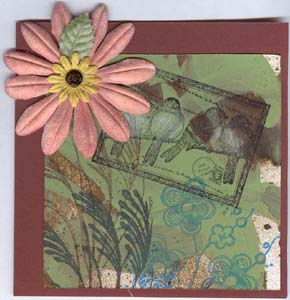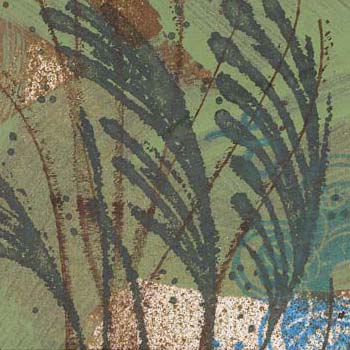

ID: Magenta - Acetate Inside
Detail
|
I took a mini class at Paper Pastimes (my local rubber stamp store) from Jacqueline - a Magenta representative. Fabulous. It was a fast paced class where we made several backgrounds and then finished 6 cards. |
|
ID: Magenta - Acetate Inside |
|
|
|
ID: Acetate |
|
Detail |
|
|
|
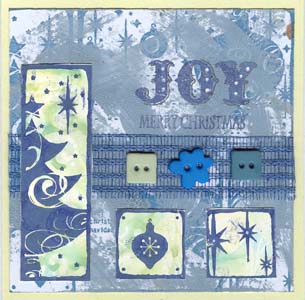
ID: Joy |
|
ID: Magenta - Envelope Card
|
|
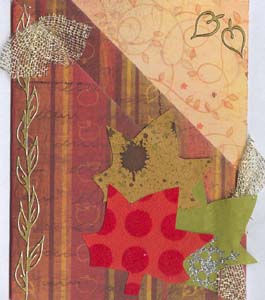
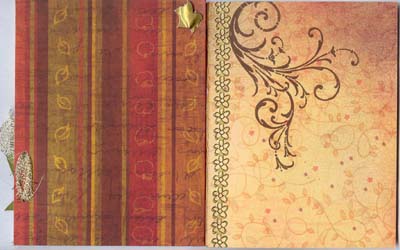
ID: Envelope Card We were given some pre made tags and we added the net ribbon, Magenta Peel Offs and the pre punched maple leaves. We rubber stamped inside, I used the flourish again. Can you tell I love that stamp. I didn't like the way the envelope folds kept opening so I punched some holes and used the net ribbon to keep things closed. |
|
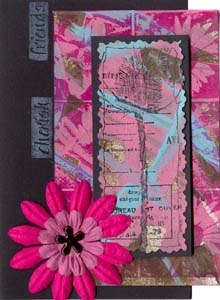
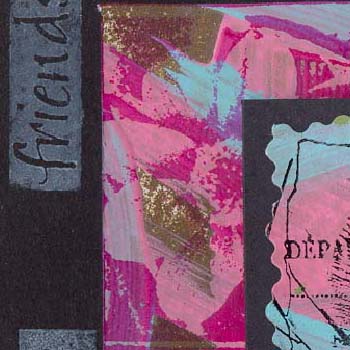
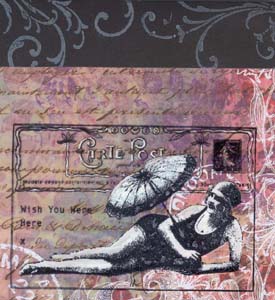
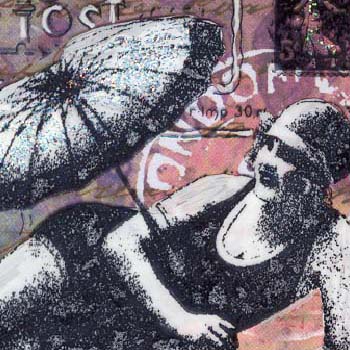
ID: Magenta - Paint Tech #1 Inside |
|
|
|
ID: Paint Tech #1 |
|
ID: Magenta - Paint tech #2 Detail |
|
ID: Paint Tech #2 |
|
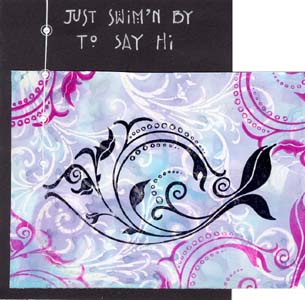
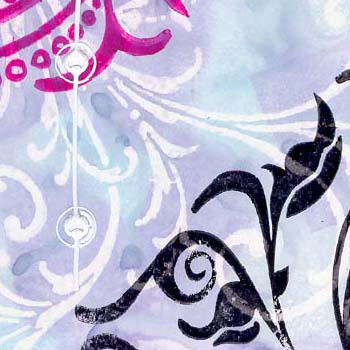
ID: Magenta - Resist Fish |
|
|
|
ID: Resist Fish |
Please use your back button for previous images or should you wish to go back to the Hand Painted More Cards Gallery please click on the link below.
| Home | Page
Index (text only) |
Glass Gallery |
"And
More" Gallery |