|
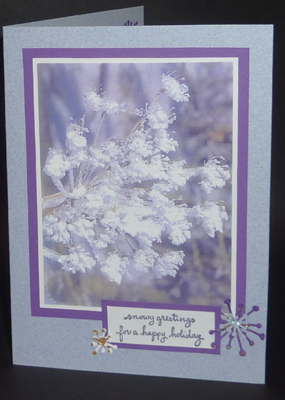
ID: Season's Joy
5.5"w x 8.75"h
Well this was
another beautiful image we were given. I was meant to cut off
part of the bottom to make a tag, but didn't realize that until
later. C'est la vie. Added glitter and wrote in my own words |
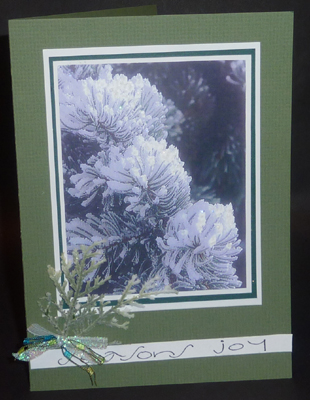
ID: Deco Angel
5"w x 6.5"h
We were given a rubber napkin based background piece
with a light layer of gesso. Nice. We were meant to use it as a full background,
with the angel on top, but I decided to cut it up and collage it. The pic looks
bluish, but the actual colors are a deep purple, mauve and aqua.
|
|
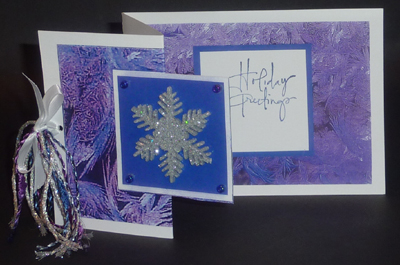
ID: Accordion Snowflake - Holiday Greetings
5.5"w x 4"h (closed) opens to 11"
Part of the front square is cut out from the folded front
piece and when closed matches up to the square on the back piece. We added the
snowflakes, beads and rubber stamped the sentiment.
|
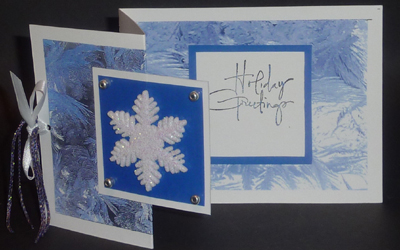
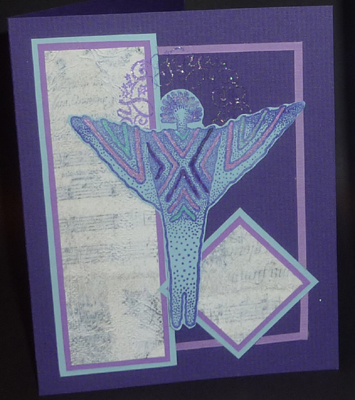
ID: Accordion Snowflake - Holiday Greetings- Blues
5.5"w x 4"h (closed) opens to 11"
|
|
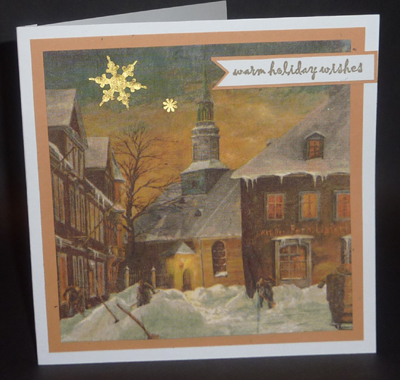
ID: Vintage Town Scape
7"w x 7"h
This is a large card. We were given the napkin
already adhered to a piece of cardstock, which we then did our own layering and
embellishments. Most did the rubber sentiment on a larger piece of cardstock
which obliterated the design. I didn't really like that so did a narrow
sentiment instead. Love the image on the napkin. Added some gold punched out
snowflakes.
|
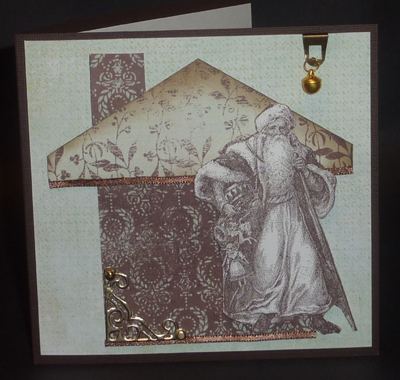
ID: Father Xmas
5.5"w x 5.5"h
We added ribbon to parts of the house, sponged some
color on the edges, cut out the person and layered them all together adding the
metal corner and bell.
|
|
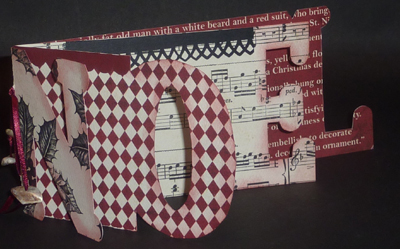
ID: Noel
8.5"w x 3.5"h
Love this one. I've done it before with people's
names and things, but that was quite some time ago. I also thought it would be
perfect to do on my Cricut, so came home and did 3 of them with various words
which you can see
HERE.
This one was done with double sided
cardstock which we then embellished and added stamped sentiments etc.
|
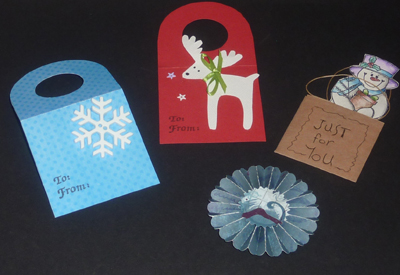
ID: Bits & Pieces
We made some bottle tags, and the cutest little
shopping bag tag with the bag lady inside. Then we also got one of Tim's
rosettes die cut, which we them folded and glued. It was meant to be part of the
decorations on a decorated bag which I didn't get to finish.
|
|
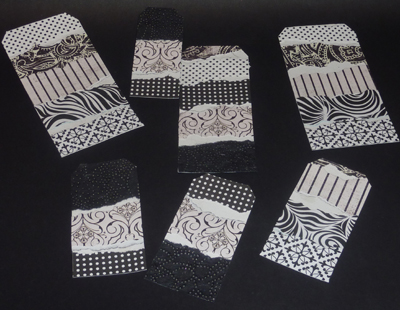
ID: tags (unfinished)
We were given a bunch of torn papers in black and
white and told to adhere them to another piece of cardstock with gel medium,
when dried, to cut them out in tags. Some of my tags are a bit narrower since I
wanted to use every bit of the decorated paper. We also had pieces of the black
& white paper we cut off the bottom of our decorated piece for later use. Now I
have to finish them...
|
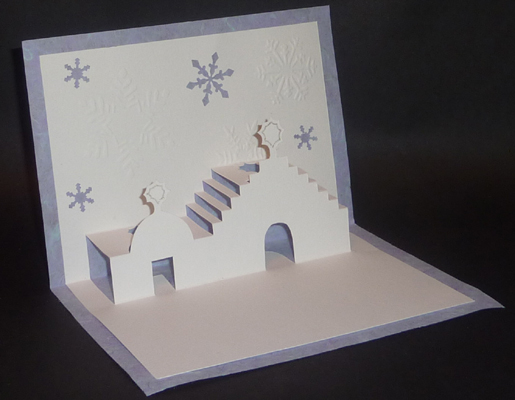
ID: Pop up Building
7"w x 5"h
Love this pop up. I should have put this one as the
last project with Lorraine. Anyway, we we given a template and then we scored
and cut our slits and folded it, then layered it onto another piece of
cardstock. I'm not in to crosses even if they're part of buildings, so I changed
my design slightly to be more like a decorative star. We also dry embossed
snowflakes and I punched a few as well.
|