ID: VSN October 09 - Xmas - Pewter Snowflake
4"w
 x 8.25"h

Created: October 15, 2009
Modified:
This is one of my submissions for the Vamp Stamp Magazine for the December issue with the theme of "Xmas Ornaments".

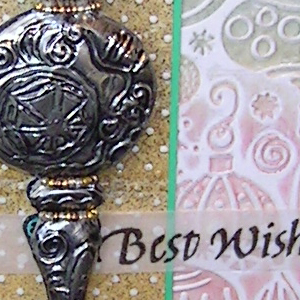
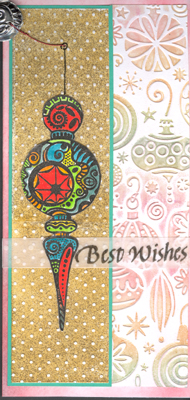
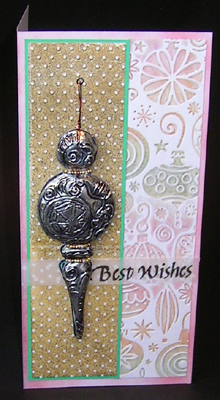
And this is another of the brayering with inks onto embossing folders. Lots of fun.

This one starts out with white 65# cardstock and uses the Swiss Dots embossing folder #37-1604. The female side of the embossing folder was brayered with Versafine Toffee, cardstock placed in the folder, run through the Cuttlebug, cardstock removed and then thermal embossed with Queen's Gold embossing powder. Trimmed and mounted it to a Bright green cardstock attaching the ornament hook through the two layers. Brayered another piece of white cardstock with ColorBox rainbow stamp pad and using the Xmas Ornaments #37-1899, then thermal embossed with clear. Trimmed to size (there will be a split between the ornaments since the card is longer than the folders). I colored the edges of the white main card with some red Pan Pastels then adhered the above pieces. Rubber stamped the sentiment Best Wishes (Quietfire Design) with Versafine Black Onyx and clear embossed on a white swiss dot pattern vellum paper. Cut to the height of the sentiment and adhered at the split between the Cuttlebug ornament design.

close up, back of ornament & side view of 3 D effect


Under ornament on card.

For the pewter ornament, I rubber stamped the Michael Strong "Cloisonné Ornament with Staz-On black stamp pad onto my piece of pewter. Embossed with a couple sizes of stylus and tortillon both on the front and the back, working on soft mats or hard surfaces where needed to achieve the very 3D effect. Cleaned it and put a patina on with a Sharpie marker. Put a layer of melted beeswax on the inside to keep its shape. Stamped a piece of white chipboard with the ornament, clear embossed and then colored with Tombow watercolor markers, cut around edges. Adhered the pewter ornament to it with white glue.  Then beaded some very thin wire and wrapped it around the ornament on the separation necks. Pierced a hole and threaded with a thicker red wire. This hook was inserted into the Swiss Dots layers and adhered to the card. Rubber stamped a third ornament same as the backing and colored the same to position under the pewter ornament, so when the pewter ornament is removed there is still a pleasing card design.


Please use your back button for previous pages or should you wish to go to VSN Gallery  please click the home button

or the Misc Challenges Gallery to see other challenges


or to go to the And More Gallery for hand made greeting cards please click the link below.

More Cards Gallery


Home Page Index
(text only)
Glass
Gallery
"And More"
Gallery