ID: MC Oct/18 - Easel Leafy Acanthus - ECD Merry Christmas - When This Christmas card
size: 7"w x 5"H (Easel closed)

Created: October 8, 2018
Modified:

My turn on the Quietfire Creations blog today and I thought I'd play with the Leafy Acanthus and the 3D die cut word technique... Really hard to photograph - sigh!!

I'm using an A Way With Words dies  "Merry Christmas" from Elizabeth Craft Designs, also available on Quietfire Design HERE

I'm also using a quote and design element stamps from Quietfire Design

("Leafy Acanthus"); ("When This Christmas")


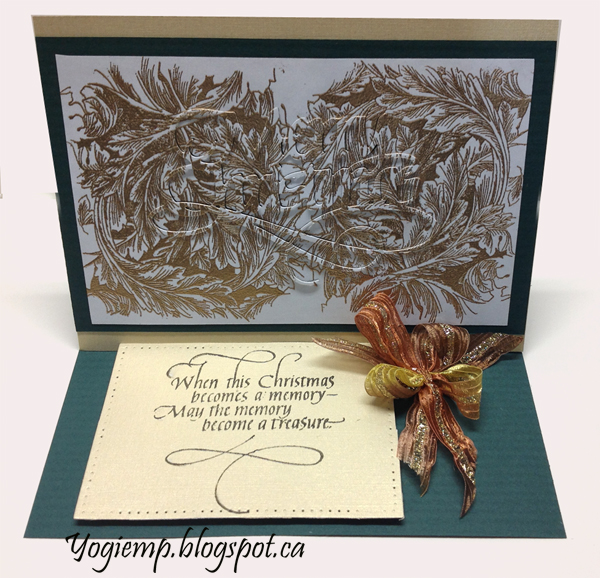
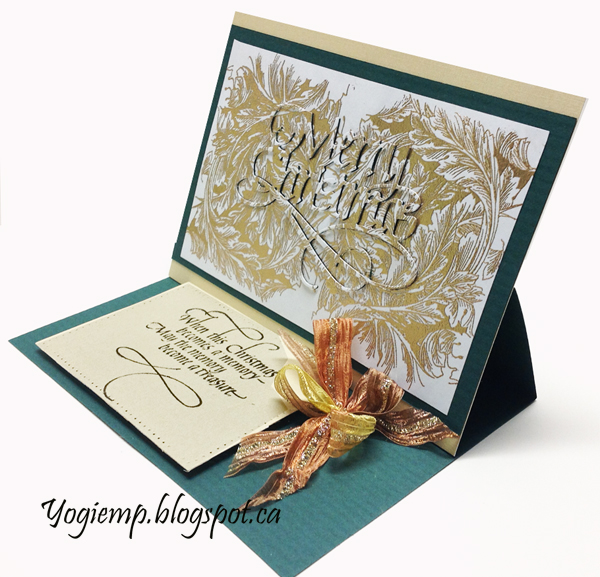
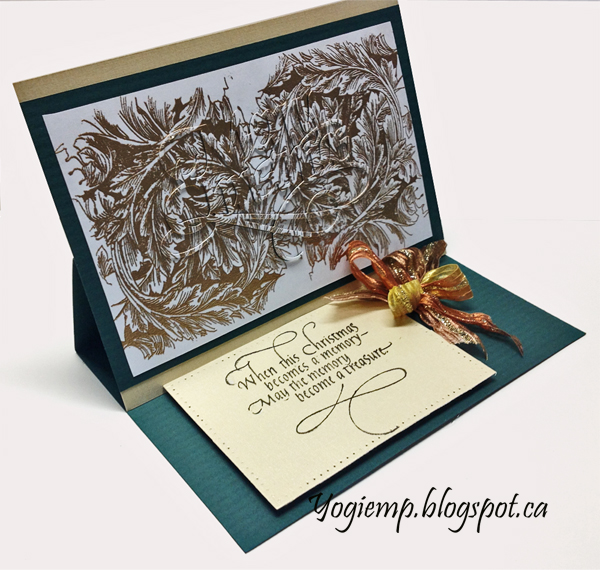
 Scored and folded my dark green textured cardstock to create the easel structure. Cut another piece of gold cardstock (Paper-Garden.ca)  same size as card and adhered to front.

Using my Tim's stampin platform stamped the acanthus on white cardstock using Versafine Toffee, flipped the stamp over to have a mirror image and stamped next to the first stamping overlapping the images slightly then embossed with Queen's Gold embossing powder.

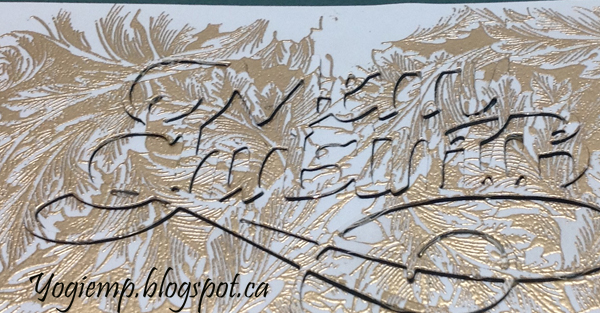
Die cut the "Merry Christmas" making sure I kept all the little pieces intact.

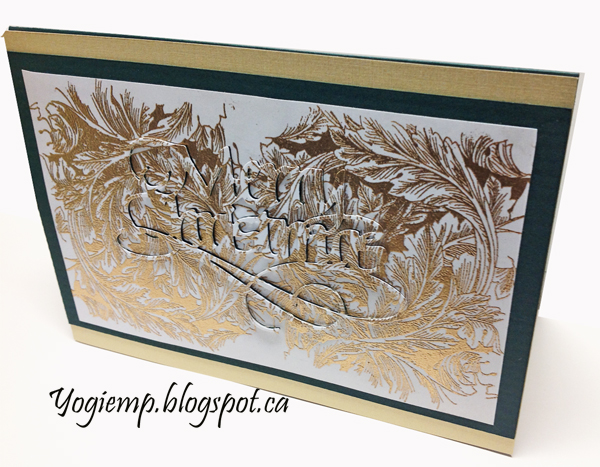
Trimmed down and adhered the Acanthus background to a piece of the dark green cardstock. I put a small drop of white glue on all the negative pieces and re-glued them in place to the background.

For the positive part of the die cut, there are several ways you can create depth - adhering several, 4 or 5 layers of die cut cardstock - time consuming; or cutting miniscule pieces of 3D foam tape - very finicky; I tried using Fun Foam and Sookwang on both sides and die cutting, but the die isn't thick enough to go through all the layers SIGH!!; so I ended up using Glossy Accents - mine is old a thick... and just putting a thick layer onto the whole back, setting aside to dry and repeating to get a thicker coat... then putting a bit of white glue and adhering to Acanthus background. Adhered to card front.


On the floor: stamped the quote onto a piece of the gold cardstock using Versafine Black Onyx and clear embossed. Die cut with Elizabeth Craft Designs "Stitched Rectangles" die set. Adhered to floor with 3D foam tape.

Tied a multi loop Gold Sari bow (see instructions below) and adhered to floor with hot glue


Using a quilling comb or dog comb etc loop the ribbon over and under the prongs. You should be over 2 sets of prongs and under 2 sets of prongs. I do it every 4th prong (depending on size of bow loops wanted)

Work your way back going between the original prongs. Continue in this manner back and forth until you've done it 5 times, ending with the tail on the opposite side of starting. This will give you 4 loops for the bow. Add more loops if you want a fuller bow.  Cut the end.

Thread the ribbon through the mid point prongs and tie a tight double knot. Remove from tool and fluff up, trimming ends pleasingly.

Please use your back button for previous pages or should you wish to go to the rainbow Maker 2018 Gallery please click on

or to go to the Misc Challenges Card Gallery 2017 click HERE

or to go to the previous Misc Challenges Card Gallery click HERE

or  And More Gallery for other hand made greeting cards please click the link below.

More Cards Gallery


Home Page Index
(text only)
Glass
Gallery
"And More"
Gallery