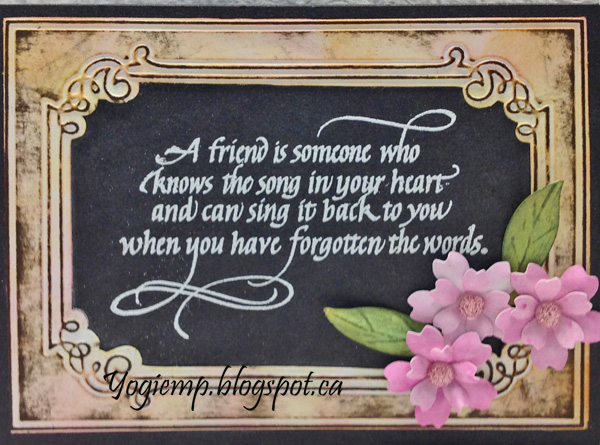
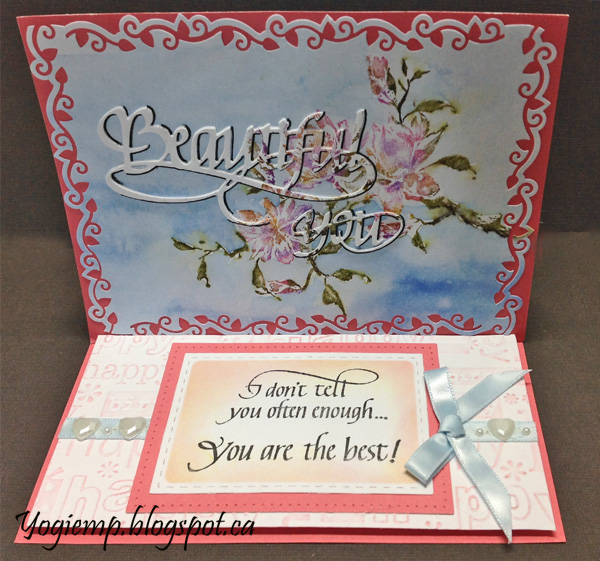
ID: MC July 
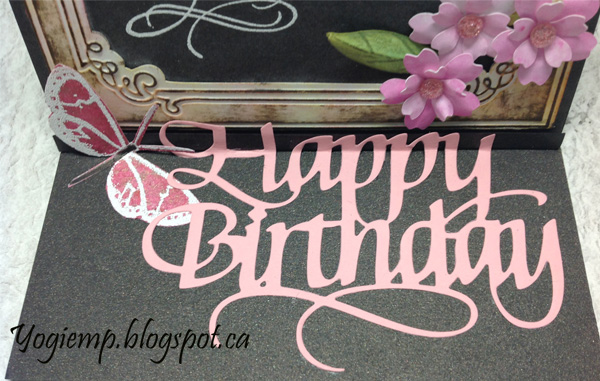
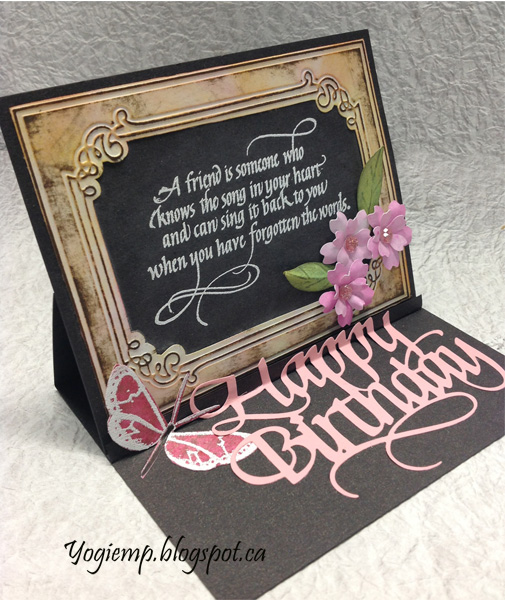
17 - Easel Embossed Frame - ECD Happy Birthday - A Friend Is card
size: 5.5"w x 4.25"h (standing)

Created: July 14, 2017
Modified:

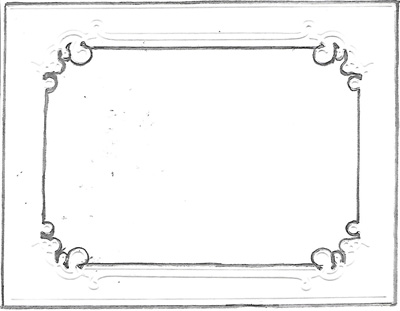
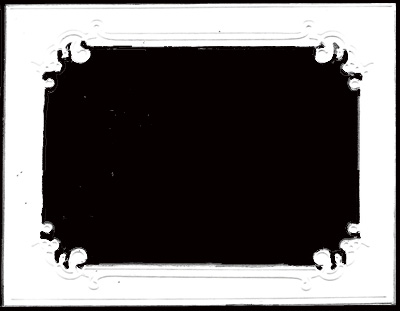
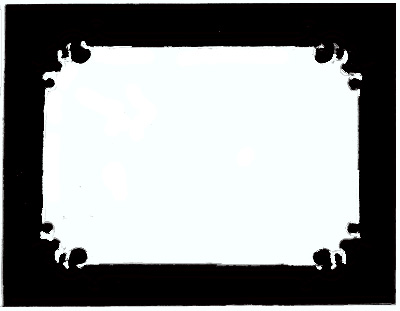
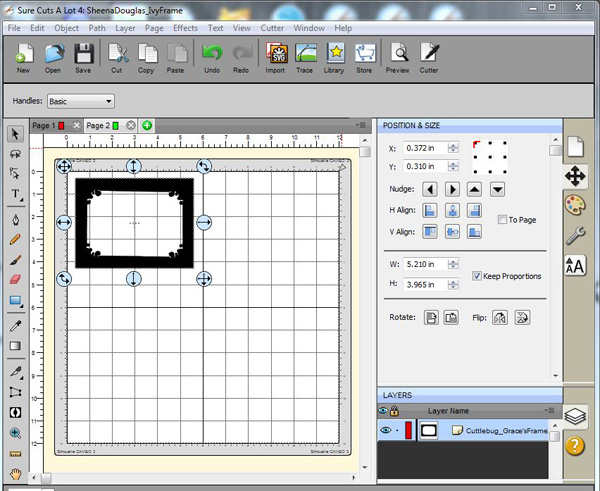
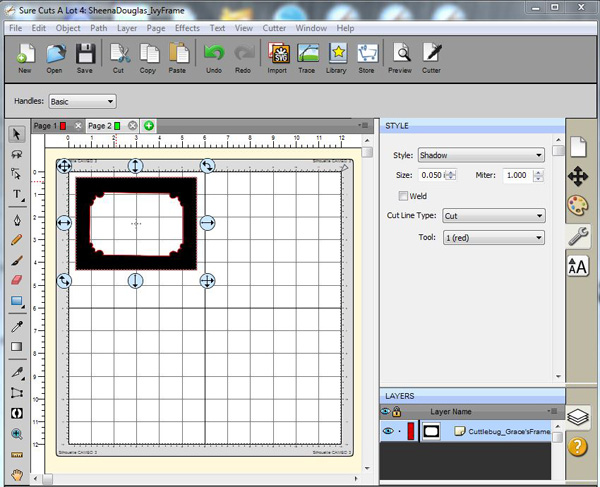
I've been creating electronic files to cut with my Silhouette Cameo for my stamp images for years... Then all of a sudden I said why not do it for some of my embossing frames... This is the result for Cuttlebug's "Grace's Frame"

I'm using an A Way With Words die "Happy Birthday" from Elizabeth Craft Designs, also available on Quietfire Design HERE

And I'm using a quote stamp from Quietfire Design

("A Friend Is Someone...");


Scored and folded my chocolate brown cardstock (PaperGardens.ca) to create the easel. Cut another piece same size as front and adhered. (PS this is a gorgeous lightly sparkled cardstock "Curious Metallic "Chocolate")

Created and electronically cut my frame, then ran it through my embossing machine (see pics and directions below). Sponged and direct to paper with a large Distress pad "Antique Linen" all over, then direct to paper with "Ground Espresso". Adhered to front.

Used an anti static bag prior to stamping the quote using "Picket Fence" and embossing with White embossing powder. With a damp paper towel wiped off the residue from the static bag powder.

I had die cut petals in my stash which I tooled, assembled and adhered to front, adding a pink textured jewel to centers. The leaves were also in my stash... 


On the floor: Stamped and fussy cut the butterfly (Penny Black "Three Butterflies") using the Picket Fence and white embossing powder on a pink Color Burst decorated cardstock. 

Cut a 1/2" strip of the brown cardstock the length of the card, scored and folded it in half and adhered to the floor to act as my stopper. Adhered half the butterfly to the floor and partially to the strip.

Die cut the "Happy Birthday from a pink toned cardstock and adhered to floor, also adhering partially to the strip.


Step 1: Ran white cardstock through my embossing machine with the Cuttlebug "Grace's Frame" folder. Trimmed down close to edge of embossed area. Used a pencil to outline the inner edge, applying good pressure for a dark line. Scanned it and opened it in my photo editing program - I use Photo Shop Elements 7.

Step 2: Use your fill bucket to put black into the opening and around the edge, adding with a paintbrush or line filler where it is still the pencil line.

Step 3: Invert the image. You now have what will be imported into your electronic cutting software.

I prefer using SCAL software with my Cameo machine. I find it more intuitive... Imported into the software, it is exactly the size as your embossing folder, no resizing needed. But double check with whatever software you're using - it should be correct...

Here I've clicked on the wrench icon, then on the drop down "style" menu and clicked on "Shadow". Left it the original size of .050 

Cut from white cardstock. and ran through my embossing machine.

 Please use your back button for previous pages or should you wish to go to the Misc Challenges 2017 Gallery please click on

or to go to the Misc Challenges Card Gallery 2016 click HERE

or to go to the previous Misc Challenges Card Gallery click HERE

or  And More Gallery for other hand made greeting cards please click the link below.

More Cards Gallery

Home Page Index
(text only)
Glass
Gallery
"And More"
Gallery