|
I scored and
folded my white card.
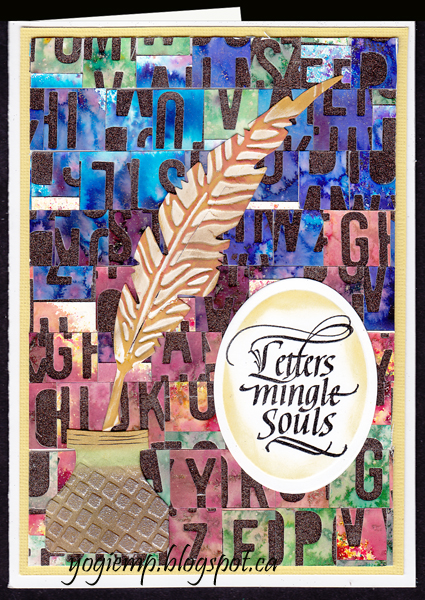
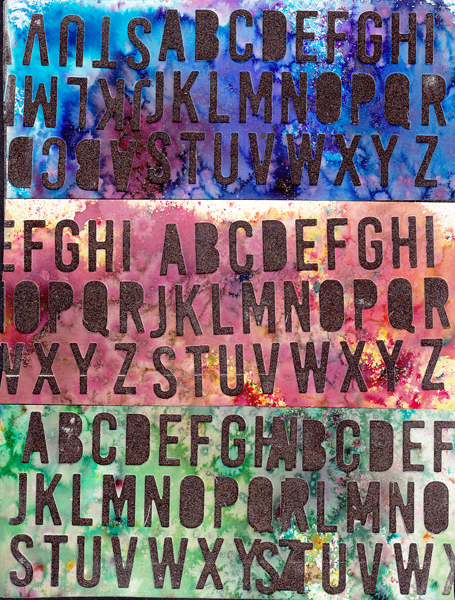
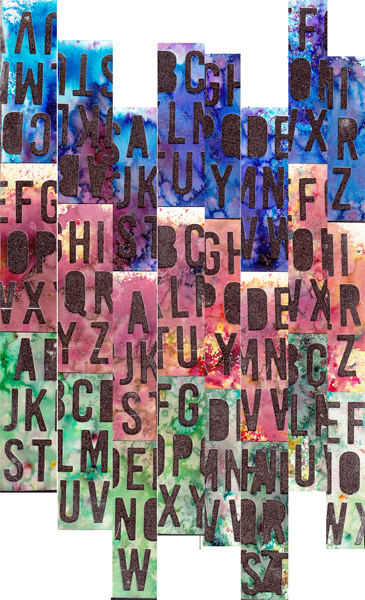
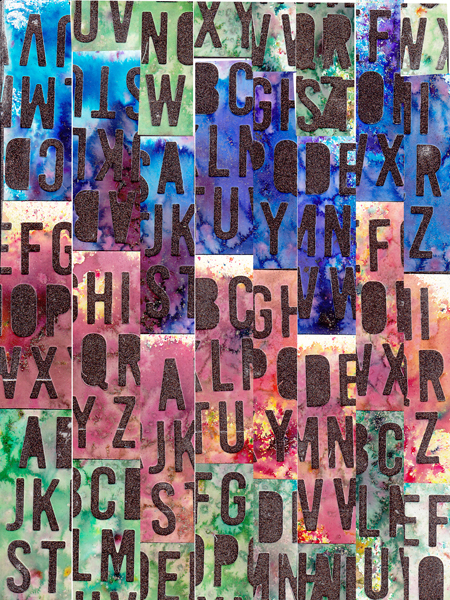
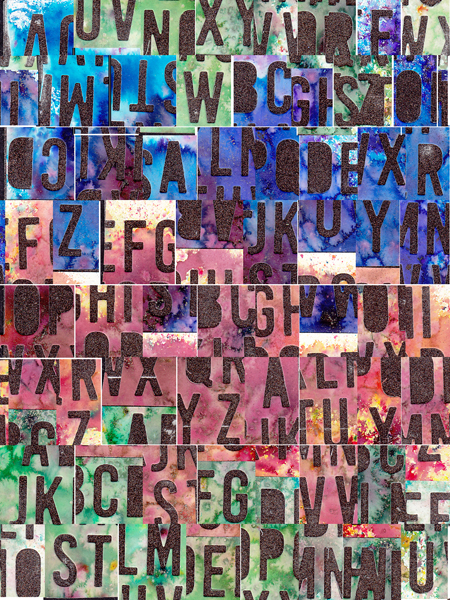
Created the
background with a bunch of negative alphabet die cuts. See below for
the details.
I adhered the
background to a yellow textured cardstock and then on to my card
front.
Die cut the ink
well and feather (Sizzix Tim's Bigz "Writing Desk") from
white cardstock. The feather I embossed with the embossing folder
from Tim's "Feather's Duo" set. The feather is smaller
than the embossed image, but I centered it so it looked natural.
Sponged all over lightly with Distress "Gathered Twigs",
then direct to paper more heavily hit the high points with
"Fossilized Amber" and "Wild Honey". The inkwell
I sponged heavily with the Twigs in the ink area, with the yellows
on the lip and "Shabby Shutters in between. Then embossed (Cuttlebug
"Tiny Mosaic") the bottom area using the folder on the
diagonal, hitting the high points with Versamark and embossing with
Pearlescent embossing powder. Added a few black screw lines with a
micron pen. Adhered both elements to card front.
Stamped the
quote on white cardstock using Versafine Black Onyx and clear
embossed. Die cut with Spellbinders oval die set, then embossed the
oval and sponged around the edges with yellow. Adhered to card
front.
|
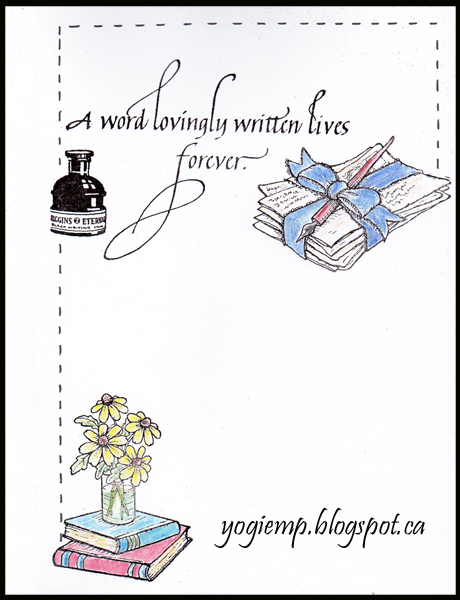 On
the inside: Stamped the quote and inkwell with the black and clear
embossed.
Stamped the
letter package and flowers on book (Flourishes "From the
Desk" set) with the black, clear embossed and colored with
Derwent watercolor pencils.
Added the faux
stitching line border using a black Zig Writer.
|