|
Please note:
opening the files in the Silhouette Studio software is best. Opening
in other software like SCAL or ECAL etc, may change some of the
score/cut lines.
For this card I opened in Studio
software. I used my selection tool to select the whole file and
clicked ungroup once. Careful if you click more than once, your
score lines may move... Lesson learned.
I moved the various elements off my
mat to cut each portion of the card from cream toned cardstock. It
takes a minimum of 3 pieces of 8.5 x 11" cardstock. More if you
want more butterflies BIG GRIN...
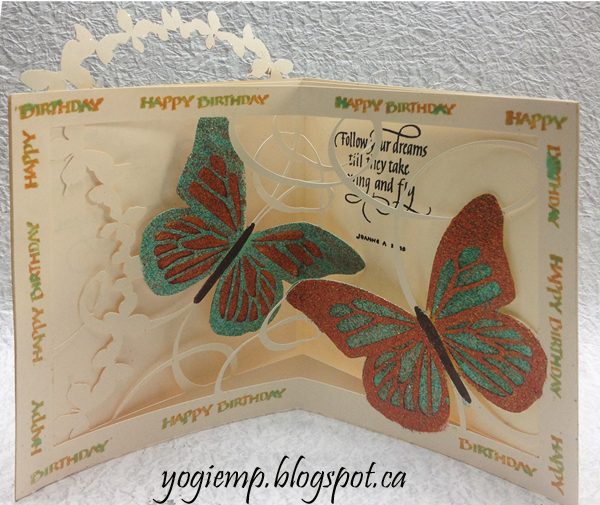
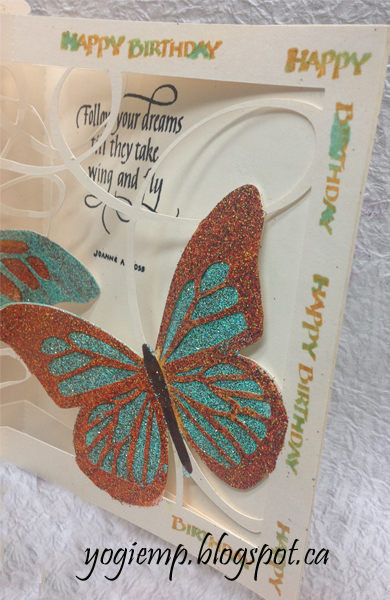
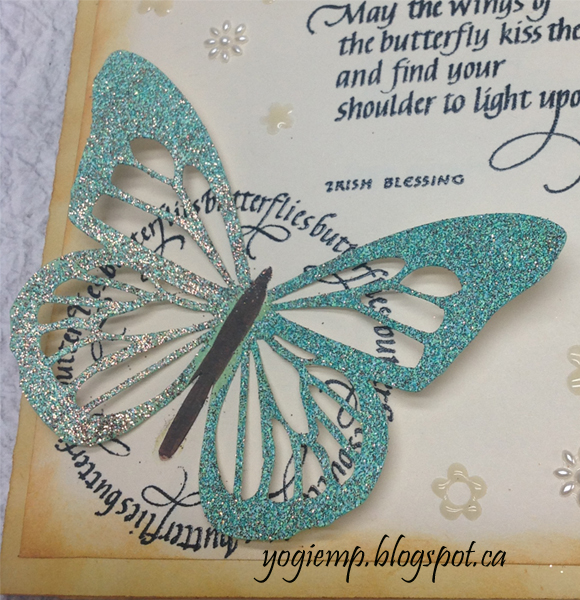
I also cut one of the butterflies
from thin cardstock to create a stencil/mask which I placed over the
butterfly frames to ink only the butterfly using a corresponding
color to the embossing powder I would use. Distress "Wild
Honey" with Emerald Creek Hot Stuff "Thanksgiving"
embossing powder; and "Cracked Pistachio" with
"Verdigris" embossing powder. Make sure you clean the
areas of excess embossing powder from the body and surrounding
areas. After heat setting used a brown Zig marker for the body. I
also cut 2 blackout layer butterflies. Use the Trace feature, select
the butterfly, and click on the "Trace Outer Edge" - cut.
I inked them with the
opposite pad, glued them to the back of the butterfly, then
sprinkled with the embossing powder and heat set.
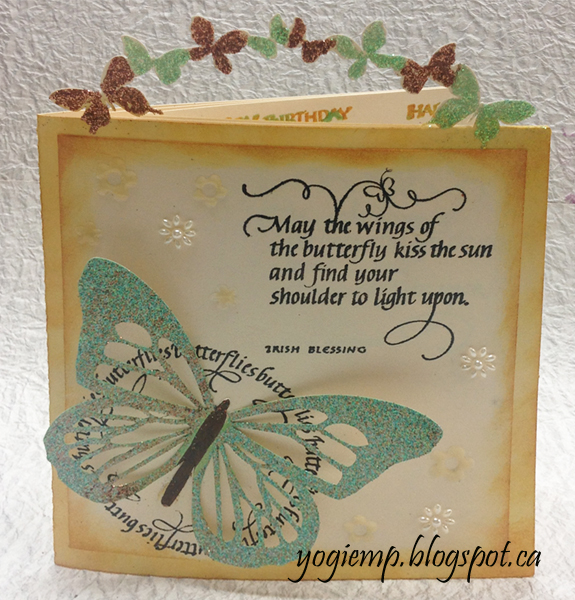
Inked the birthday stamp
using the honey all over and hitting here and there with pistachio,
clear embossed. Looks like some of my stamping had a bit too much
ink... C'est la vie. Stamped
the quote using Versafine Black Onyx and clear embossed. Then
adhered the edges of each butterfly frame to the edge of the card. PS
Finish the front of your card prior to assembling the inside unless
you're adhering a separate layer to the front.
|