|
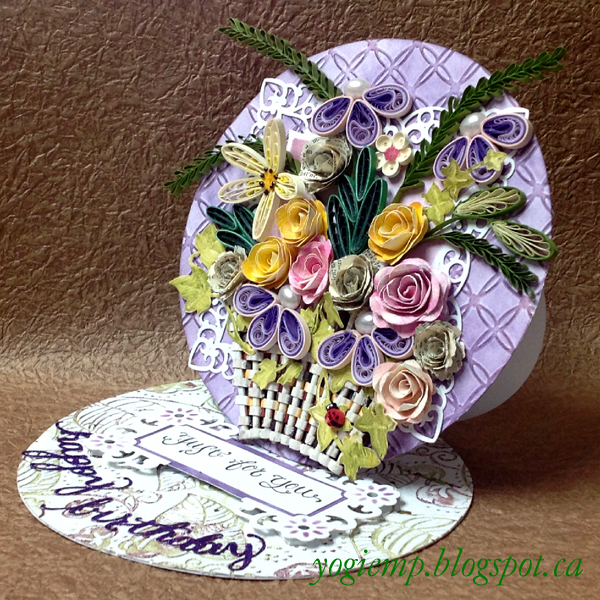
I sandwiched two pieces of cardstock
together, taped it to my work surface and cut out the circles using
my EK Success Circle Scissors on the largest hole, leaving about a
2" area uncut. I then fussy cut a small tab to adhere both circles
together to create my card. Folded one of them in half for the
easel.
Cut anmother circle the
same size and embossed using Crafts Too "Lattice" embossing folder.
Hit the high points with a Distress pad "Seedless Preserves, then
sponged color all around. Adhered to my card front.
Die cut the square doily
(Spellbinders "Labels 42 Decorative Accents"), sponged "Victorian
Velvet", removed from die, adhered to card front.
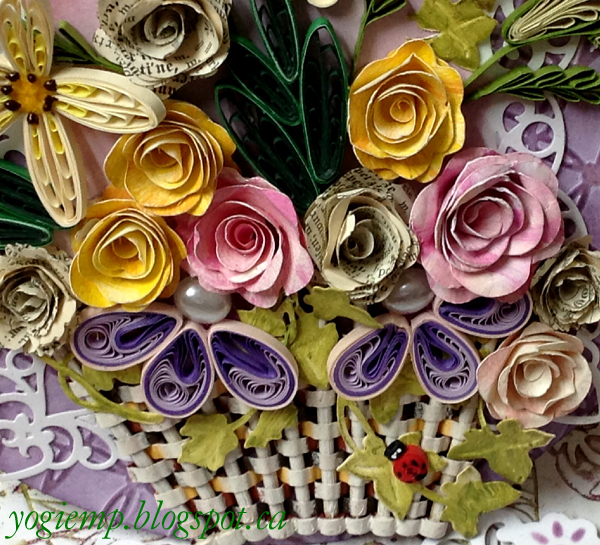
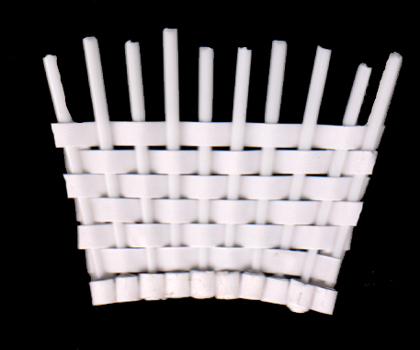
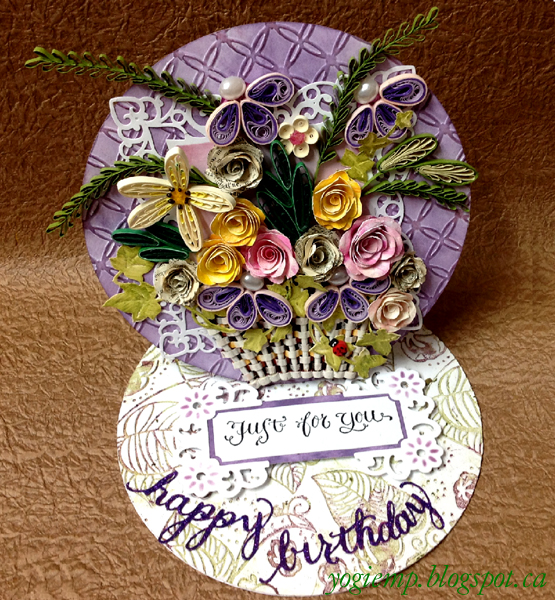
Created the basket using
3" pieces of bamboo skewers, shaping the ends slightly to a point
with an x-acto knife, applying glue to the end and then wrapping a
tight coil around the end with 1/8"w x 3" long pieces of dark brown
quill paper. Did 10 of those. Pressed down on each quilled circle to
get it more of an oval shape, then glued them together. On the back,
I glued a piece of the quill paper to make sure it stayed stuck and
together... When dry, wove dark brown, rust and yellow quill paper.
Wrapped the ends to the back, gluing in place. Added a couple
vertical strips of quill paper to glue some of the ends. Trimmed
everything down. When I started adding the flowers, I knew right
away my basket colors were wrong... so painted over them with
a Distress "Picket Fence" acrylic dauber a couple times. I like the
rustic look to the basket. Adhered it to my card front, then started
adhering all my quilled elements. I die cut some ivy (Creative
Expressions Sue Wilson "Ivy"), colored with acrylic daubers and then
with a "Forest Moss" stamp pad. The roses are from various brands of
rose die cuts. |
top
view
For the floor, cut
another circle, inked up my embossing folder (Couture Creations
"Ambrosia" - Serenity Collection) using Distress pads all over with
"Peeled Paint", then here and there with the Preserves, misted with
water and embossed. Adhered to floor.
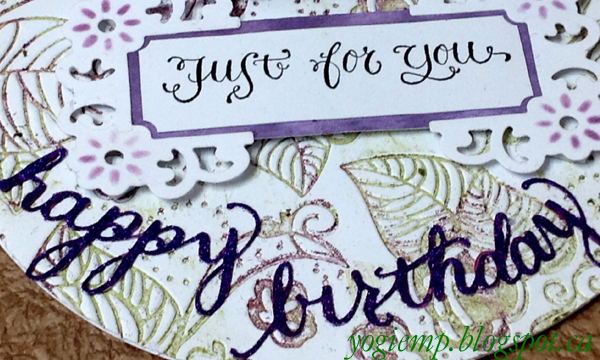
Stamped the
sentiment using Versafine Black Onyx and clear embossed. Trimmed
down, punching notches on edge corner. Adhered to another layer
inked with the Preserves.
Die cut the corner
frame pieces using Spellbinders "Floral Doily Accents", both corner
dies and my hard rubber mallet. Sponged the preserves, then adhered
to stamped piece using a double layer of 3D foam tape.
eCut the "Happy
Birthday", painted with acrylic Dauber Preserves, dried, applied
Quickie glue all over and sprinkled with Glitter Ritz micro fine
glitter "Purple" |