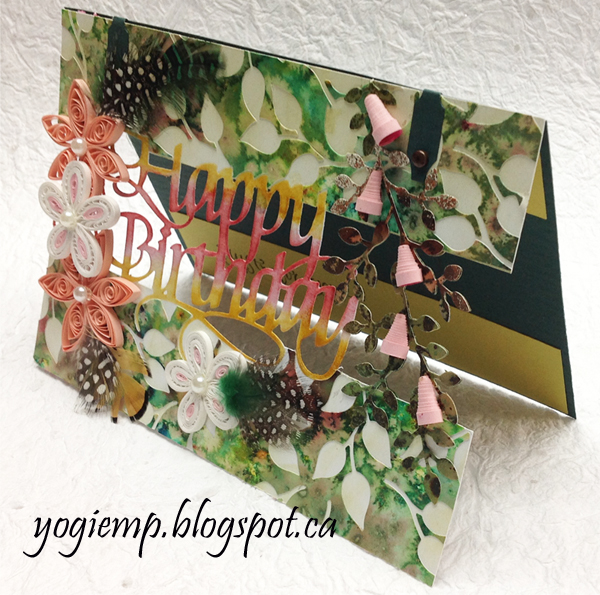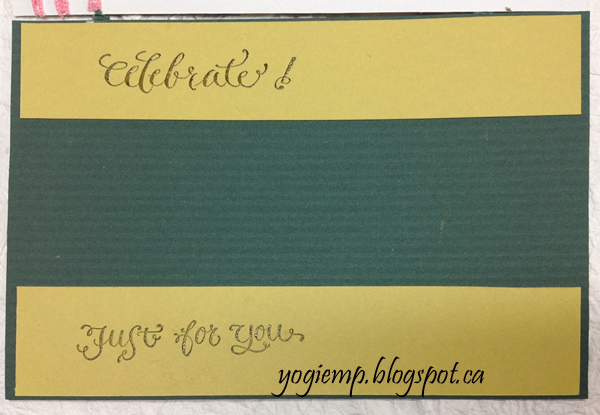
Card closed
CUTTING THE WORDS:
I'm using a Cheery
Lynn Crossover machine which is 8.5"w. Your orientation of
cardstock will need to change if you are using a Cuttlebug or Big
Shot.
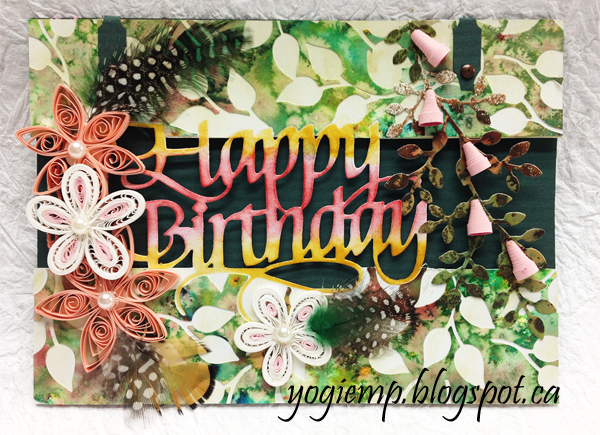
Cut a piece of
cardstock the width of your machine and a couple inches larger
from the top and bottom of the die. Cut the word in about the
center of this piece of cardstock. (My card is 7"w x 5"h
and this piece is 8.5 x 6")
PS I use a magnetic
mat to hold my die in place on my opaque plate. Remove the
die cut word and keep the large piece of cardstock over the die
(taping the magnetic mat and die down if necessary). You don't
want anything to move once you start cutting...
Using a ruler, align
it with the top edges of the little negative drop out pieces of
each letter on your die. Some won't fit in to this criteria, but
as long as a bunch do, that should be enough. Put a pencil mark on
either edge of the cardstock. You will be aligning your grid block
and card with these registration marks.
|
Do the same for the
bottom negative drop out pieces of the basic letters and pencil in
your marks. The larger ovals from the flourish and "y"
will be hand cut.
Place your card over
the die checking with the registration marks to position
appropriately. Tape down. Add a couple pieces of cardstock over
your cutting area so you don't cut in to your grid block. Place
your grid block level to the upper registration marks.
Complete your sandwich for your machine. I used my metal plate and
my clear plate. Ran through my machine at approximately the
"18" mark. Moved my grid block down to the bottom
registration marks and ran through machine again.
Removed card from
machine and using a ruler and x-Acto knife trimmed off on either
side of the word and the negative pieces between the letters. You
may have to help some of your letters depending on how you cut
them.
Pencil in the flourish
area and the bottom of the "y" area and hand cut.
You are ready to color
as described above.
|