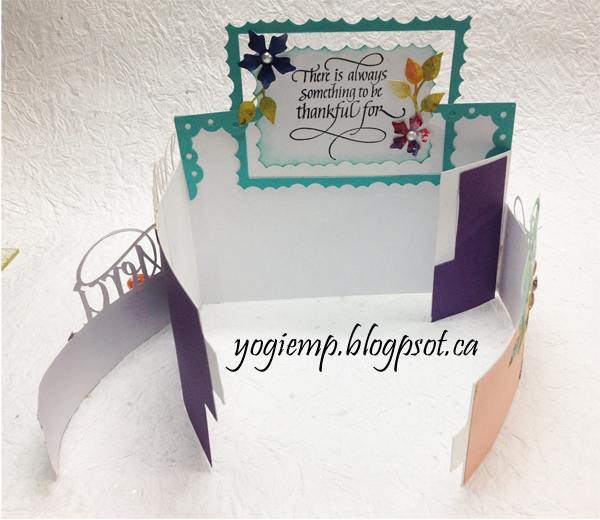
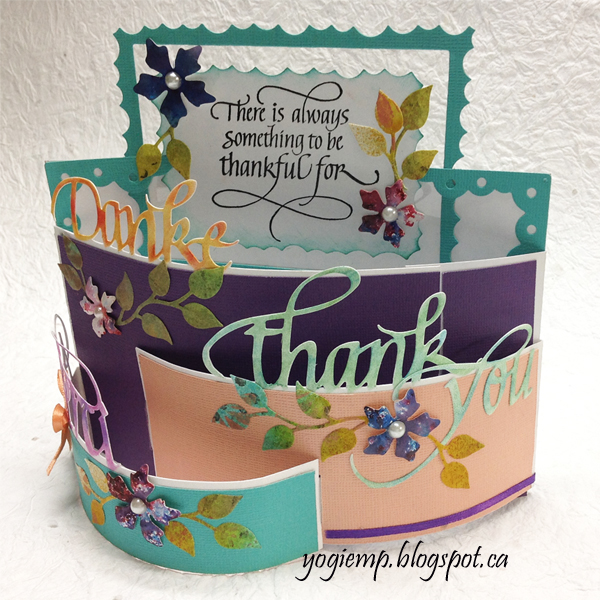
ID: MC Dec/15 - Bendi Card - Danke, Thank You, Merci - Give Thanks card
size: 7"w x 6.5"h closed

Created: December 11, 2015
Modified:

OK so I'm making another Bendi card BIG GRIN This time I'm using tabs/slots instead of slits.

And these are Elizabeth Craft Designs NEWEST "A Way With Words" dies designed by Suzanne Cannon (also available here) 

And I'm using a bunch of El's dies available on Elizabeth Craft Designs - "Curvy Leaves", "Bunch of Flowers 3", "Fitted Frames 1 - Lace Rectangles"; as well as 100# soft finish cardstock & Pan Pastels.

I'm using one of the more recent thanks quotes from Quietfire Design  

("Give Thanks" 2pce set);


I cut, scored and folded my white card. I used an 8.5 x 11" sheet cut down to 4.5"h x 11"w.

Cut the word pieces from soft finish cardstock and use the "off the edge" cutting technique. 

CUTTING THE WORDS:
Place the part of the die you don't want to cut off the edge of your platform. I use my magnetic mat - easier... then tape the die in place. Just to note: there are negative spaces within the letters, like in the "D" and the "a" etc. and there also negative spaces between the letters. When positioning your die, have the very bottom edge of the negative space of a letter touching the edge of the magnetic mat. With these words there is a very small space between that edge and cutting off the whole word so be careful.

Place your cardstock in position over the die and tape down. Place the rest of your cutting platform right up to the edge of your magnetic mat, NOT PASSED IT. Run through your machine.

Now remove the negative pieces. Use your x-acto knife to help if any aren't quite cut through because of where you positioned the die. Using a ruler trim off the excess cardstock from the word on either end (upper portion), then cut to remove the little negative pieces between the letters. You should end up with a nice word on a long piece of cardstock.

COLORING THE WORDS:
Cut another piece of light weight cardstock and die cut your word. Remove the word (use it for another card...) and use the mask/stencil you just created. 

Place it over the letters/word and it will protect the rest of your white cardstock from being colored. 
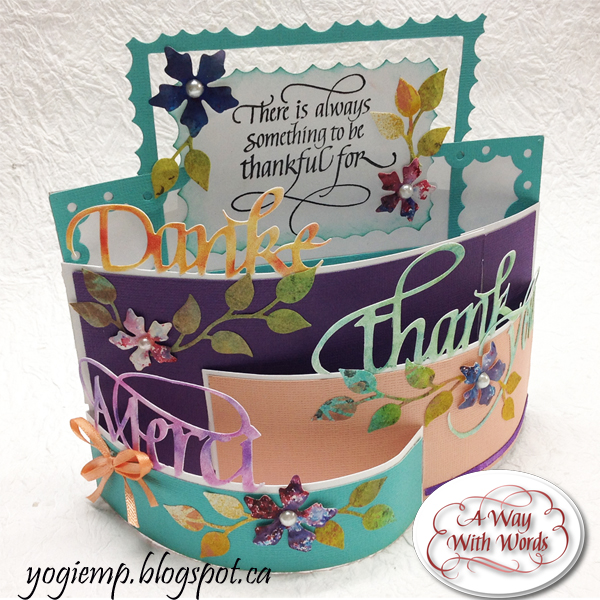
Using Pan Pastels in two tones on each word. I used "Yellow Ochre" all over the word "Danke" and then touched here and there with "Permanent Red" using a small sponge applicator.

Trimmed my Danke border down to the width of my card plus a 1/2" extra as a tab to glue to the back of my card. I cut my tab and slot to create a 
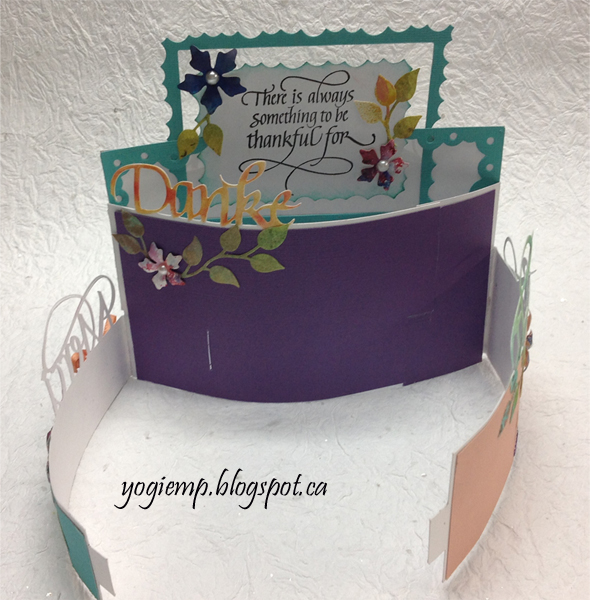
nice curve to my first layer. Cut a piece of purple from Tim's Canvas Texture Core'Dinations  "Adirondack" collection and adhered and continued the slots. (ps you can't really see the slot for my Danke tab...)

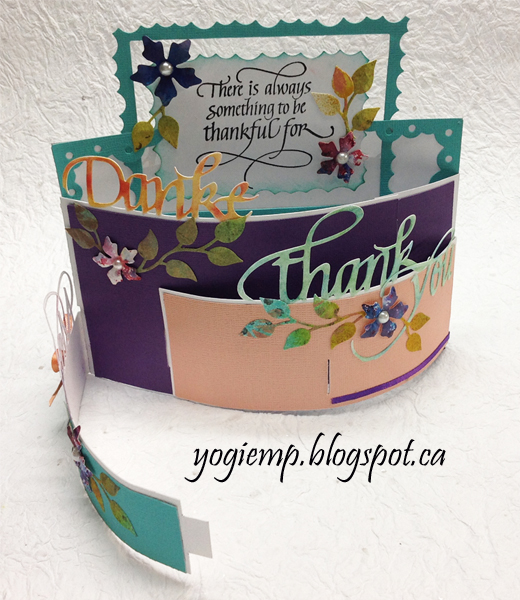
NOTE: the little white line in the purple is the slot created for the salmon "Thank You" flap.


Cut the "Thank" word as above, trimming and coloring as above using "Chromium Oxide Green" & "Phthalo Green".  Score and fold the 1/2" tab on the right side and adhere to the back of the card. Cut your tab on the left side of your border and slot in the purple tab. Adhere a piece of salmon canvas textured cardstock.

Note: the word "you" was adhered after positioning my Merci slot.

Cut, trim, color the "Merci" as above using "Magenta" and "Violet". Score the 1/2" tab on the left side and adhere to back of card. Cut the tab on the right edge and your slot in the salmon tab. Cut and adhere the "Peacock Feathers" canvas textured cardstock to the Merci flap

Now you can adhere your "You" word.


Die cut the frame and corners from the Peacock cardstock. Die cut another from white cardstock. Put all the extra pieces aside for another card...

Stamp your quote on the white cardstock using Versafine Black Onyx and clear emboss. Sponge edges using Distress "Peacock Feathers"

Trim a piece of Graffix clear plastic to fit under the frame piece. Adhere frame piece to plastic using double sided tape. Adhere quote piece to clear plastic. Adhere this assembly to the card. Adhere the corners on either side

Die cut a bunch of flowers and leaves and adhere strategically. Mine were cut from Color Burst decorated papers I had previously made. Add white half pearls to the flower centers.

Adhere the purple narrow ribbon to the bottom lower edge of the salmon flap.

Adhere a narrow salmon ribbon double bow to the Peacock flap.


Top view of card

right side

 Please use your back button for previous pages or should you wish to go to the Misc Challenges 2015 Gallery please click on

or to go to the previous Misc Challenges Card Gallery click HERE

or  And More Gallery for hand made greeting cards please click the link below.

More Cards Gallery

Home Page Index
(text only)
Glass
Gallery
"And More"
Gallery