|
ID: MC Oct/15 - Side
Easel - ECD Happy Birthday -
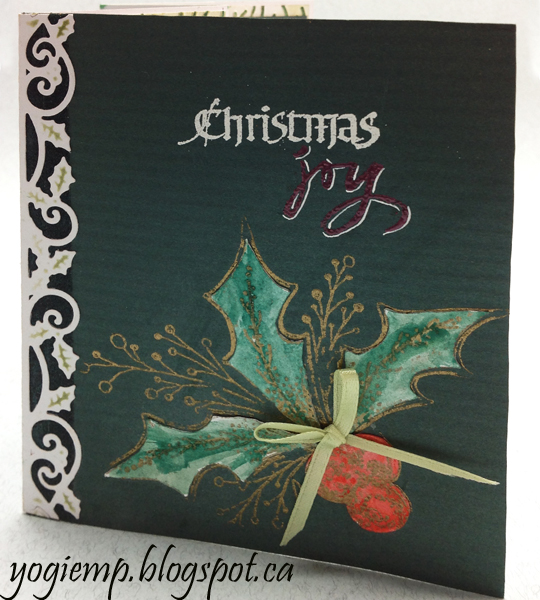
Sometimes Said Pooh card
Created: October 7, 2015 
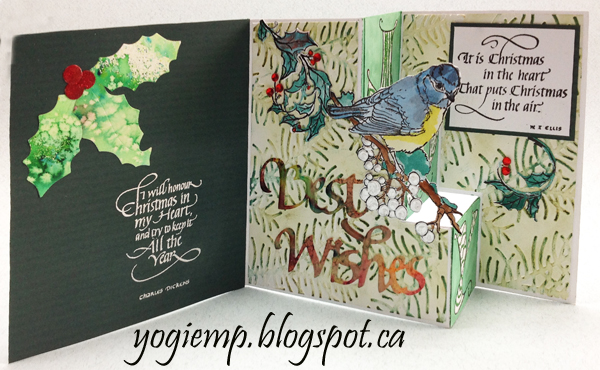
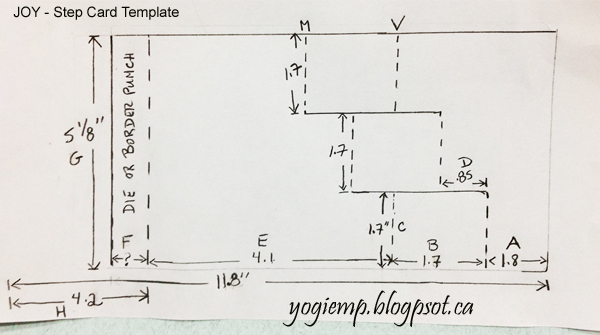
As promised, I've included a diagram to make this step card with dimensions... 
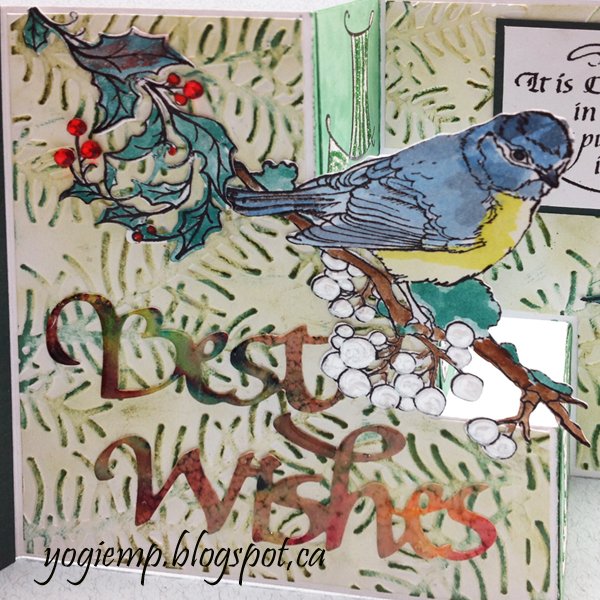
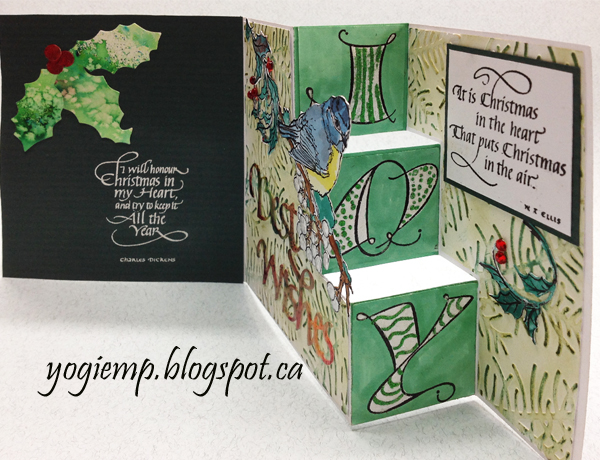
Elizabeth Craft Designs (ECD) has been licensed to make dies of Suzanne Cannon's (Quietfire Design ) calligraphy. Today's card uses the "Best Wishes" die. (or available on Quietfire HERE) The "Holly Leaves & Berries" die set, "Sprig" embossing folder, "Holly Flourish" stamp & Titmouse stamp are also by Elizabeth Craft Designs. 
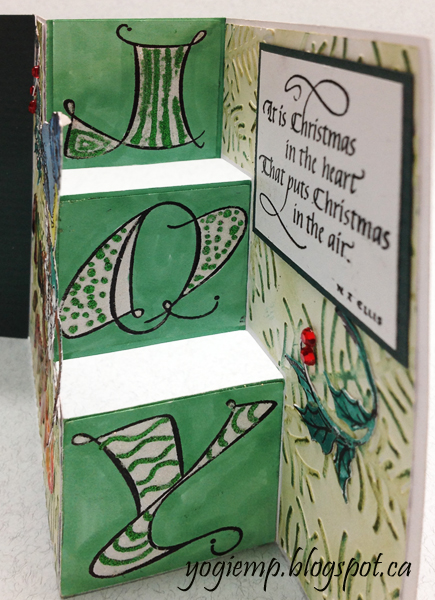
The rubber stamp quotes and sentiment stamps are by Quietfire Design ("I Will Honour..."); ("JOY Fill 'er Up"); ("It Is Christmas..."); ("Christmas Cuddlers" 9pce set);
|
I scored and folded my white cardstock to create the step card (see detailed diagram below). I used 8.5 x 11" cardstock which isn't wide enough for the full card. I used Spellbinders 5 x7 Holly Frame to cut the border edge and sponged through the die with Distress "Crushed Olive". Cut a dark green textured piece of cardstock for my front. Adhered a piece of 1/4"w Sookwang tape along the left side, pressed the die cut border edge on to it and then sprinkled with dark green glitter. Stamped the cuddler words with Versamark, first the "Christmas" word embossing with white embossing powder, then "Joy" and embossing with Hot Stuff "Enhanced Red Pearl" embossing powder. Highlighted the edge with a pointed pen and my Copic white ink mix. Stamped the "Large Holly" (Artful Stamper) using Versafine "Toffee" and embossing with Hot Stuff "Mirror Gold" embossing powder. PS I found it a little dull... so created a silhouette image of the stamp that would fit inside the embossed lines of the stamping, eCut with my electronic cutter from white cardstock, stamped the pieces and embossed with the gold and painted with QoR watercolors, then adhered in place. |
|
Inside Front Flap: Die cut the holly leaves and berries from watercolor paper decorated with various green/yellow/red Color Burst and salt. Applied Quickie glue to the berries and sprinkled with red glitter. Adhered to card Stamped the quote with Versamark and embossed with white embossing powder. |
Die cut the "Best Wishes" from another Color Burst decorated paper, applied Versamark and clear embossed twice. Created silhouette images for my electronic cutter of the "Titmouse" and the "Holly Flourish", eCut from white cardstock, stamped using Versafine Black Onyx and clear embossed. Painted with the QoR watercolors. Adhered the bird to the edge of the middle step adding some Liquid Pearls "White Opal" to the berries. |
Cut off part of the holly flourish and adhered the larger piece to the card, overlapping the branch of the bird. Added some red rhinestones to the berries. |
Stamped the "JOY" letters on to white cardstock with the black, masking each to have enough room around each letter to cut out the squares, clear embossed. Cut around each letter to the size of my steps, minus a touch. Colored the edges of the stairs with the same Prisma Premier marker I used to color the background of each letter. Doodled a design on the larger sections of each letter using a Quickie Glue pen and sprinkled with green glitter. Let dry and then adhered to card. Back panel: Stamped the quote with the black on white cardstock and clear embossed. Trimmed down and layered to a piece of the green cardstock and trimmed. Adhered to card. Added the leftover cut piece from the holly flourish and added a couple red rhinestones. |
Notes: use a tenths C-thru ruler. Lightly pencil in your score and cut lines. PS the score lines of the steps are folded as indicated M-mountain and V-valley. The solid horizontal lines are cut. |
A - should be minimum - a touch larger than your step width. PS the back piece is not the same width as the finished card. B & C - is the width & height of your letter squares plus any borders. D - is half the width of your step width. E - will be the width of your finished card. F - is whatever's left over to create the die cut border. G - is the height of your finished card. H - will be the width of your finished card - just a touch larger. I cut the front green piece 4.2"w x 5.15"h |
Back view |
Please use your back button for previous pages or should you wish to go to the Misc Challenges 2015 Gallery please click on or to go to the previous Misc Challenges Card Gallery click HERE or And More Gallery for hand made greeting cards please click the link below. |
Home |
Page Index (text only) |
Glass Gallery |
"And More" Gallery |