|
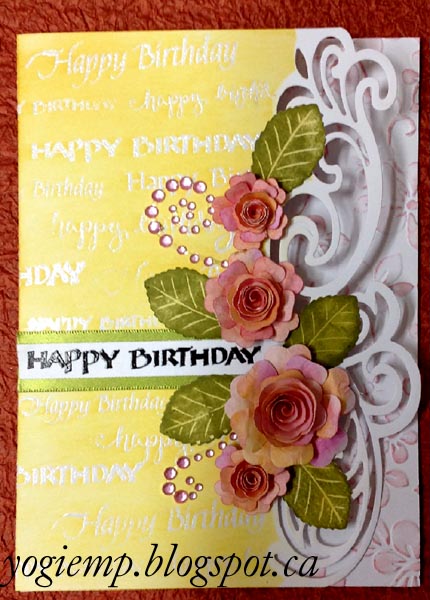
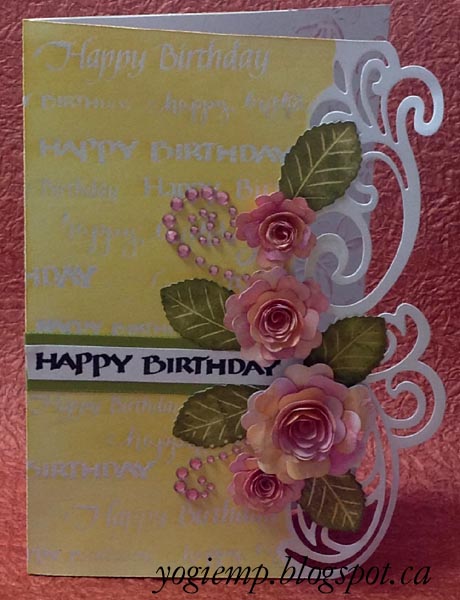
I die cut my edge then scored, folded
and trimmed down my card.
Masked of my edge design,
stamped the birthday sentiments using Versamark and clear embossed.
Repeated till the front was filled. Sponged Distress "Mustard Seed"
heavily all over. Removed the mask and wiped off the embossed words
with a damp paper towel.
adhered some olive green
satin ribbon. Stamped the "Happy Birthday" with Versafine Black Onyx
and clear embossed. Trimmed down and adhered to ribbon.
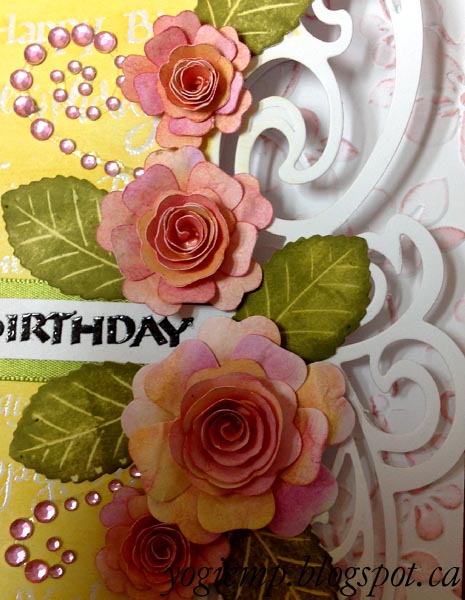
Created the roses from 65# Staples
brand white cardstock. Sponged with "Picked Raspberry" using a
streaking motion rather than evenly filling the die cuts. Then
streaked with the mustard seed. Repeated the process on the backs.
Rolled up my coil, allowed it to loosen and glued it to it's
backing, set aside to dry. Used a large balled stylus and a foam mat
to shape the petal pieces on both sides, glued the little tabs and
then glued the flower parts together.
The smaller
flowers:
Note: For those of you that have the capabilities of scanning
and uploading images to an electronic cutter. I then cut the shapes
at two smaller sizes than the die cut.
PS if you don't have this choice, just
use a couple of the die cuts - eliminating the larger petal layer
and or adding a 2nd small layer or just using the center bud - so
you get a variation of sizes.
Colored some 110# cardstock with the
mustard seed and die cut the rose leaves (Memory Box "Sonora Rose").
Held the leaf down on my craft mat using the flat edge of the point
of my x-acto knife and direct to paper with "Peeled Paint" ink pad.
Note: since the pad doesn't go edge to
edge in the container, fingers get in the way when inking small
pieces, so using the tip of something narrow or fine to hold down
the leaf, allows the pad to skim right to the edge.
Then added a few pink rhinestone
flourishes. |
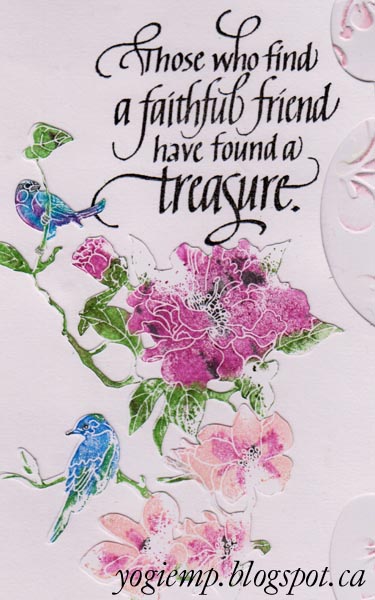
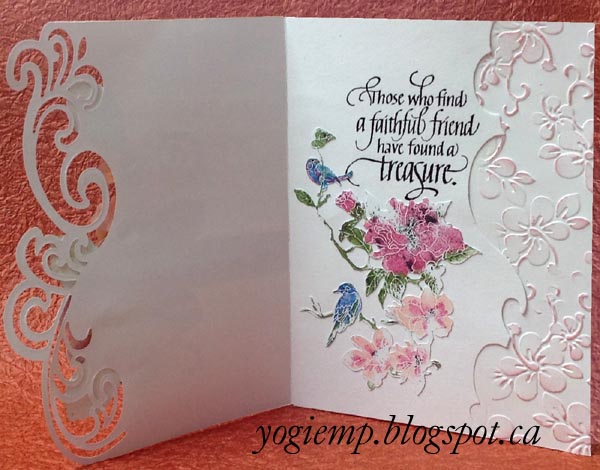
On the inside:
embossed the right edge using Crafts Too "Blossom" embossing folder.
Skimmed "Spin Sugar" over the high points.
I made a little booboo when I stamped
the quote... So had to cut a separate piece of white cardstock using
the die cut edger die. Trimmed it down and adhered.
Stamped the quote with the black onyx
and clear embossed.
Stamped the birds on branches (Local
King Rubber "Asian Essence") using
Distress markers to color the stamp, misting with water and
stamping. masked off part of the design to stamp the 2nd stamp.
Bottom bird (Salty Ocean, Mowed Lawn;
Flower: Spun Sugar, Picked Raspberry; Leaves: Mowed Lawn, Forest
Moss; here and there some black.
Upper bird: (Salty Ocean, Picked
Raspberry; Flower: Festive Berry; Leaves: same as above and the
black) |