|
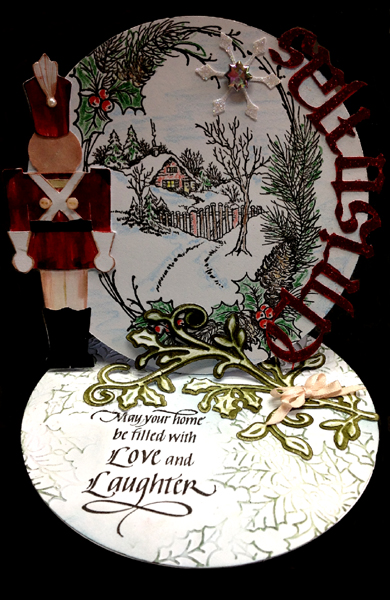
I folded my white cardstock and cut
both layers using my EK Success circle cutter, cutting it shy of the
folded edge. Then folded the top circle in half to create the easel
shape.
Cut 2 more circles the
same size to layer on top of both the front and floor of the card
after decorating them.
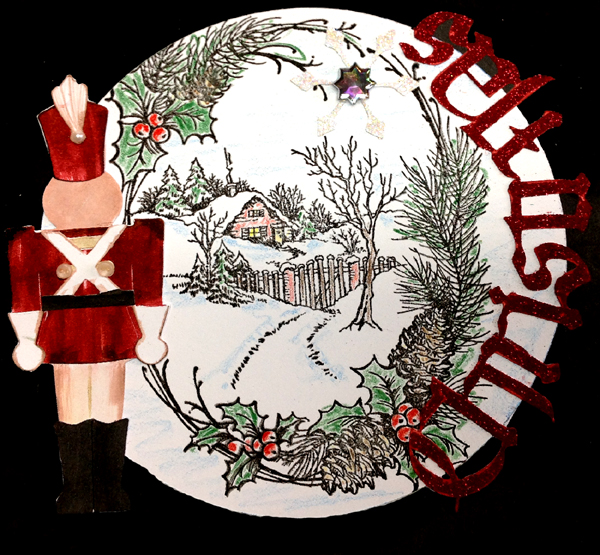
Stamped the winter scene
(Stampendous "Christmas Cottage") using Versafine Black Onyx on the
spare circle and clear embossing. Colored with Prisma colored
pencils. Adhered to card front.
Die cut the toy soldier (Sizzix
Tim's Bigz die) and colored with Distress markers, then glued the elements together and
on to card front. Added two micro beige buttons on his chest area,
and a mini white pearl on his head piece.
eCut the "Christmas word
from white cardstock and while on the mat, colored with Distress
pads direct to paper in various reds. Since the word is very open,
it was easy to shape/glue and stick around the edge of the circle.
After adhering, used a Quickie glue pen on the letters and sprinkled
with Ritz micro fine glitter "Regal Red".
|

card
closed
On the 2nd spare circle,
stamped the quote with the black and clear embossed. Used my hard
rubber mallet and Sheena Douglas embossing folder "Holly" to
selectively emboss where I wanted. Hit the high points with Distress
"Bundled Shade. Sponged some "Tumbled Glass" around the edges.
Adhered the circle to the floor of the card.
Die cut the holy sprig
(Cheery Lynn) from white cardstock, hit with the sage, then some
"Forest Moss". Used the negative cut out shape to create a
silhouette image which I eCut as a shadow layer (to give strength to
the stopper) colored with the Moss and adhered to the die cut, then
on to the floor of the card. Added the beige double loop narrow
ribbon bow.
As a final touch, added
the snowflake on the front which was a drop out piece from
yesterday's projects (Impression Obsession "Large Snowflake"). I
applied Quickie glue and Stickles "Star Dust" glitter, then added a
star rhinestone. |

