|
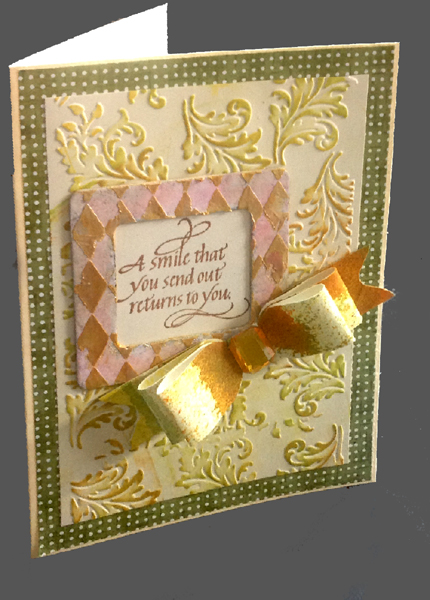
I side folded my cream
toned card. Adhered a piece of Chiyogami paper I've had around for
quite some time... (green with white dots), leaving a scant border
all around.
Embossed another piece of cream cardstock using Crafts Too "Leaves"
embossing folder, then hit the high points with Memento pads
(Dandelion, Peanut Brittle & Pear Tart). Trimmed down and adhered to
card.
The frame is something I've had around for ages in my junk embellie
drawer... it was black with orange pumpkins all around - ugh, I'd
never use it - sigh!!. So I had my white distress paint dauber
sitting there and pounced it all over the frame. Surprisingly enough
I only had to put one coat on the frame. Then when dry, I sponged
some Distress pads (Picked Raspberry, & Walnut Stain). I then lay
Tim's Harlequin stencil down, taped it strategically, and smeared a
mix of Viva Modeling Cream (Champagne & Gold), removed the stencil
and set it aside to dry.
Stamped the quote (Quietfire Design) using Versafine "Vintage Sepia"
on a separate piece of white cardstock and adhered to back of frame
and then onto the card front.
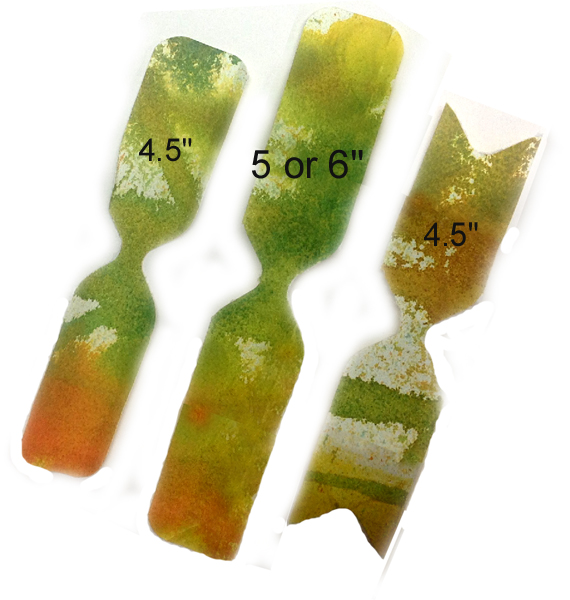
Love the bow... Here's how. Cut 3 pieces from decorative paper or
cardstock, 1"w. Cut 2 of those pieces to approx 4.5" long and 1 of
them to 5 or 6" long. When done I added the large amber rectangle
cut rhinestone.
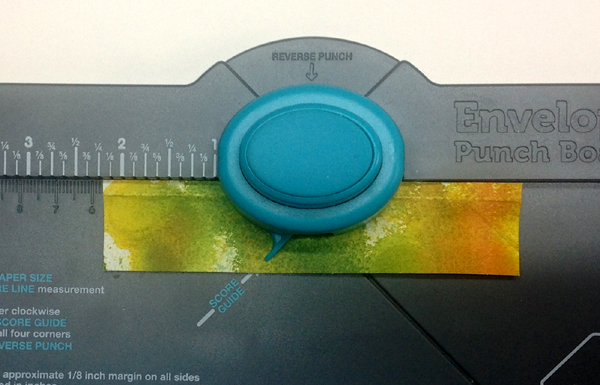
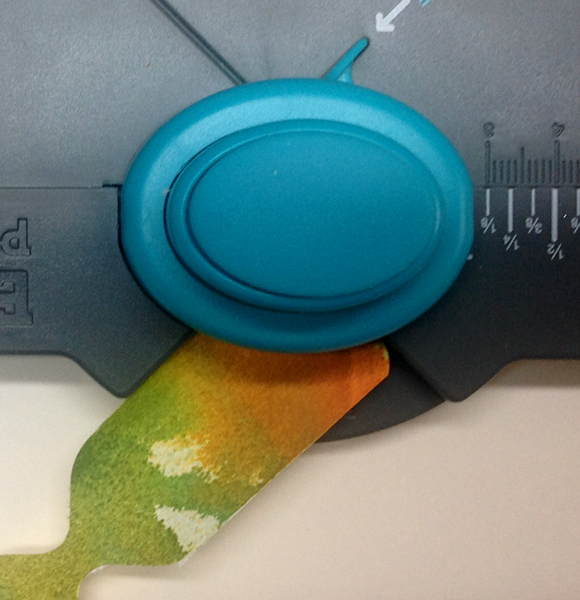
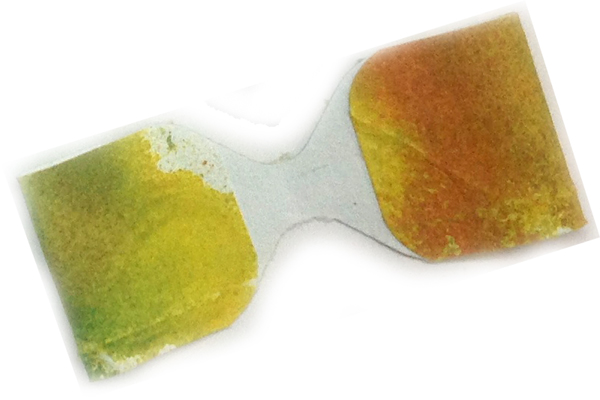
Using the We R Memory Keepers "Envelope Punch", punch in the middle
of all 3 strips, flipping the strip to punch the other side. See
pics below
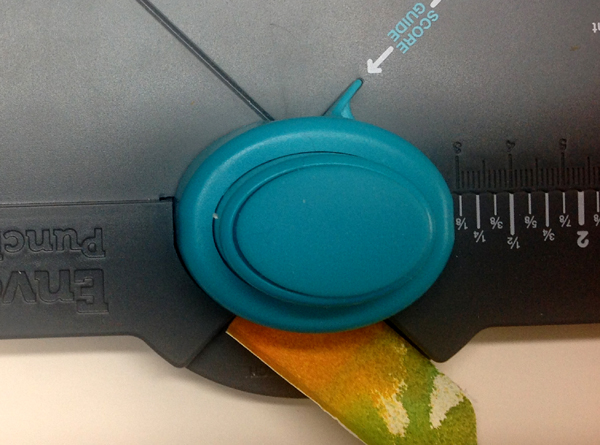
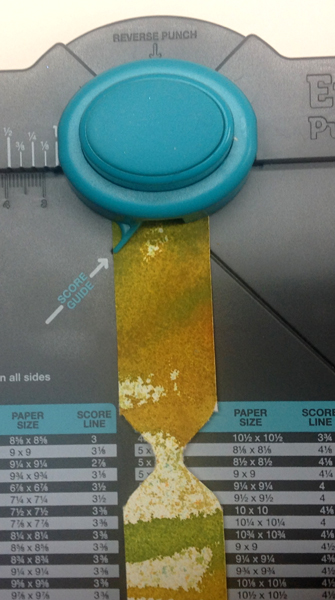
Now take one of the
4.5" & the 5 or 6" piece and round the corners on either ends.
see pic below. PS I usually turn my board around... which is why the
pics look like they are upside down.
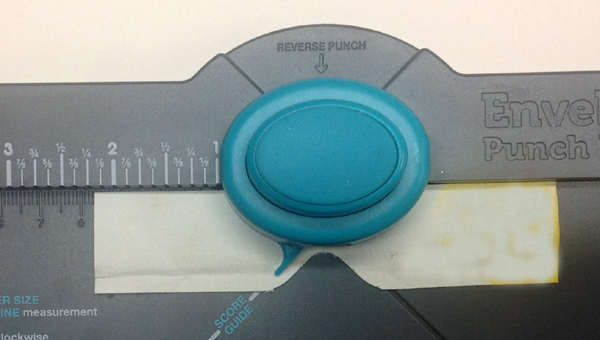
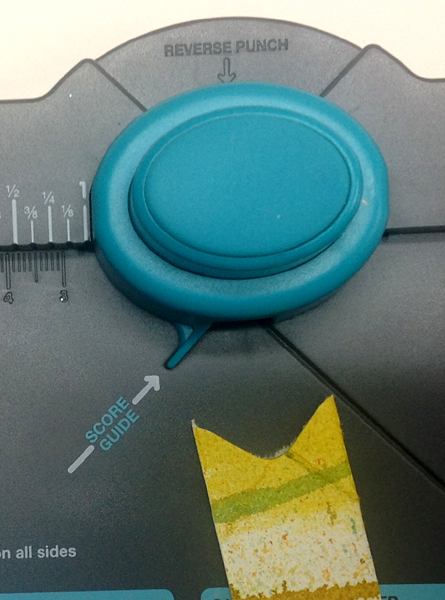
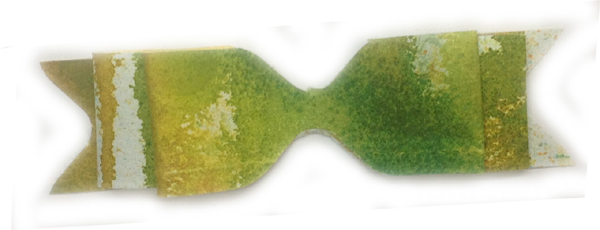
Next take the last 4.5" piece and punch either end, insert it
approx. half way between the punch edges
And this is what you should end up with:
Now gently massage the ends between your fingers to give them some
pliability & start the curve. Put a dab of glue on either end
(just on the edge), then turn the end and have it meet just at the
edge of the center indent. Press down to make sure it stays put. Do
this to both round edged pieces.
When both loop parts of the bow are adhered, stack them right sides
facing up, and adhere them together at the center, then glue the
nicked end piece in the center and adhere under the larger of the
loop pieces. Voila - either put a small piece of the paper around
the center or just add a nice rhinestone or other decorative
element.
 |