ID: Jan/13 - Gate Fold - The Most I Can Do card
size: 5"w x 7"h

Created: January 28, 2013
Modified: May 6, 2014

I love this Marianne Design Lattice piece...

I'm using a several stamps from Quietfire Design - Friendship Quote Marks set "The Most I Can Do...", "You Never Know How..." and the Flourished Frame from "Happy Family Day" set

I scored my cream cardstock at the 2.5" and the 7.5" points, then trimmed down the center where the sides meet to get a perfect fit. Embossed both sides with Cuttlebug "Bamboo" 5 x 7" embossing folder, using the "off the edge" technique to only emboss the front of the card on the right flap. Lightly sponged Distress Crushed Olive over the high points.

Die cut the lattice piece from cream cardstock and used the rubber mat to emboss the designs as well. Lightly sponged using my dirty brown sponge over the edges. Die cut the underlayer from Chyiogami paper (fall colors/leaf pattern) and adhered to my lattice piece. Stamped the quote with Versafine Vintage Photo and touched areas with Black Onyx, clear embossed and die cut with the center die of the set. Sponged again with my dirty brown sponge and adhered to lattice piece. Cut another cream toned underlayer piece and adhered to lattice assembly. Adhered the lattice assembly to the front of the left side.

Cut another cream toned underlayer and adhered it to the inside of the card, matching the edges and only adhering to  the front flap edge. This leaves a pocket type opening for the right side flap to fit into to keep card closed.

Created my bow by making several loops from black and cream toned gauze ribbon. Cut ribbon to 4", adhere to form a loop with a small piece of Sookwang tape.


card closed

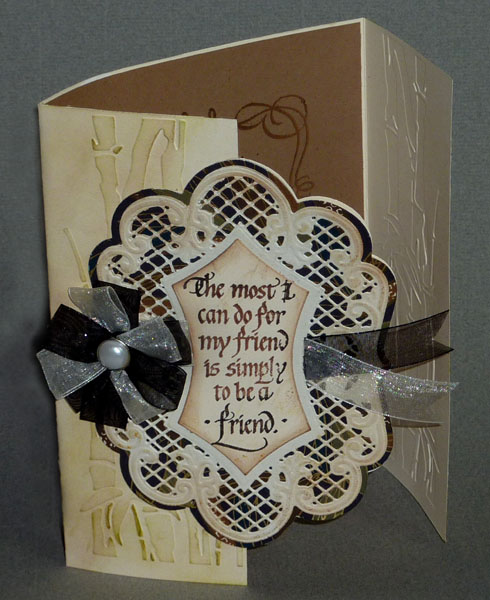
I used a piece of thin string to pinch the first few loops in the center to give more of a bow look, tying the string in the back. Used an awl to pierce my bow in the middle and inserted my pearl brad. Kept stacking the loops, arranging them in a circle pattern. Punched out a 3/4" circle for the base. Opened my brad points then adhered the circle to the card. Cut a couple tail ends of ribbon and adhered them to front with some Sookwang tap, trimming them to fdit the contour of the design. (should have cut a slit and stuffed them under... hindsight). Cut ends into fishtails.

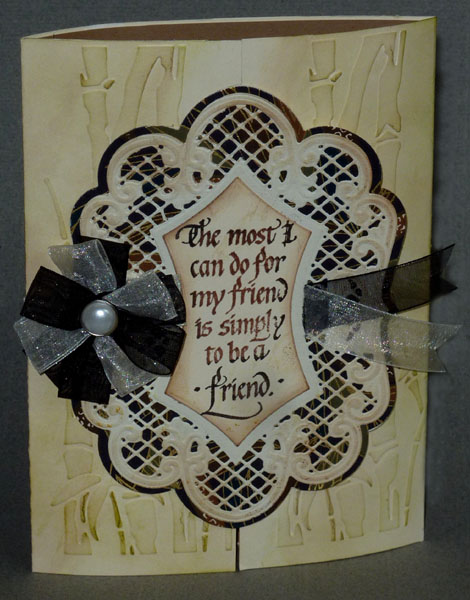
On a piece of brownish Kraft cardstock, stamp the left part of the frame with Versafine Toffee using a stamp positioner and some tape on the stamp as a mask. Ink the stamp, remove the tape and stamp. Emboss with Queen's Gold. Stamp the right side of the frame in a similar way using the stamp positioner.

Stamp the quote  using Versafine Vintage Sepia and touching areas with Black Onyx, clear emboss. Trim cardstock down and adhere to inside of card.


Please use your back button for previous pages or should you wish to go to the Misc Challenges 2013 Gallery please click on

or to go to the previous Misc Challenges Card Gallery click HERE

or  And More Gallery for hand made greeting cards please click the link below.

More Cards Gallery


Home Page Index
(text only)
Glass
Gallery
"And More"
Gallery