|
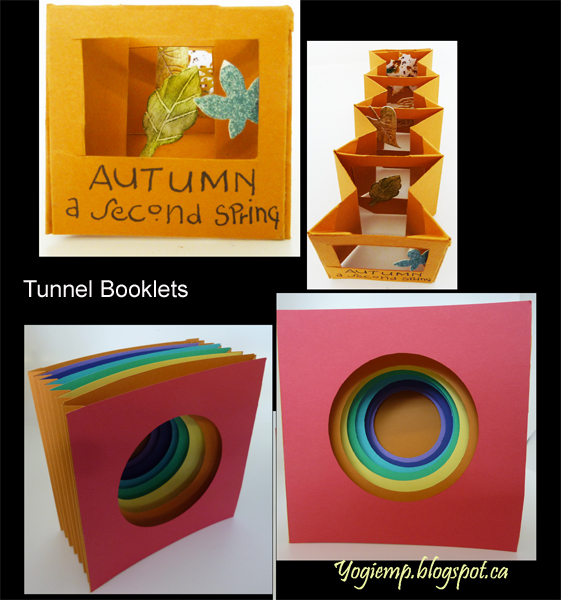
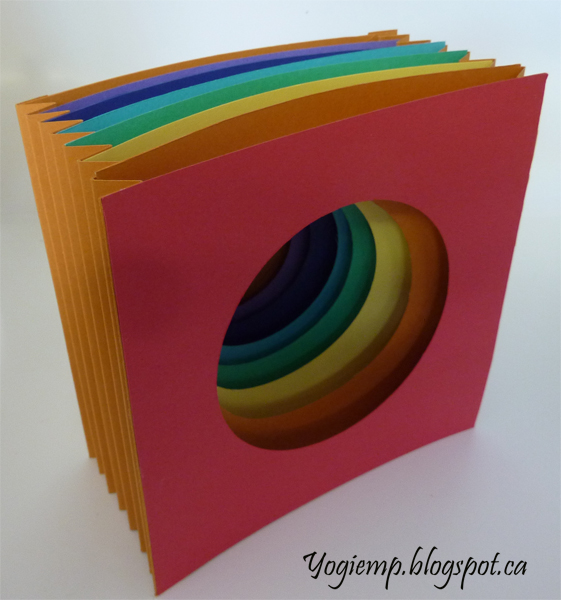
Basic instructions: 1)
Cut 2 strips the length of your cardstock by whatever height you
want. Mine is 6" h
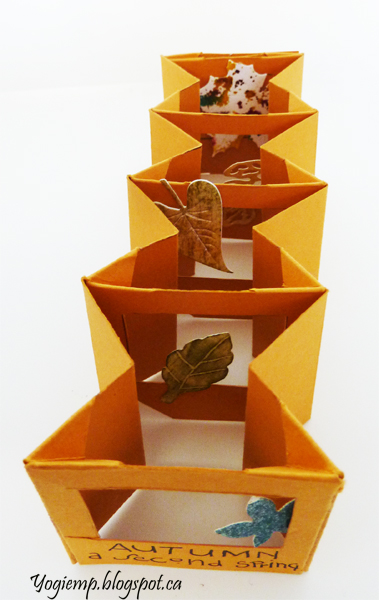
2) Accordion fold each strip. I used
a scoring board. But the basic way is fold in half, fold each
1/2 in half. (4 sections now.). Fold each in half again and then
each of them again in half (total 16 sections).
3) Cut your window pieces by whatever height and by whatever
width. Mine is 6"sq. Total 8 pieces
4) Place one of your pieces aside for the back cover (or adhere
it now not to loose it or forget it... Adhere it to the first
end piece of the accordion and to the back of the page.
(set aside)
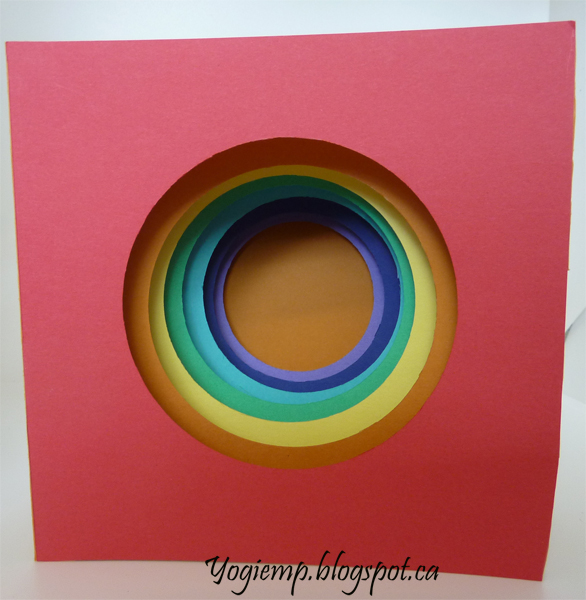
5) Cut circles or whatever design into the remaining 7 pieces
making sure your front piece has the largest opening and the
last piece (7th piece) the smallest opening. Also make sure the
cut outs stay in the same position as your starting hole, just
getting smaller each time.
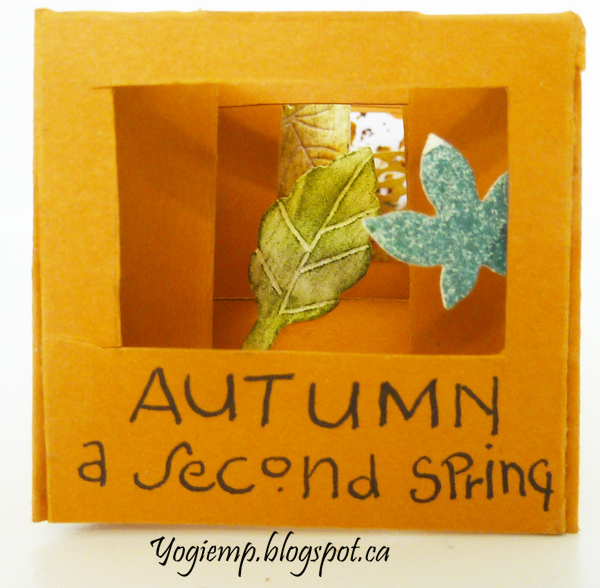
6) Adhere whatever decorative elements to the backs of each
window, making sure when it's sacked again it looks pleasing...
7) adhere each window to the accordion pieces starting from the
back - to the back section of each valley fold. To
make a smaller one, either use a shorter length of cardstock and
less folds or cut some of the accordion folds away from the
longer section. |