ID: Pewter Class with Elitia Hart
I took an embossing on pewter class with two of my friends, taught by
Elitia Hart (formerly from South Africa) here
in Calgary. Fabulous class. Anyone in the Calgary area, I can recommend it
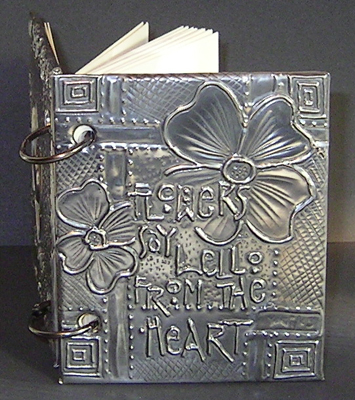
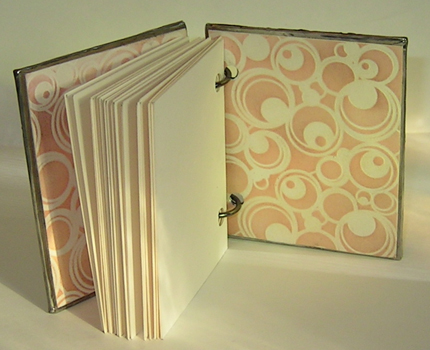
highly. All the pieces below were done during the class which ran from 9am to
4pm with a mid morning break and a lunch break.
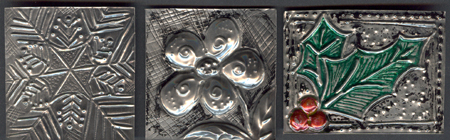
Some techniques I learnt:
Like creating a channel on either side of an embossed line - emboss on wrong
side on soft mat, turn work over and on a hard surface emboss on either side of
that embossed line creating a channel for patina to sit in.
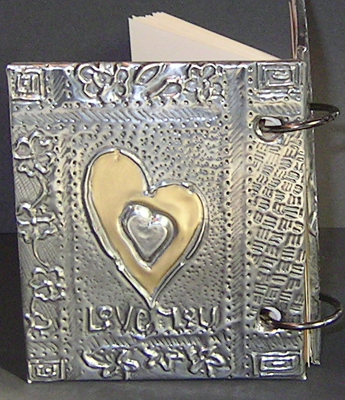
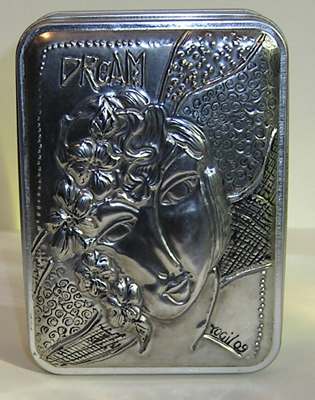
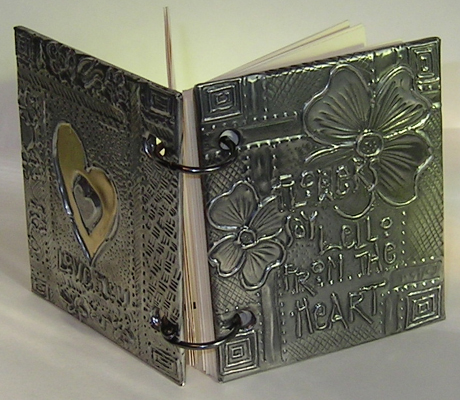
Or again working on the back and embossing your design on a soft mat, turn work over and on hard surface, emboss only on the outside of the embossed line, turn work over again and on a thicker soft mat start pushing the material with a tortillon to create a rounded or sculpted form. the heart on the back cover is an example of this and so are the checks and nose on the lady on the box. You can continue to work embossed lines and designs on the wrong side of the raised image. Or after it's filled with wax, you can put details on the right side.
Lots of doodling, tool marks and other details add interest especially when it's patinaed wither with chemicals or faux with markers or rub ons.