|
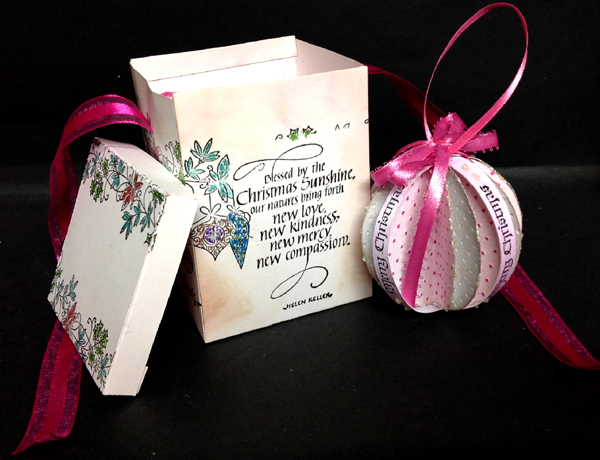
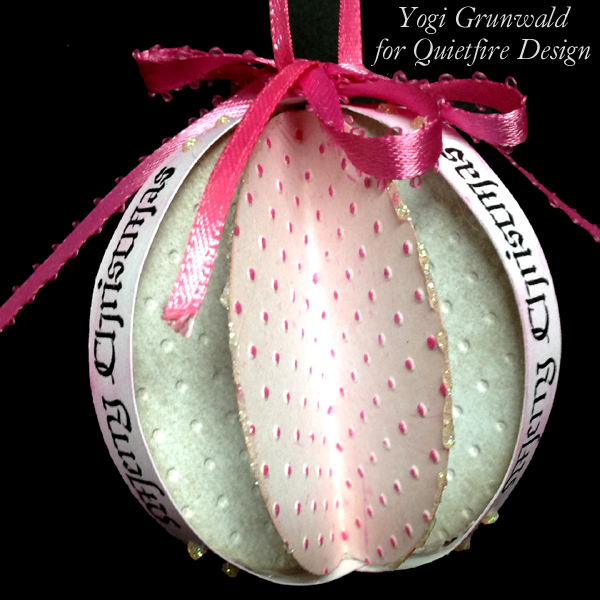
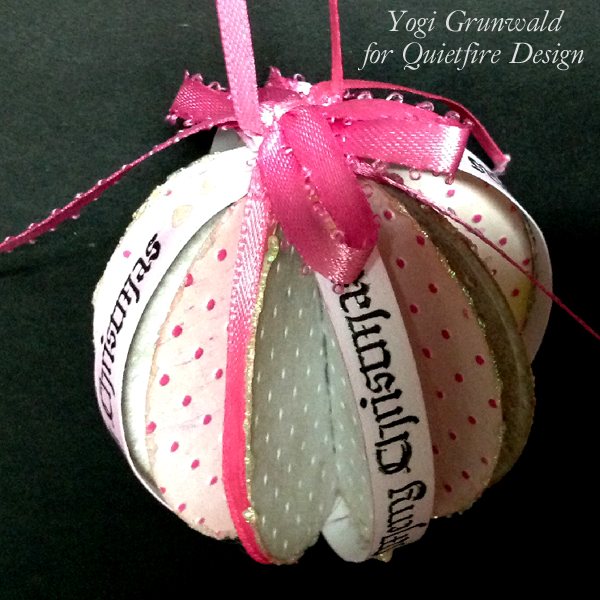
Cut 6 circles
from white cardstock using Spellbinders circle die set (3" dia).
Sponge Distress "Spun Sugar" all over one side and "Pumice
Stone" on the other. Run through machine using Cuttlebug
"Swiss Dots" folder and hit the high points on the pink side
with "Picked Raspberry". Fold circles in half, burnishing the
fold with your fingernail. Glue Circles together at the spine
only. Set aside to dry. After drying, apply Viva Pearl Pen "Holo
Iridescent" along the edges of the circles avoiding every 3rd
circle. Set aside to dry.
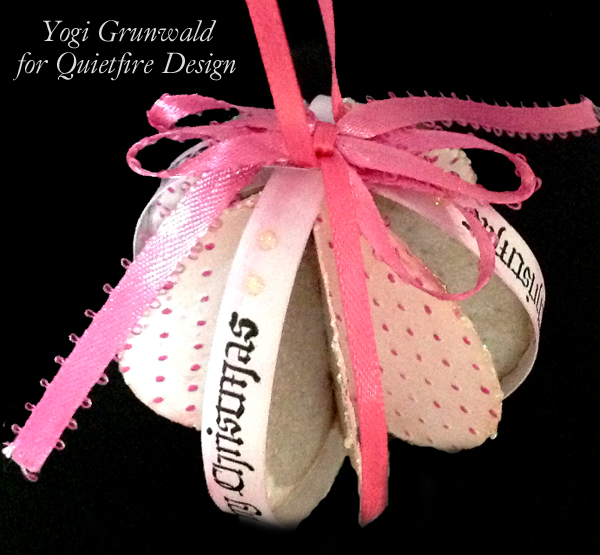
Stamp the Xmas
sentiment (use the smallest Blackletter sentiment) onto white
cardstock using Versafine Black Onyx and clear emboss. Trim very
close to text, sponge with the raspberry, measure the strip
around half the circle, then cut off excess ends. Work the paper
around your finger to create a curved contour. Add decorative
dots of the Viva pen. Set aside to dry.
Using a glue
gun, run a bead of glue down the middle of the text strip (on
the wrong side...) and press around one edge of circle, making
sure the ends will overlap on the top and bottom centers. (I
usually only glue the center half, then add more glue after it's
partially attached to the circle edge and then trim off the
excess.). Repeat with other four strips.
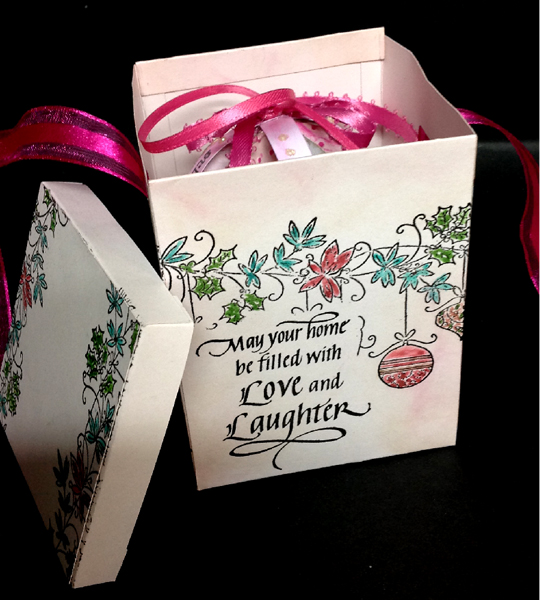
Tie a knot in a
piece of narrow ribbon - this will be the hanger section. Glue
knot to top center of ball. Tie a pretty bow from a wider
ribbon, slip into loop and glue on top of previous glued knot.
I added a
medium pink rhinestone on the bottom center as a decorative and
camouflaging item. |