Paul Antonio - Copperplate & Flourishing May 2018

Created: June 1, 2018
Modified:

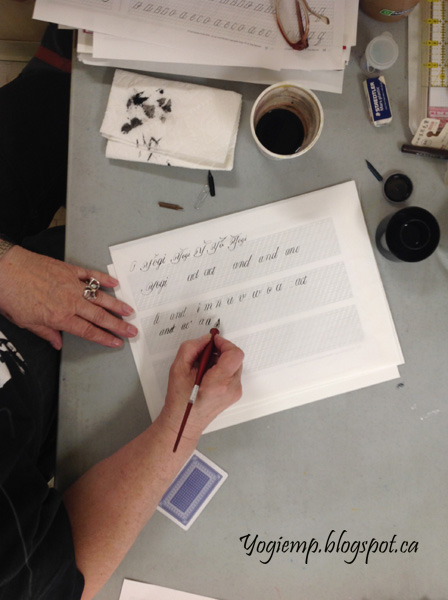
I took a 4 day workshop with Paul Antonio in Copperplate and Flourishing (May 26 - 29, 2018). Was eye opening.

The first thing we were taught was how to sit and hold the pen.

1) Make sure the height of your chair to table is correct. Elbow should just skim the top of the table without you lifting your shoulder. If elbow hits edge of table lift chair or place a rolled up cushion at the front of the chair.

2) Turn chair so you are sitting almost parallel to the table, place left foot flat for balance and right foot slightly back. Legs spread apart width of shoulders. Bend forward slightly from the hips, not the spine.

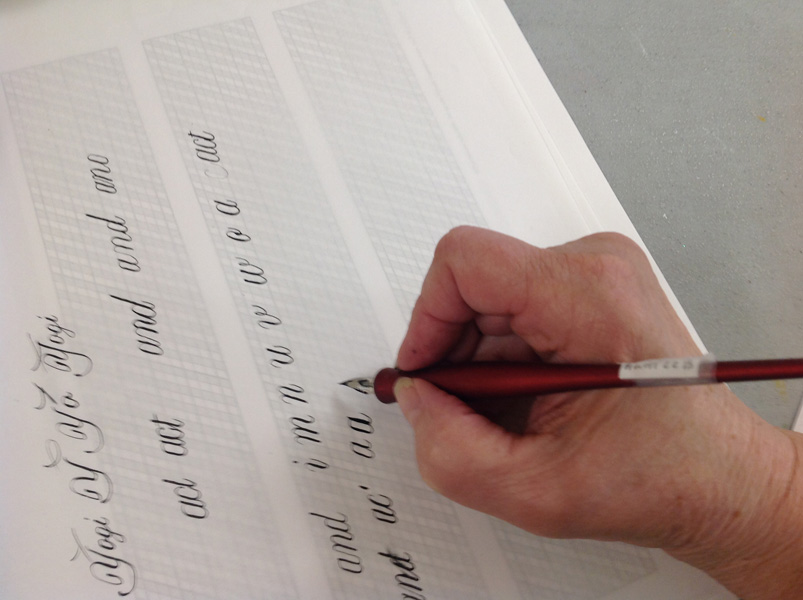
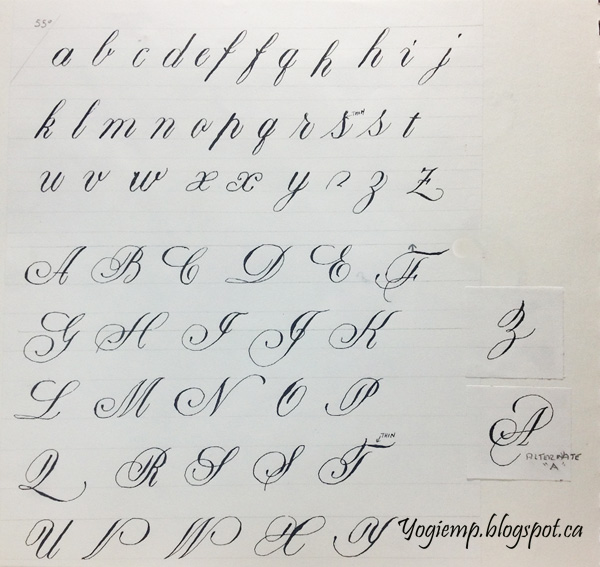
3) turn paper so the 55º angle of writing is in line with your shoulder.

4) place pen in hand about an inch up from tip and nib facing the 55º line and end of pen holder in line with shoulder.

5) stack fingers so the wrist does some of the up and down work of a stroke.

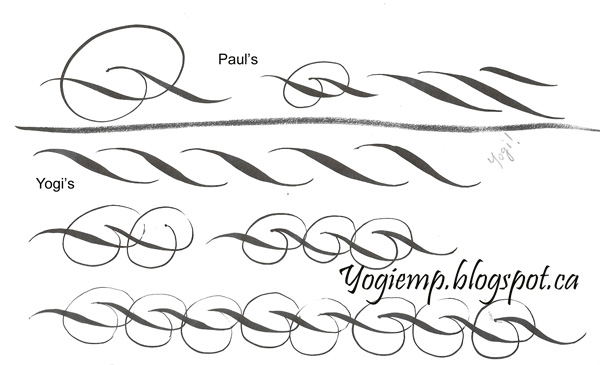
6) For flourishing, make sure arm and elbow are flat on table.


We did a lot of pencil work before every using a pen. Sigh!! So I didn't get as much ink work as would have liked.

Paul's grid lines are extremely helpful. 

I used various nibs - Hunt 22B, Zebra G and my favorite Nikko G. Mostly used Sumi black, but did use a bit of Sumi Vermillion which I really like.


In the flourishing class, we ere asked to do the side linear line, then the oval shape, and working back to the linear line and of course staying consistent in size and thickness of lines etc. Paul did a sample on my worksheet... This shape lends itself to the line below. 

Make a make of the linear line and then a ghost line of the oval, working back into the mark line and you get that 2nd row of marks. Or the bottom image rope border.

a bit more flourishing - attempting...

 I was intrigued by these marks. It was a sample from a bunch of other marks that a pointed nib could make. It worked ok for me with a nib, but I really liked it using my newest brush pen - Kuretake Brush Pen No8

Basically you just press down in one spot, hold and lift, with the point only move to the next spot and repeat.

The bottom one is dots instead.

Please use your computer's back button for previous images Thank You

Click the link to see pics of other Calligraphy workshop I've taken Calligraphy_Gallery

Or Click the link to see my calligraphy artwork. Enjoy  Calligraphy_Art


Home Page Index
(text only)
Glass
Gallery
"And More"
Gallery