>

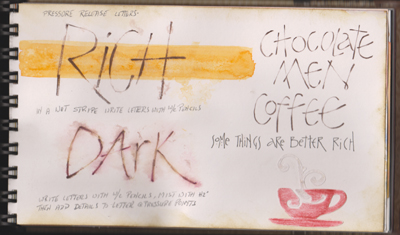
I will eventually make exemplars of all the fonts I learnt, but that will not be this month... hopefully in March


Lynn Slevinsky's Class January 23, 2011

Created: February 6, 2011
Modified:

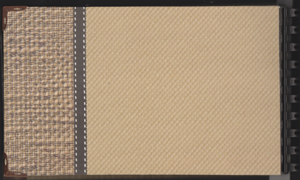
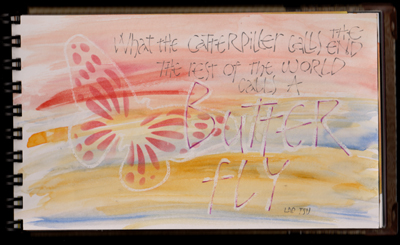
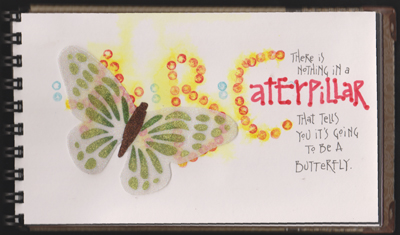
I recently took another class with Lynn Slevinsky, and of course it was fabulous. On day 2 we worked in a journal booklet. We were each given a mat board covered journal with white binding coil, and a various batch of papers within.

We were given the journal the night before so I took it home, change the binding to a snap binding so I can put in and take out my pages if I want or add more BIG GRIN

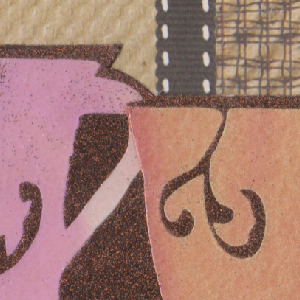
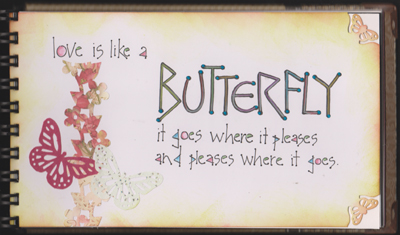
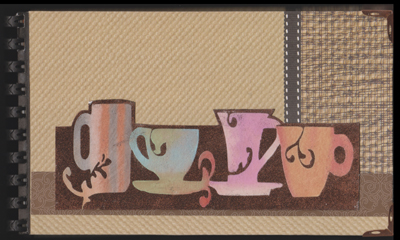
I used scrapbook papers for the front and back and inside the covers. I cut the cups from double sided tape with my cricut and then colored with Perfect Pearls, Luminarte Powders and some Pearl-x, burnishing them well, then sticking it on to my cover. I also added some corner protectors.


Detail of cover


back cover


inside of covers


These were pressure release letters in a Free Monoline Caps style, but done with watercolor pencils.

The one with the yellow stripe through it is done, painting a wet watercolor stripe, and while wet writing in to it with the watercolor pencil. It should start to bleed depending on how wet the stripe was.

The one below that was done by writing with the watercolor pencil, misting lightly with water and then accenting corners and other areas with the pencils.


Another one done with the Pressure Release technique. It started with a wax resist crayon, outlined the butterfly and wrote the word Butterfly, then did various stripes of diluted watercolor. I used the butterfly as a stencil to add more color. Shadowed the word and wrote the text with an HB pencil.


I punched out several butterflies with a Martha Stewart large butterfly punch, the paler one is a light minty green with glitter dot paper. I also punched out the MS floral border from some scrapbook paper. Love that punch.

The lettering is something called Lint Ball (by Erik Stevens US 1999). It's a fun style and has little balls at the ends of the letters. I wrote mine with a Micron pen, then colored it in with gel pens and H2o. The main word was done with the bullet tip of a Zig Writer, then I used a white colored pencil down the centers of the letters and then touched that with some color. Added blue glitter balls. Punched the butterfly corners and sponged Distress yellows and oranges around the edges.


This was so much fun. Make letters with water and a flat brush, then sand (220 grit) the end of watercolor pencils (a bunch of different colors) and they will start to dissolve in the wet letter. Neat to watch. When dry I outlined the letter with a black pen.


This was lettering done with the end of an eraser (retractable type) to create the dots. I did them first with yellow paint, then when dry, went in again with red paint. Still wasn't happy, added some blue dots and then decided to cover a lot of it up with the butterfly. The butterfly was cut with my Cricut from Sookwang tape, glittered with green accents of micro fine glitter, then the body with cool highlights, then stuck to the page.


I was introduced to a pen I hadn't know about before. Papermate Eraser Mate Med pen. You can write with it and then heat emboss and it stays moist for embossing for quite some time. LOVE IT. So the upper and lower line are done with this pen and embossed with gold. Rubber stamped the cups and also embossed with gold. Drew in my letters with a white colored pencil and then colored them.

Please use your computer's back button for previous images Thank You

Click the link to see pics of other Calligraphy workshop I've taken Calligraphy_Gallery

Or Click the link to see my calligraphy artwork. Enjoy  Calligraphy_Art

or click next for Lynn's Class page 1


Home Page Index
(text only)
Glass
Gallery
"And More"
Gallery