|
Stampede 15 - Dream & Tutorial
Size: 6.5" x 9.5"h Created: May 15,
2015 
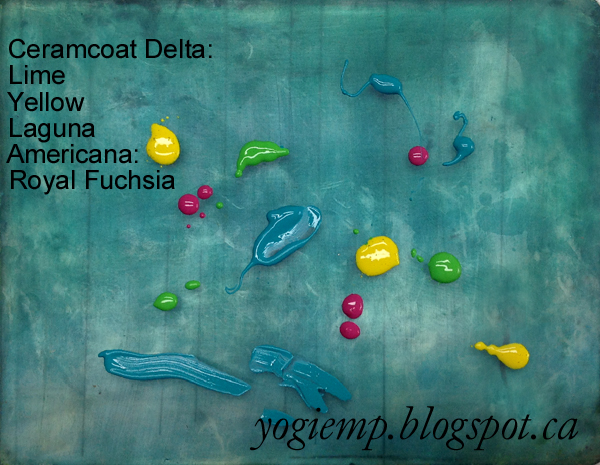
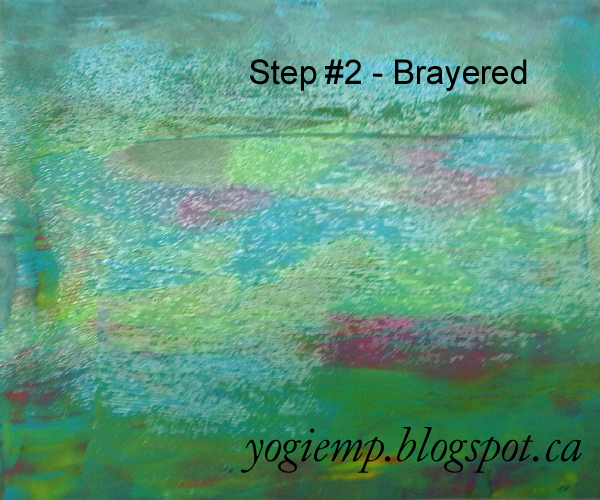
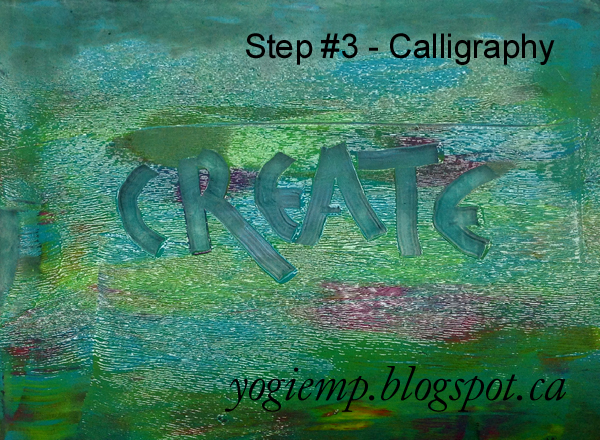
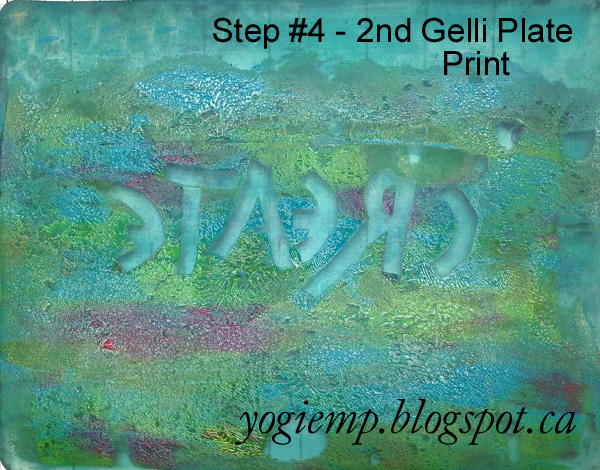
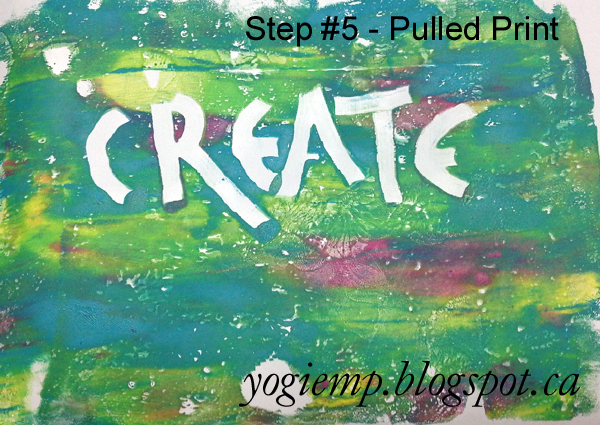
I've been doing a lot of playing with my Gellli Plates and demo'ing Callgraphy on them. Under normal circumstances, anything you do on a Gelli plate will give you a reverse image when pulling a print. If you are doing basic lettering, you can just put a reversed image under your Gelli Plate and trace, but if you are doing manipulative calligraphy, that becomes problematic... So I decided to pull a print onto a 2nd Gelli Plate, giving me a reversed image of my calligraphy and then pulling my print. You can see the steps below. 
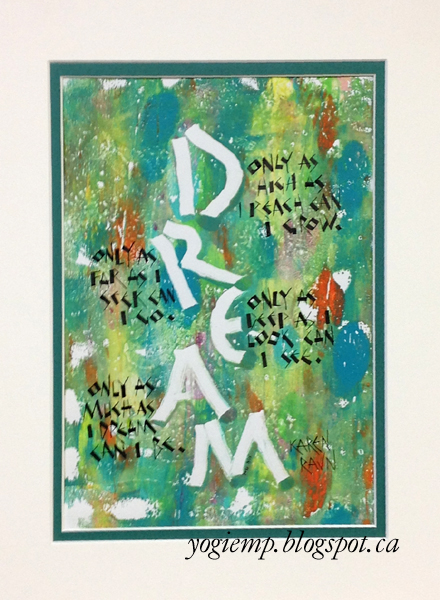
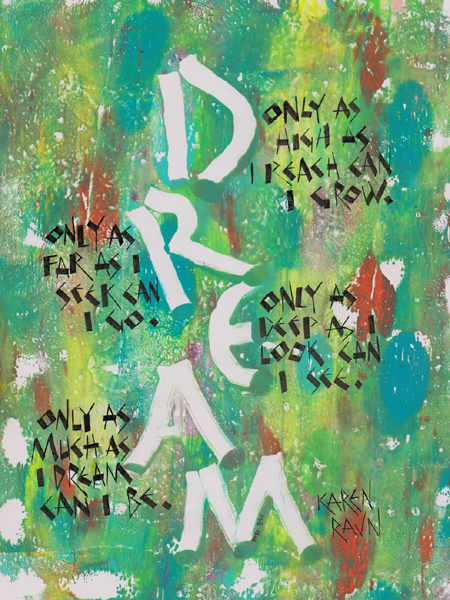
This piece won a 1st place ribbon in the Neuland category.
Quote: Only as high as I reach can I grow |
I call this my "water lily pond" color scheme... The colors I used were Ceramcoat "Lime", "Laguna", "Yellow"; Folk Art "Rose Blush", "Pure Orange"; Americana "Royal Fuchsia". I used a plastic glue applicator, cutting it down to the nib size I wanted approx 3/8"w. Wrote my word "Dream", cleaning my applicator after every letter. Doing a print on a 2nd Gelli Plate, then pulling a print onto glossy paper from the 2nd plate. Wrote the rest of the text using a 2.4mm Parallel Pen and Sumi ink in my Funky style of Neuland. I used a dark Emerald Green inner mat with an off white upper mat. |
|
This is another version of my "water lily pond" color scheme... The colors I used were Ceramcoat "Lime", "Laguna", "Yellow"; Americana "Royal Fuchsia".
|
After Brayering |
I used a plastic glue applicator, cutting it down to the nib size I wanted approx 3/8"w. Wrote my word "Create", cleaning my applicator after every letter.
|
Doing a print on a 2nd Gelli
Plate |
Then pulling a print onto glossy paper from the 2nd plate. |
|
Please use your back button for previous pages or should you wish to go to the Calligraphy Artwork Gallery please click on
or to go to the Calligraphy Gallery to go to links of classes I've taken click HERE
Home |
Page Index (text only) |
Glass Gallery |
"And More" Gallery |