ID: Halloween09 - Glitter - Spooky (unavailable)
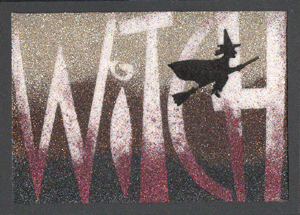
ID: Halloween09 - Glitter - Witch
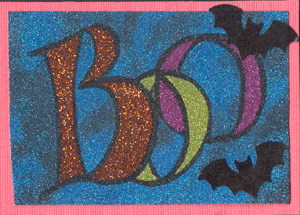
ID: Halloween09 - Glitter - Boo (unavailable)
|
PP
Theme October 2009 Halloween - Glitter
Created: September 24,
2009
|
|
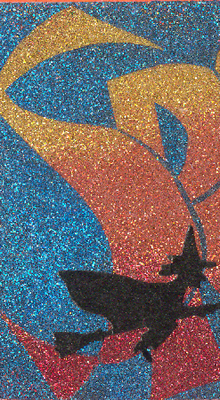
These are the glitter ones. I' was having so much fun playing with them. All of these start with wide Sookwang tape on a white or cream toned cardstock. The the letter shapes cut and portions removed as I'm adding more glitter colors. The word Spooky was done with 3 colors, a row of red, lots of space between it and the next row of glitter "orange" lots of space and then the gold. Blend with finger to merge the color into the open spaces and then the two colors that start to overlap in the blending process. A similar technique was done with the "Witch" background. Then I removed the release paper from the words and did a two tone random blend. The background of the "Boo" ATC is done in a medium toned blue and then sprinkled randomly with some black. Both the witch and the bat are Martha Stewart punches, punched out from glossy black paper. Added at the bottom of the page, rubber stamping on top of glitter. As I was continuing to play with glitter, I thought I'd try rubber stamping right on top of the glitter. Amazing, it worked. Although depending on the angle you view the stamping at, it can almost seem like it's not there. Then I tried thermal embossing the stamping and that made all the difference. That created an opaque layer over the glitter. I tried clear embossing as well as embossing with black detail, which I prefered, but both worked fine. |
|
| .
|
|
|
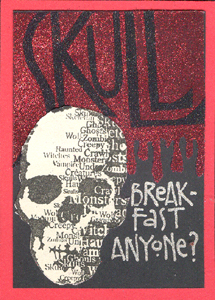
I love the "Skull" ATC. I mean I love them all, but this one just is so - I don't know what!! I cut out the dripping border with scissors from some protected Sookwang tape. Then stuck it down to my black ATC. Cut out the letter sections filling them with black and then the background with red. Dripping blood!! The Skull (Inkadinkado Happy Haunting #99395) was stamped on white cardstock with black stamp pad and cut out. Every time I read the words I have to laugh. |
|
| .
|
|
|
| .
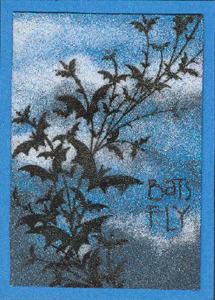
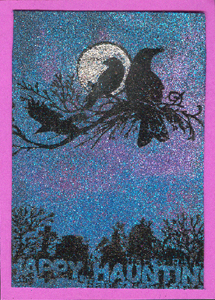
I used white cardstock and sprinkled some Cool Highlights in the cloud area, then sprinkled the Royal blue lightly around the clouds and then some of the Blue Teal. Then filled in the other areas randomly leaving lots of open sticky areas to merge my colors in. You can always add glitter, but it's real hard to remove it. I also don't pour a whole bunch of glitter out of my container. And should there be any left over after burnishing, I put it in a small "mix" container for future use. Burnish very, very, very well. Then wipe off excess with a paper towel. Ink up your stamp (Inkadinkado Halloween Trails #98548) with Versafine Black Onyx and press down with good pressure. Lift and thermal emboss with black embossing powder. Wrote in my words with a Sharpie Ultra Fine Point black marker. Mounted to a deep blue cardstock |
|
|
| .
|
|
|
|
Please use your computer's back button for previous images Thank You or click on the Home button below to go to the PP Themes Gallery.
|
or should you wish to go back to the ATC Gallery please click on the link below.
| Home | Page Index (text only) |
Glass Gallery |
"And
More" Gallery |